The foyer table project started as an idea. We only knew a couple things for sure: pull-out basket drawers, rustic look, and it had to be 42" high x 36" wide x 16" deep.
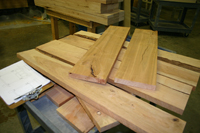
To start the production of the table, we needed first to pick out the wood. The cherry boards we wanted to use were in rough shape, though that is exactly what we wanted. After measuring a few boards I cut out some pieces for creating the cabinet box. From the drawings I calculated how big the cabinet box would end up being and cut the boards to the correct width on the table saw. Then I took them over to the chop saw and cut them to the correct length. Because the table is displaying a rustic style I wanted to choose wood from the boards that contained knots, cracks, and even saw marks.
As I mentioned above, Osborne Wood Products is starting to offer rustic cherry as a custom wood type. If you like this rustic style let me know by leaving a comment on the Osblog.
After cutting out the cabinet box parts, I cut some boards that I would eventually glue together to make the top and the bottom shelves. After running those pieces through the joiner I had a buggy full of boards that were nearly ready for assembly.
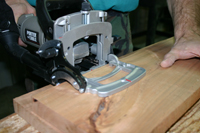
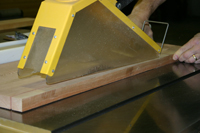
The next step was to glue up the sides, back, and front of the box that would be holding the basket drawers. In this case, I thought it best to use biscuits just like I did when building the custom frame for the last email. After cutting my insert holes I put the biscuits in with glue and applied glue to the edge of each board.
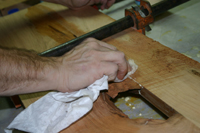
Once the boards were glued I clamped them and wiped away the excess glue with a wet paper towel.
The front face frame of the cabinet box has three openings for the basket drawers, so when making the face frame I connected the styles and rails with wood dowels and glue, so that there would be no visible fasteners.
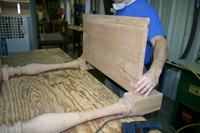
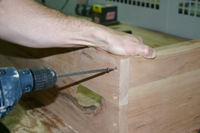
I knew that the legs for this table were going to be notched out so that the cabinet box could sit perfectly in the notched out area. For this reason I was not concerned about screwing my box together. I screwed the back to the sides and then the sides to the front.
I made the bottom of my box out of plywood since it was not going to be seen at all. I also installed a rail inside the box to stop the baskets from getting pushed all the way into the box. In no time at all I had a pretty good looking cabinet. Again, because the table is a rustic cherry piece, I tried to show off the defects in the wood as much as I could.
The posts we used in this project are custom designed and notched to fit the cabinet box and a bottom shelf. Osborne Wood now offers custom notching on any of their legs, all you have to do is call (800.849.8876) and tell them exactly where you want the notch(es) and they will put them in for you. The lead time for custom notched legs is about three days more than normal.
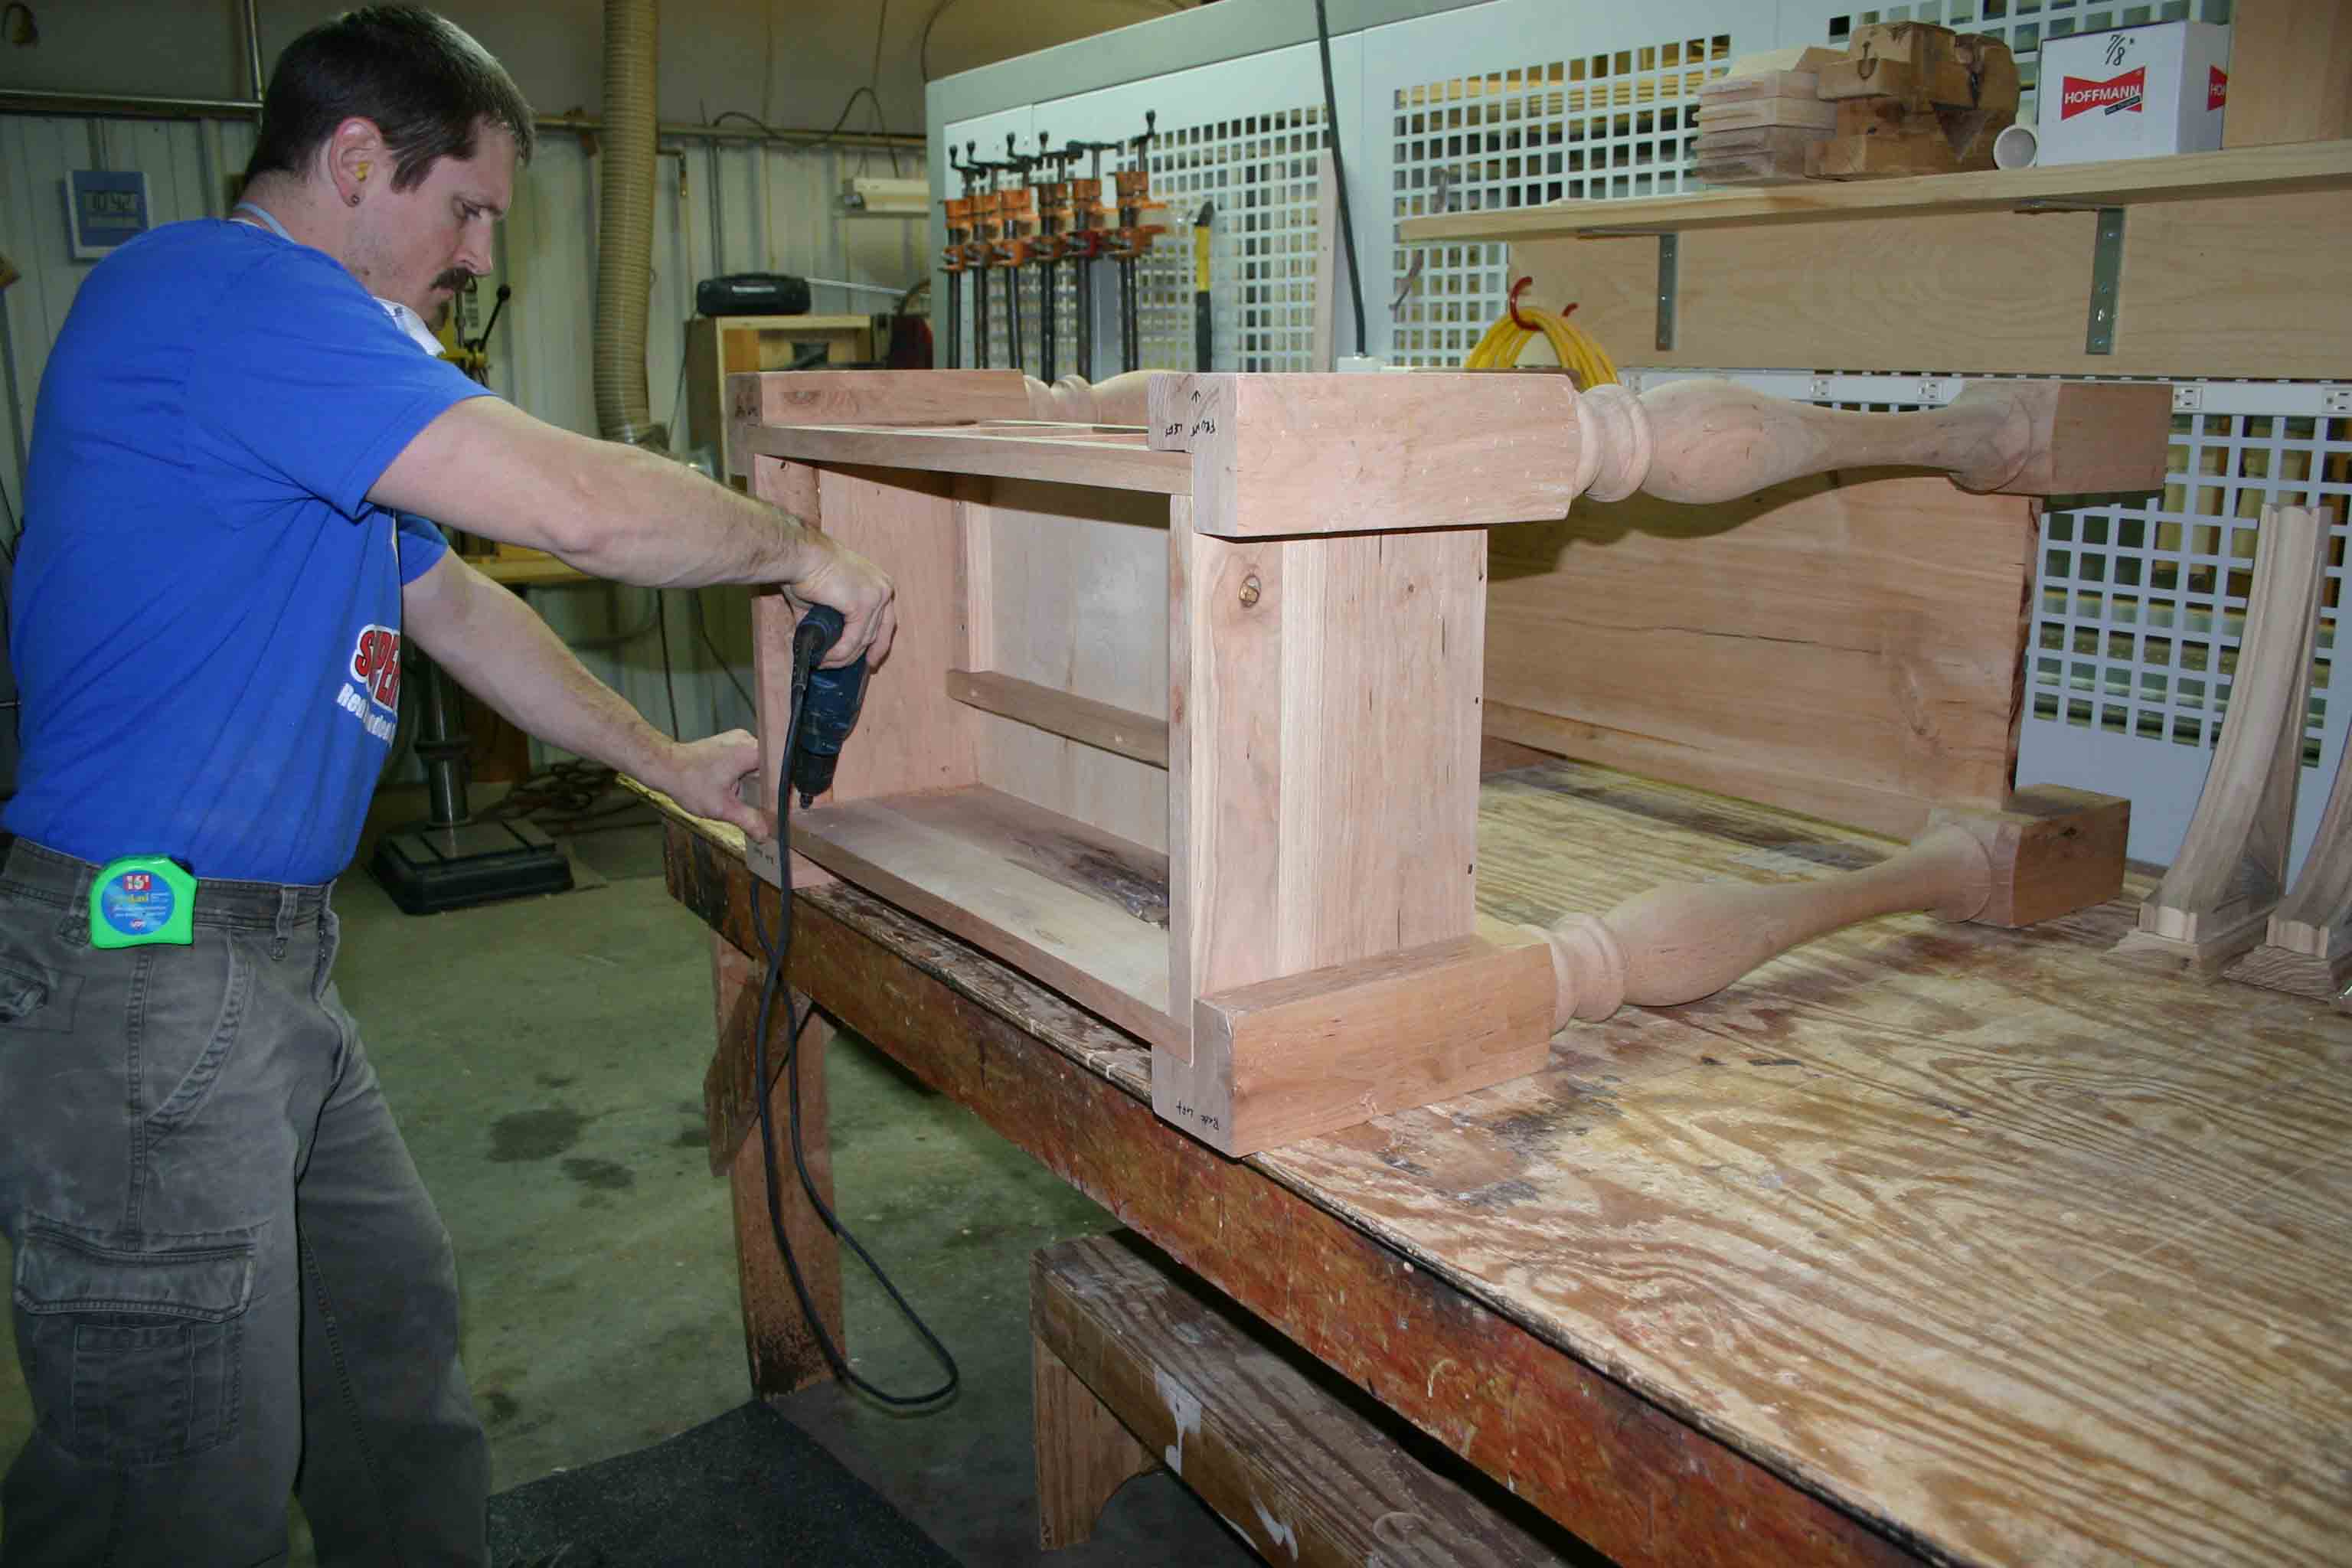
I set the box into the first two legs and screwed it into place from the inside. Before I put the other two legs in place, I put the bottom shelf in its notches.
As you can see my box fits exactly in the notched parts of the posts. This makes assembly very simple. I screwed the box from the inside into the posts with 1 1/2" screws to be sure I didn't screw right through the posts.
After fitting the bottom shelf into the notches, I screwed that in place with 2 1/2" long screws, screwing up from underneath the shelf. While I did this, I clamped the posts to make a flush joint with the shelf.
After attaching the box and shelf to the two notched posts, I flipped the piece over and did the exact same thing to the other two posts. Once that was done I was ready to make and attach my top.
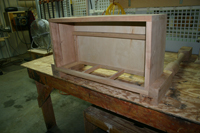
I picked out some boards and cut them to length according to my drawing. I tried to incorporate cracks and knots while doing this. Gluing together the top was the same process as gluing together the box. I used glue and biscuits to attach three boards together, and then clamped them to dry. Once they were dry, I rounded over the top edge and sanded the sides. I also lightly sanded the top to remove unwanted planer marks though made sure not to sand away any unique marks or defects in the wood.
After the top was created I positioned it on the box, making sure it overhung each edge of the box equally.
To attach the top I wanted to use old school "cut" nails, in order to keep the rustic theme throughout the entire piece. To use these nails without splitting the top, I pre-drilled where I wanted the nails to go. I measured equal distances from the edges to ensure that my nails would look symmetrical on the top of the piece.
Even with the pre-drilled holes, hammering in the nails was not an easy task, though after it was done my piece was ready to be finished (after a little bit of touch up sanding of course).
To finish the piece I simply rubbed on some linseed oil (3 coats of it). This kept the finish flat and really brought out the redness of the cherry. The box, top, and shelf were relatively easy to rub finish on and I made sure to cover all the knots and cracks well, though the posts were a little more time consuming.
Here are some pictures of the finish product in our showroom:
I hope this was helpful to all of you. I am really interested in any feedback
How did you like the design of the piece?
Was the wood too knotty and distressed?
What did you think about the notched legs?
Did you like the baskets or rather have had wooden drawers?


| Social Media: | Tweet |
| Posted By: | brac |
| Posted By: | JimD |
| Posted By: | Floss |
| Posted By: | christian |
| Posted By: | Jay |
| Posted By: | mike |