Question
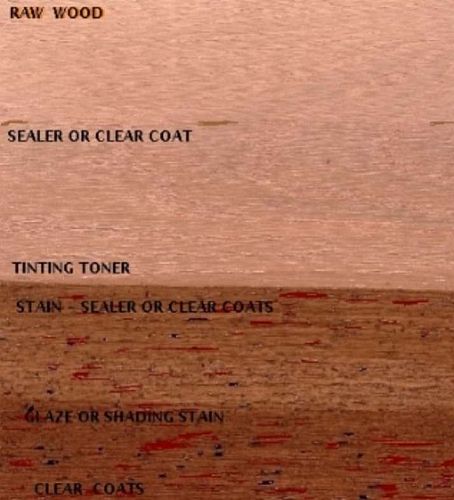
I'm looking for an easier way to create an antique white/dirty worn look. Presently, I'm using a Sherwin Williams system. Base coat is a tinted off-white vinyl sealer (all products are solvent based) to make doors off white. Sand and re-topcoat with vinyl sealer. This is where the difficulty arises. To sand or not to sand? The next step is a Van Dyke brown glaze. Sanding is very unforgiving, even at high grits, p400 to p600. I have also tried wet sanding with 600g wet/dry and wool lube. If the sanding is off in any way, it is highlighted by the VDB glaze. If I don't sand, I can get uneven results if you look at the glaze the wrong way. If you re-wet, you’re done - it shows an edge, then the whole thing is washed with mineral spirits and has to be done again. The mineral spirits never completely remove all the color, so that creates another problem. The other problem with not sanding seal coat is if there are any dust specs, overspray or any other irregularities in the unsanded seal coat, the VDB glaze shows that too. Any finish schedule ideas would surely be appreciated. I hope there is an easier, more consistent way to get this dirty white look with an off-white base color and VDB glaze. Paint jobs show everything.
Forum Responses
(Finishing Forum)
From contributor S:
I'm not a SW user. Sounds like your glaze is too aggressive. Have you tried putting a clear vinyl over your white vinyl? This should give you a better skin and more control with your glaze.
I don't know if these colors would work for what the questioner is seeking, but it might be a direction to try. Also, as of right now, we don't spray any finishes - they're all hand applied. This might not be practical for everybody.
What topcoat are you using? There is another method to doing this that would include using a pigmented topcoat for your second coat rather than vinyl, then without sanding that topcoat, you would apply your glaze and then final topcoat. SW recommends doing the second coat, glaze, and final topcoat all in the same day to ensure adhesion by staying within the recoat window, I guess. The pigmented topcoat, probably having a higher volume of solids than your sealer, will then lay nicer on your seal coat, so you'll achieve a better glaze. This way might be too clean, though, for customers wanting a really dirty look. If your SW rep can't help you with this, then you should ask them to send a better one to see you soon.
Why does this matter? Vinyl sealer is slick and the look of a glaze on vinyl is different than the look on regular sanding sealer. Regular sanding sealer is going to give you a wipe that is not as clean. And that may be what you are looking for if you want a no-sand wiping surface.
Sand scratches yield a different look than a no-sand wipe, regardless of the undercoat. The undercoat does matter as everything affects the final look.
But you don't really want to use stearated sanding sealer under a conversion coating. The performance of the total system will likely suffer and then you lose the durability that you wanted in the first place.
This is what worked for me on a project similar to yours. A large double vanity, linen cabinet, and 4 whirlpool fascia panels were white vinyl primed and painted off-white with pre-cat lacquer, glazed, and then clear post-cat lacquer topcoated. I scuffed the white paint with 320 before applying the glaze. The glaze is applied into the crevices, concavities and seams only with a 2 inch chip brush. Then, with a can of naphtha nearby, I use a glazing brush to soften the lines of the glaze and spread it around to achieve the dirty or distressed look. The brush should be dry and clean when you start. I use a rag to remove glaze buildup from the brush. The brushing and sweeping motion will spread the glaze out softly from the crevices. Vary the pressure of your brush strokes to spread the glaze the way you want it. At some point during the process of softening the glaze, I remove some of the glaze buildup from the brush by wiping it across some of the flat portions, such as the center panels of the doors. Then I use the rag to clean the brush some more so I can work the flat parts with the brush until the glaze is soft and blended and I have achieved the look I want, which does not involve any visible sanding scratches or surface imperfections. If there happen to be deeper imperfections or sanding scratches that hold too much glaze, I dampen my brush in the naphtha and adjust my brushing motion until the imperfections are satisfactorily less visible. I let the glaze settle for 30 -60 minutes before topcoating and, to avoid insanity of perfectionism, I do not allow myself to rework any part I have already completed. Make samples!
