Beaded Stile and Rail Cabinet Door Details
Advice (with pictures) on creating a bead detail on the inside edge of a cope-and-stick cabinet door. March 3, 2009
Question
I am making the doors on my home kitchen cabinets and my wife has her mind set on a flat recessed panel door with an 1/8" bead on the inside edge of the stile and rail, with an edge treatment (some form of ogee most likely) around the perimeter of the door.
My initial thought was to make a mitered door, making the inside bead easy by routing it on the stile and rail stock before assembly. However, I'd prefer to have a cope and stick door.
How would I go about constructing this (without excessive grief) using cope and stick joinery? My only thought would be to make the beads as an inner applied moulding and miter them, which I'm sure would work, but I'd rather have the bead set in the stile/rail as I'm going to glaze the doors and I don't want to worry about glue creep.
Forum Responses
(Cabinetmaking Forum)
From contributor F:
If you are talking about a "quirked bead" detail on the inside edge of the door frames, the only way I know of to do it without an applied molding is with a mitered door frame. The reason stick and cope won�t work is because the quirk and bead profile is on a plane rotated 90 degrees from the plane of the panel groove and cope surface. It just won�t work in combination. The bead must be applied after the stick and cope frames are assembled.
From contributor L:
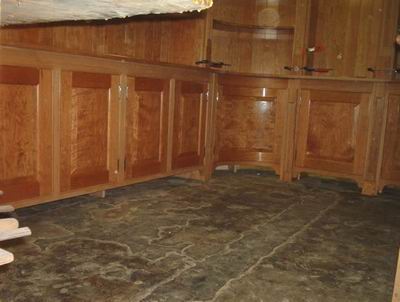
I've done this. You need to make the stiles and rails as you would normally do and then haunch out and 45 the bead the width of the rail, then just clip the bead on the rail. You should see how it will look from the picture below.

Click here for full size image
From the original questioner:
Thanks for your input everyone. I'm thinking I could also build the doors with mortise and tenon and route/haunch the bead at a 45 as long as I am extremely careful.
From contributor P:
A 1" thick door will give you more room to do an applied moulding. Or you could just outsource them. All the big door manufacturers can do that type of door in cope and stick or mitered.
From contributor R:
To haunch the beads, I use a 45 chamfer bit and sled on the router table. Using the bit means that the bead cuts are true 45�s, and the bit can waste away the longer haunched part pretty quickly. I bought a good quality Whiteside bit for this then removed the bearing and ground off the bearing stud, allowing the bit to cut a flat next to the miter.
From contributor F:
Hmmm, I wonder just how "stubby" that stub tenon is? My Freeborn stile and rail door set has the extra long tenon (1/2") and panel groove. Even at .5" deep, after haunching the stile ends for a 1/4" diameter bead and its 1/16" quirk groove, that leaves only 3/16" depth left on the groove in that area. I would have to do additional machining to get a minimum 3/8" deep groove (mortice) to use a 3/8" long tenon on my doors.
From contributor R:
A standard tongue and groove cutter would likely be inadequate for a beaded frame. I too cut mine on the table saw so that I can deepen the groove for a 1/2" effective tenon.
From contributor J:
Here is a picture of the joint that might explain how it has both a haunched portion and a full-length stub tenon. At least this is how I do it.
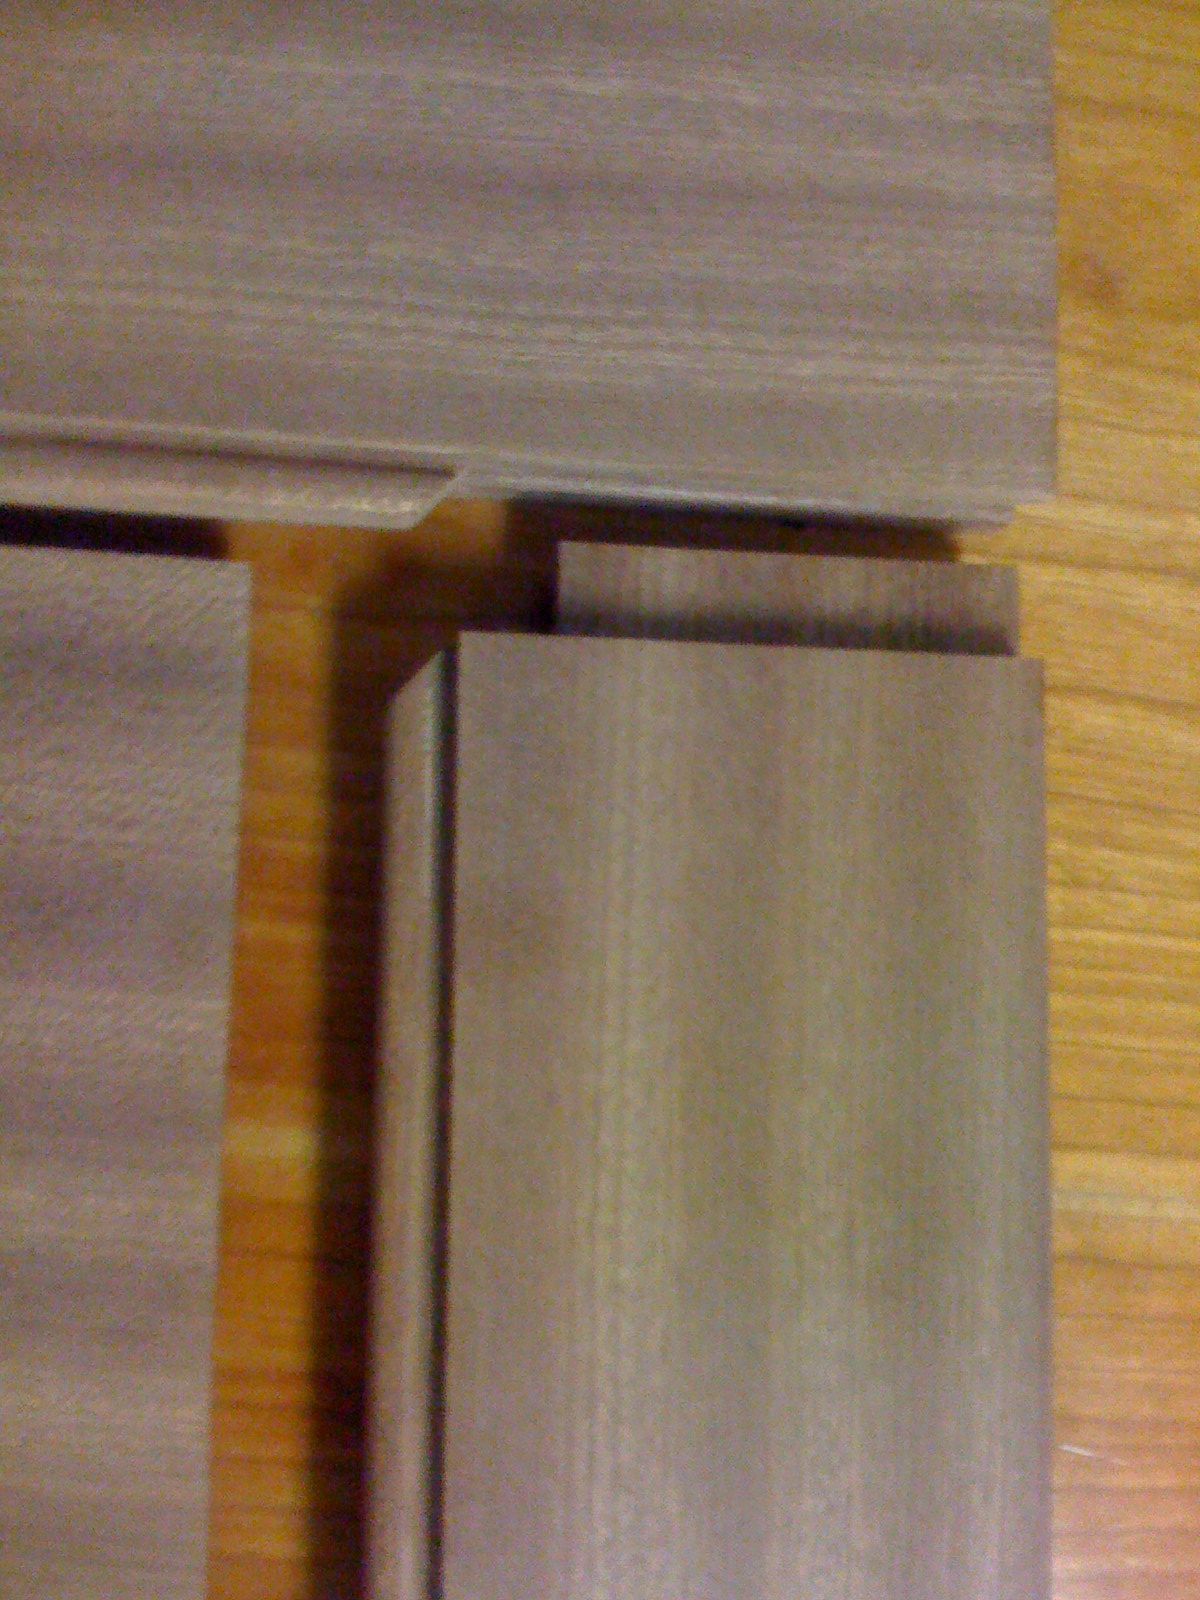
Click here for full size image
Here is an end view to show how the back side of the bead is removed to get full 1/2" deep groove.

Click here for full size image
From contributor A:
I think we've used our 1/2" freeborn set and used the groove cutter by itself to get the deeper groove. About ten years ago we had this huge kitchen that had different arch top doors. Those are always fun, freehanding a beading bit with a router.
From contributor L:
My tenon/slot is only 3/8" deep. It�s still more than enough for a good glue joint.
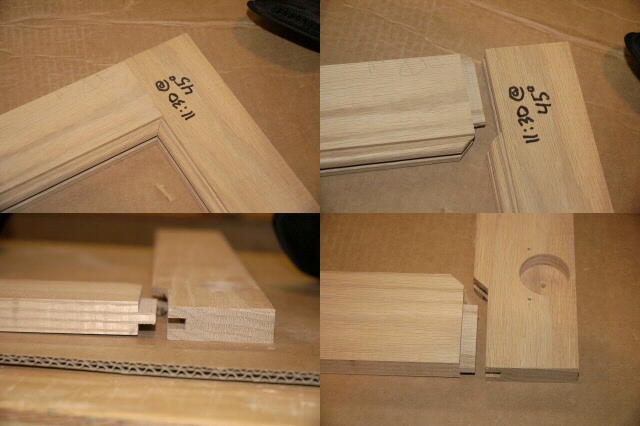
Click here for full size image