Question
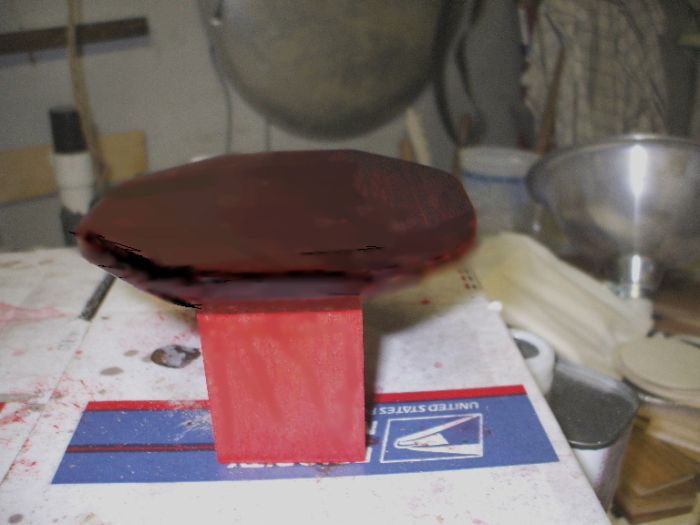
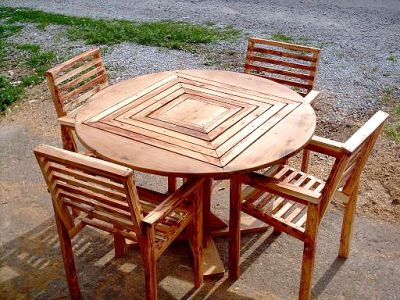
I have a bandmill. I had to remove a few trees at my cabin for Rural Electric. So I sawed it and built a patio set to go in the clearing for a place to relax and have a drink where they grew. It is made with black locust and white oak. I rubbed it with 4 coats of tung oil. I think this little table should last awhile.
Forum Responses
(Sawing and Drying Forum)
From contributor K:
Locust rocks! I tell my customers you can make an Adirondack chair set from this stuff and sit in it during a nuclear blast and the chair would still be there later. Tough stuff and pretty.
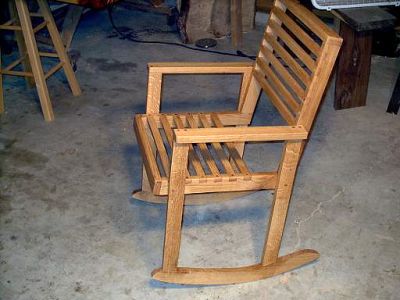
I built the arms first and set them aside to dry. Pre-drill and countersink 2 1/2" screws through the arms into the legs (2 each leg, covered with a plug). I glued them too. Make sure they are square and work on the seat/back.
I figured how much slant I wanted in the seat (2" in 18") and cut the front of the seat side boards off at that angle so it would be flush with the front of the leg when put together. I just spaced the slats 1" and dadoed them into the seat and back (glued and 1 1/4" screws countersunk and covered with a wood plug). Put the front and top boards on and put those 2 parts together first (3" screws up from the bottom into the back risers and glue). Then I just put the 3 pieces together, laid the seat/back on its side and glued and screwed the leg/arm parts on. The bottom of the front of the seat is 16" off the floor and the back is 14", so the seat is 18" off the floor in the front (the 16" is to the bottom of the 1x2). There are 52 screws (all hidden) and everything is glued. I am not a fine furniture maker, but I make it to last. You couldn't beat those chairs apart with a sledge hammer.