Cabinet Backs: Dadoed Versus Plant-On
Cabinetmakers discuss the options in cabinet back construction and joinery. July 31, 2009
Question
I am getting ready to build a kitchen and want to keep the time down. I have used dado backs with 1/4 mel and a hidden rail before. Recently I have installed some commercial cabs that simply had 1/2 backs stapled and screwed on. I was thinking why not try this as there is considerable less machining with this method. Am I missing something or is this a valid way to go? I will also run melamine glue at the joint.
Forum Responses
(Cabinetmaking Forum)
From contributor M:
To be frank, to change from the dado-in system that you now use (I use it also) to the other one you describe would be like going from a bullet train to a horse and buggy in terms of utility. The only advantage is that you would save on not having to run that 1/4" dado around the interior perimeter of the cabinet. What about all the time spend putting in the fasteners to hold on the 1/2" thick back? What about the fact that the plant-on back method yields a cabinet with no back recess which has no ability to be scribed onto a wall at the back edge? What if the wall you are putting it on has a hump in the middle of the back panel � well out come the scribe moldings and you know how cheesy that makes a cabinet look. I have never seen a weirder trend than that of using plant-on backs. It's the biggest step backward I have seen in the industry in quite a while.
From the original questioner:
I think that I will run a test cab of both types. I will then screw them to my shop wall about 6" above the floor and add weights till one falls off.
From contributor R:
I rabbit 1/2" ply, glue and staple into the cabinet sides, top and bottom. I feel this is stronger than doubling up a 1/4 back and a 1/4 screw rail. I have not had a problem thus far. It does not save any time, still have to set a dado set up and run it.
From contributor J:
Do you really think a prospective customer will pick you if your backs are dadoed in as opposed to stapled on? That would definitely not be my reasoning as most customers won't have a clue. I know companies that use no backs at all on their lower�s and have more business than they can do. I would do the dadoed in back to save time and hassles with alignment issues, not to mention the scribing benefits mentioned above.
From contributor I:
Yes I do. It's called educating the customer. When I explain to them in the shop, with a current project, why I build this way, why it's better, why some others do it differently and why that's inferior, they come away knowing I'll build a quality product for them, at a good price. I sell every client I can do this show-and-tell to. I have evolved over the years to construct my projects using quality components, with precision and attention to detail. I never liked the term 'plant' or 'factory'. This is all hand made by me for them. It's important to me because I love what I do, and do it the best way I can. The client comes away knowing this.
From the original questioner:
I appreciate your attention to detail and everyone�s ideas and responses. I have been doing some thinking myself and have come to some conclusions. Keep in mind that I am an installer by trade and up until this time I have not built a lot of cabs but have seen/installed just about every imaginable construction method out there. One more thing about stapled and screwed on backs is that if you are using finished material for your sides you either have to use an applied end panel or a dado or veneer over to cover the end grain of the back on exposed cabinets.
As an installer I have become very efficient at getting boxes on the wall level and plumb and quickly. By far my favorite system for upper cabinet installation is a French or gravity cleat. The reason for this is you can hang your runs and then bump them around on the wall to get all your fillers perfectly even very easily and it is a back saver and much easier than using a fast cap third hand or similar installation aid.
The way that I have been making my limited runs is with 1/4 material dado in 3/4 from the back and a 3/4 nailer behind that. So you essentially have a 1" back on the cab. The 1/4 material is very easy to drill and cut for outlets and plumbing. As far as strength over all I think the best method would be to use 1/2 material for backs with a 1/2 nailer. The strength on top and bottom comes from the nailer�s attachment to the top and sides of the case. The dado is only 3/8 thick at its weakest point so the box strength at middle is limited to this. Luckily most of the force is down force unless it is a very deep cab over the fridge in which case it should be supported by a side panel or adjacent cab/wall anyhow.
In interest of making a strong cabinet that is easy to install I will opt for the 3/4 nailer with the top being beveled at 45 deg to create the gravity cleat. Sub rail on wall and then mount to studs top and bottom that gives me 1.5 the holding strength of typical upper cabs (three screws per stud as opposed to two). I always install with a pls 180 so alignment is a snap and it is easier to straight line a single cleat then to shim a whole wall (we all know how perfect the walls need to be for euro box installs to go well). Scribing frameless cabinets to the wall in most situations has had limited success in my experience because the walls are usually good or real bad and you are limited in a lot of ways unless you do extended finished ends. I think it is important to be flexible and challenge the ways in which you have done things in order to not be stagnant.
The staple, glue, screw on backs are fine for some situations and I think that you need to read the customer and situation to gauge the perception of value they are going for or have. It does not always do the customer or you any good to be up-sold.
Another thing I thought about with stapled backs is that you had better assemble them perfectly because if it is the slightest bit racked you will never get it square while a dado back will correct itself with a little tap on the corner with a dead blow. Anyway I think this is a great forum and thanks to all who replied so far it got me on the right track.
From contributor D:
I like the idea of using a French cleat to hang kitchen uppers. I've been hanging furniture pieces (headboards, mirror frames, bookcases, ect) that way for years, but I never thought of doing kitchen uppers that way. Since I'm already doing inset 1/4" backs with a 3/4 nailer, the only difference will be ripping a 45 degree bottom edge on my top nailers.
From contributor K:
I was wondering why people even bother with a nailer? A 1/2" captured back has always been plenty to hang my cabs. Since I'm mostly doing an inset door of some sort having a 1/2" back in a dado allows for a little extra room inside the cabinet. I've had customers complain about how their old cabinets did not allow enough room for some of their "stuff". As far as construction, dadoes make it easy for me. With all dadoes the same depth I can cut my backs tops and decks without moving the fence. Attach the decks and tops with screws, place the cab on its face, pound in the back. If the back is cut perfectly square you need not worry when attaching decks and tops, the back squares the cab up. Shoot staples through the sides into the back, screw to deck and top.
From contributor E:
The only problem with 1/2" backs that I have found. If a wall has a hump or bump the dadoed backs with nailer strips will let the hump sit in a bit. With 1/2" backs you have to shim more to keep everything flat and square.
From contributor C:
I was a "plant on backs" cabinetmaker forever until a 100 plus frameless job that took me to the next level. I listened intently to a friend - I went to complete captive dado backs with a 3/4 nailer behind it. I have never looked back.
From contributor H:
I have been doing 1/2 ply backs for 20 years or more without a problem. I use add on end panels and always make them a little deeper to allow for the occasional bump in wall, but this has been rare. I use 2" bradnails and some screws to hold in place and find the box squares up automatically. My clients like the full 12" depth of the cabinet and I find it faster to build this way as well. I�ve never had a box come off the wall. I also use 1/2 for my drawer bottoms and sides and only buy two thicknesses - 3/4 for boxes, 1/2 for backs and drawer bottoms.
From the original questioner:
Just as a side note the job that I just installed with 1/2 stapled/screwed on backs was a k-12 school about 40 min from where I live in Colorado. The architect passed the cabinets and don't think he ever looked at the backs nor did the GC. They were only concerned that the mag catches worked well on each and every door. Also the toe kicks were ladder bases made from plywood cut to the same width as the cabs. I asked the GC if he wanted to pay me to reduce them by 1" per end so as to have an overhang and they declined. That was the only other thing in the punch the flush toe where floors fell away and you could see the gap to the 4" rubber base because of overhang. Now if they ever come loose of the wall maybe the architect will go back to AWI specs and make them change them all but I want to see the AWI spec for cab backs first.
From contributor B:
AWI Quality Standards states the following:
"In all grades, wall hung cabinet backs must not be relied upon to support the full weight of the cabinet and its anticipated load for hanging/mounting purposes. Hanging/mounting mechanisms should transfer load to case body member(s)."
One of the options is to allow:
"Full overlay, plant on backs: min. 12.7mm (1/2") thick attached with min #8 low root, high thread (not drywall") screws spaced max. 200mm (8") on center. Anchor strips not required for backs 12.7 mm (1.2") or thicker, so attached.
Not that I would do it that way. I tried it once, didn't like it, too hard to handle and install. Both wall and floor standing cabinets read basically the same. It further states "...backs are required when back is exposed to view after installation and for all wall cabinets in any grade of work."
From contributor H:
That's how we do it contributor B. We use #8 zipscrews that are 1 1/2" long. Harold.
From contributor A:
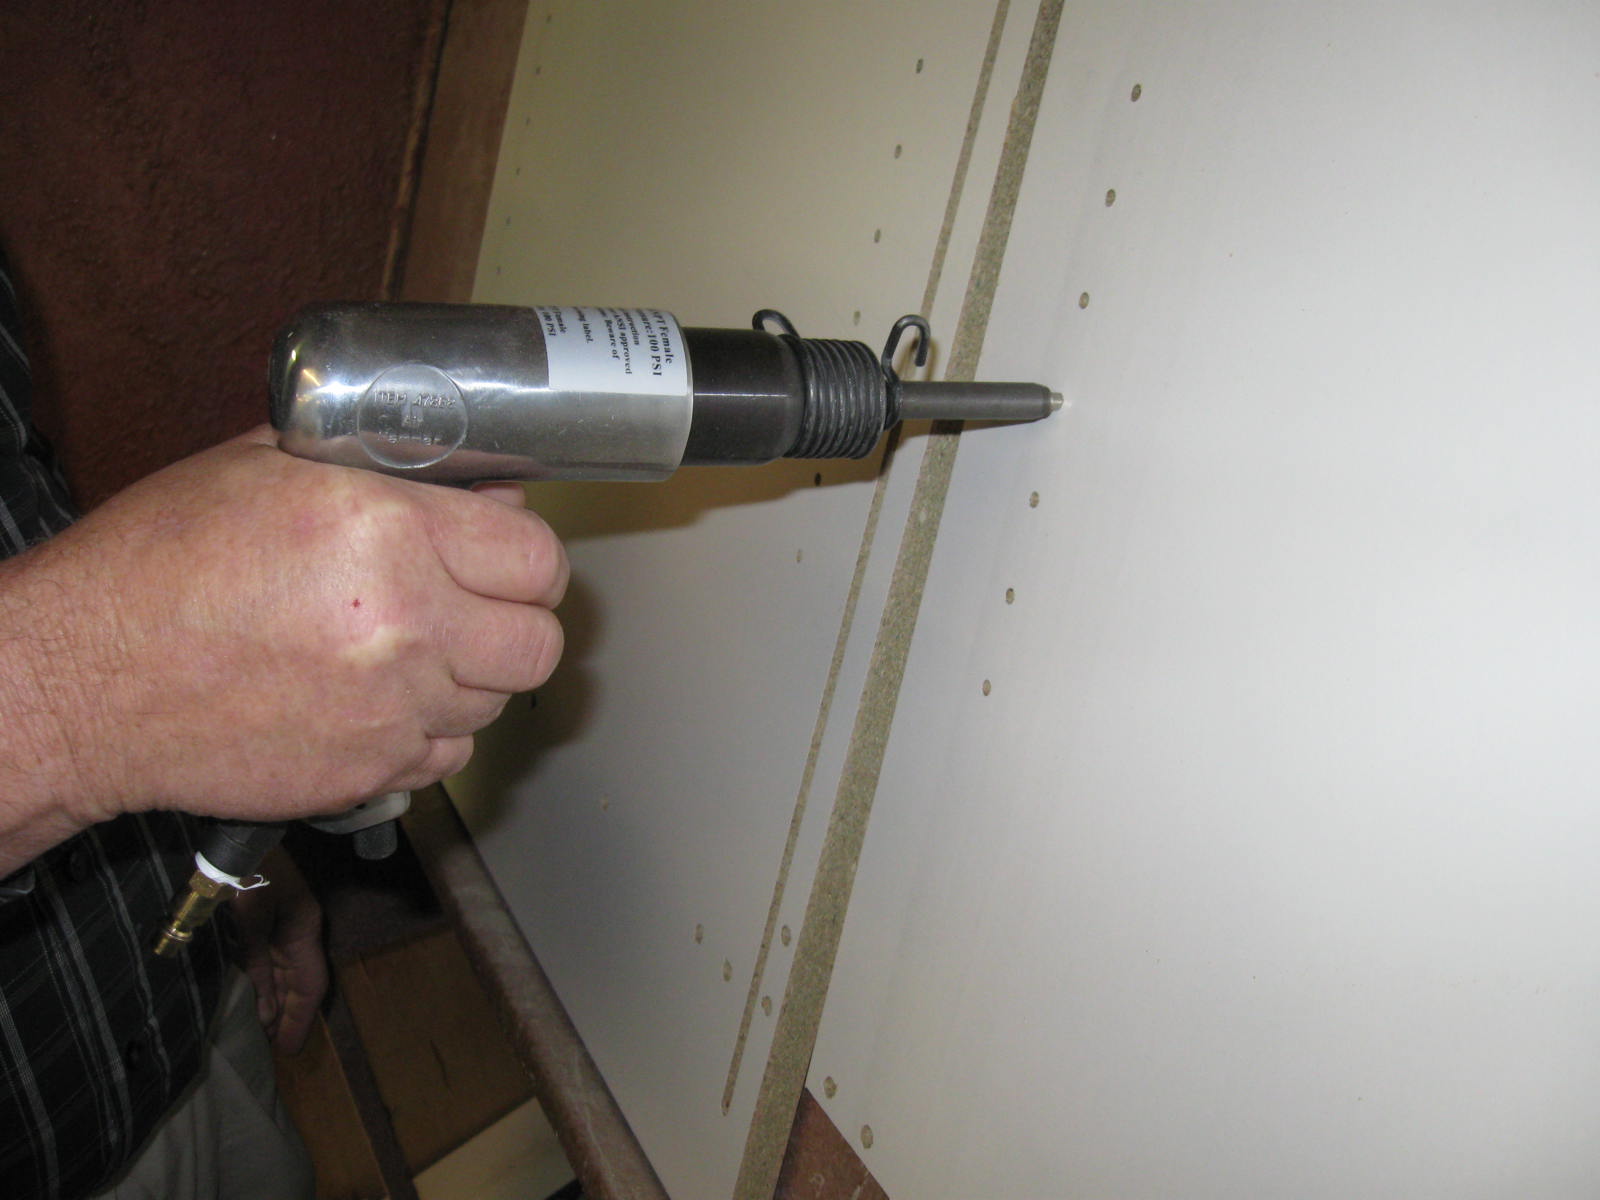
When you do destructive testing, a bunch of long staples usually take more damage than screws.We glue and staple all of our backs on. On prefinished plywood we use 1 1/2" staples 4" o.c. no glue.
From contributor R:
We have done it both ways. We started with the captured 1/4" back with 1/2" nailers and went to a 3/4" applied back and have never gone back. One reason we did it was it is perceived by customers to much better quality. I've seen very high end jobs lost (200k plus), because they refused to lose the captured back and go with a thicker applied back.
From contributor MD:
If you are going to screw to the wall, why don't you make a little pocket-hole in the bottom and top of the cabinet or if it goes to the ceiling, just use a screw that matches the wood and put it inside the cabinet. It works great for me and I use 1/4 inch backs.
From contributor H:
That sounds scary to me. When screwing through a 1/2 back, we use the Fastcap screws with the large head which gets covered with a cap. With a pocketscrew, the head is very small and you do not have much wood left after the angle plunge to hold a lot of weight.
From contributor T:
How do you drop a cabinet several feet? 3/4 is way overkill not to mention the extra weight and taking the extra years off of your lifting ability!
From contributor B:
Our backs are 1/2", fully captured with a 1/2" nailer on the back. 3/4" seems heavy unless you are doing it to save material in some way. I've seen a cabinet or two dropped off the back of the truck several feet and then been installed with no apparent damage.
From the original questioner:
Thanks for all the responses. I appreciate everyone�s methods and reasons for it. Sometimes it comes down to things like simplicity of design/materials to purchase, or by what machinery you are set up with I suppose. I think that as long as it is within AWI spec you can't fault anyone for doing it any certain way and to tell someone else that their way is cheap and wrong when it is in spec just doesn't make any sense.
Like I said before I am an installer first and that�s the main reason why I will do dado 1/4 backs with a gravity cleat nailer. Installation is always in my budget so time saved here is money in my pocket as long as it is not more than the extra machining that the shop has to do. Plant on backs allow no way to do this and that is a major factor. Also the 1/4 backs allow me to drill all outlets with a 1" paddle bit, install and then rorozip when in final position. With this method my box cutouts are almost always perfect, much more room for error in initial placement. If I was just supplying then I would build to the most economical.
From contributor S:
Stapling on the back is just as strong (assuming you use glue). As with most structural arguments whatever difference in strength there might be is irrelevant in the real world and no one has lost a job because of a difference like that. Client�s don�t care about that stuff. However dadoing is a lot easier to do in the long run. Assembly is easier and faster. You have less risk of errant nails showing up inside the cabinet. I cut my tops flush with the inside of the dado so the back can slide in after the case is assembled. Trying to get a fully captured back in a cabinet is a lot more trouble. Another advantage is that you have some space for scribing to the wall and you do not have to hide the visible back panel with trim. Finally a little thing that comes to mind is you have the lip on the back to grab when lifting the cabinets. Most production shops assemble the case, slip the back into the dado, put the cabinet in a case clamp and run a bead of fast setting hot melt glue around the inside of the lip. That will hold the case square while the glue dries in the case.