Question
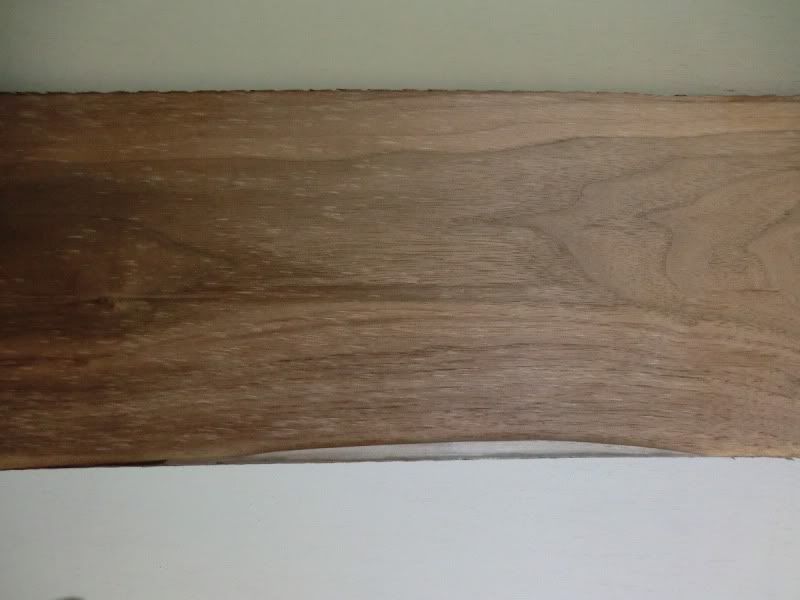
We have been having a problem with the finish from our 24" Powermatic 226. It's a problem we see from time to time, but usually not this bad. It's often from not having adequate dust collection, but that does not seem to be the issue this time, and it's much worse than usual. We call them puck marks.
The knives are nice and sharp - they do a good job on curly maple - except for these marks. Because the hook angle of the head is so sharp (about 35�) we get a face bevel of 15� ground on them to help prevent tearout. We are then jointing and back grinding to 1/32" or less land.
Unfortunately I can't tell you what the actual knife protrusion is, because we can't calibrate our dial indicator; the base is too large to seat on the head without one leg or the other falling in a knife pocket. We have them set so that there is about 1/16"+ of knife below the back grind protruding. What should we be looking for?
Forum Responses
(Solid Wood Machining Forum)
From contributor H:
These marks are from wood chips staying on the knife and being beaten into the board. Knives may be sharp, but not sharp enough. Dust collection is where I would start. More suction. This also happens more on wood with a high moisture content.
The height of the knives in the head can definitely affect the air flow in the suction area. So maybe try setting the knives a bit (1/16 - 1/8) higher in the head. Also take the time to develop a surefire method to set the knives at the same height every time so if you get lucky, you can repeat the results. Finally if you do change the height of your knives, don't forget to reset the chip breaker and feed rollers as well.
These are dents caused by the chip riding around in the hood and coming between the knife back and the planed wood. A wipe with a damp cloth will raise them, but that is no real fix.
Dust collection is the first thing to eliminate as it is the most frequent and obvious culprit. After that, I would methodically go through differing grind angles. My experience led me to suspect relative humidity, as it does affect water column (suction).
1) Run material through the machine without the dust hood or the dust collector. Allow the dust to blow completely clear of the machine.
2) Monitor the path of the dust as it is being produced. This path will change in relation to the height of the knives. You want to have the dust blown towards the dust collector port.
3) Look at the surface of the board that was produced. Are the marks still present? If they are and you can confirm that dust is not being restricted from leaving the machine, then it is most likely an issue with the setting of the knife.
4) Raise the knives and repeat the above tests.
Hook angle is the angle of the cutting face of a knife in relationship to the material being cut. Different species require different hook angles. The harder the wood, the less the angle. An easy to see example of this is your tablesaw blades. Some blades have a positive hook to the teeth, and cut from the tip to the gullet. Others will have a negative hook, and cut from the gullet to the tip. (Just as an example.)
Here is where it gets complicated. The closer the cutting edge of a planer is to the head, the greater the angle, making it better for softwoods. Extending the knife tip will cause the hook angle to lessen and help with the finish on harder woods. Just make sure that they don't protrude too far and that the back grind is correct.
Unless you are sharpening these yourself on your planer, you need to make yourself familiar with the back grind. All tooling has a relief cut along the back of the cutting edge. The knife actually does not use this angle (directly) to cut. The cut is governed by the hook angle. The back grind supports the hook angle. If there is not enough of a relief, the knife will hit the board on the back side. If the angle is too great, the knife edge will be weak. There is such a thing as a dual angle grind - kind of the best of both worlds.
"Because the hook angle of the head is so sharp (about 35�) we get a face bevel of 15� ground on them to help prevent tearout. We are then jointing and back grinding to 1/32" or less land."
Your statement that if the back grind is not sharp enough there will not be enough clearance reminds me to see if possibly the grinding wheel is getting too small, which reduces the radius of the back grind and therefore the clearance.
Besides increasing dust collection, the amount of material you take off with each pass of the planer directly affects how many wood chips there are to stay around the cutterhead and for the dust collector to remove.
If you adjust the amount removed with each pass so the last pass on each side is very light, the problem will go away. If you make 4 passes and remove 1/16" each pass, make the first two a little heavier and remove 1/32" on the last pass on each side or make more passes with the last ones not removing much material. It will be more work at the planer, but it will save a lot of work at the sander and down the line.
I agree that it's either dust collection or the joint on the knives (more likely the dust collection, however I would check to see if the width of the joint on the cutting edge is the same on all the knives). I don't know what type of dust collector you have, but you may want to try and hand squeeze or shake the bags to make sure they are clean or run some extra clean cycles. You could be experiencing clogged cloth. That is, the inter sock is clear of material but there is inadequate airflow through the bag preventing maximum suction and restricting the fan's ability to properly clean them. There are companies that will wash your bag if replacement is not due yet.
My suspicion at this point is that there is either a fundamental design flaw or some defect that has come in, which is preventing proper extraction of the chips. With a sharp hook angle the chips are allowed to be pulled away from the surface and out the chute. However, with the hook angle reduced by the front bevel, there is less reason for them to leave the area, and they get sucked under the knife.
Thanks to all for your ideas and suggestions.