Clamping Methods for Stair Rail Miters
Advice on holding a glued joint tight without leaving visible marks. February 1, 2015
Question
I am wondering how to best achieve a tight fitting miter on a stain grade rail and stair apron knee wall without the pin holes using miter clamps (Ulmia/Collins spring clamp). Is there any new mystery miter clamp I am unaware of?
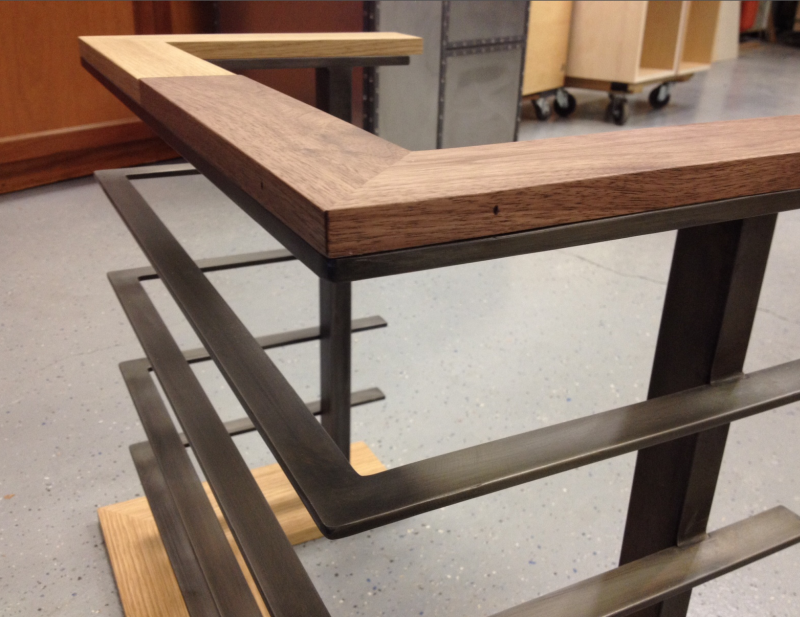
Click here for higher quality, full size image
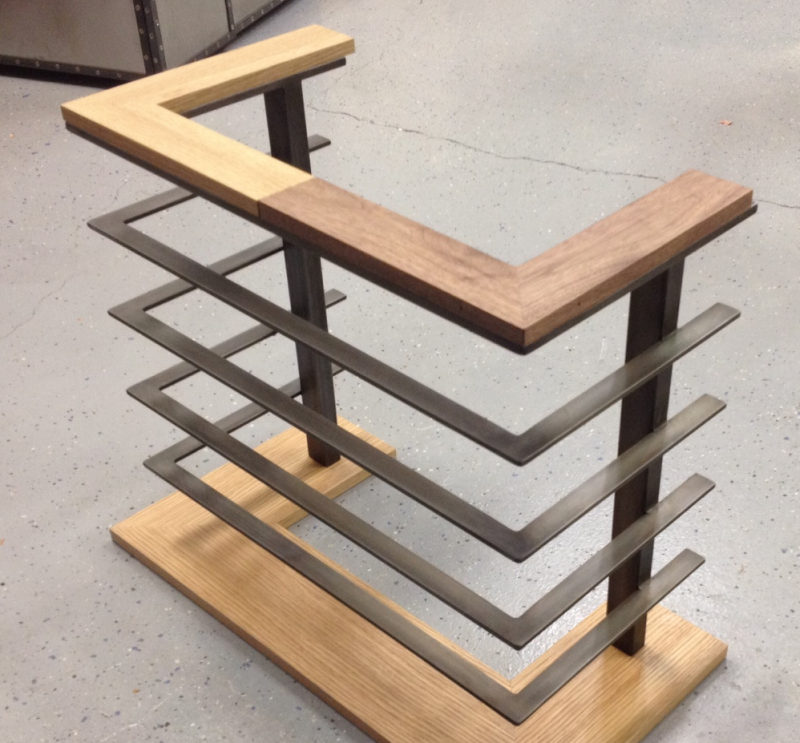
Click here for higher quality, full size image
Forum Responses
(Architectural Woodworking Forum)
From contributor K:
Whenever you cut the miter off the end of a board, you produce a scrap that can be brought around and glued onto the outside edge with cyanoacrylate instantly and that will provide you with a parallel surface to your glue line. After the glue is cured, and you take the clamps off, just saw outside the sacrificial glue-line, then plane away until the CA is gone.
From the original questioner:
In other words, CA glue the joint. I am less than convinced this is a long lasting joint. The railing is 2 1/2" x 5/8" by the way. I was thinking to use a biscuit with PVA.
From the original questioner
I�ve also been thinking a mere "rub joint" for some of the other odd angled joints.
From contributor K:
I was only suggesting using the CA on the waste block on the outside for clamping purposes, not the miter. The waste block and CA are cut away after the clamps are off. Do you understand this time?
From the original questioner
Nope, can't say. Do. What's a waste block?
From Contributor S:
You can also hot melt clamping blocks to the rail. You temporarily glue the blocking to the rail to be able to clamp square across the joint. It will take 3-4 clamps and some blocking. When you take off blocking pop it off with a chisel but pop it off with the grain of the rail and not against the grain.
From Contributor O:
The conventional way to join handrails is with rail bolts or hanger bolts - a type of bolt with wood thread on one end and machine threads on the other. For wide parts especially, these are exceptional at holding parts together while curing, and over time in service. The noising below the illustrated rail sample would require three of the bolts, the handrail, two side by side. The parts are prepped from below after the miters are cut. The wood threaded end goes into one part, and a slightly oversize hole is bored into the other part, to a mating hole on the underside of the rail. A special washer and a star nut or hex nut is threaded on and tightened up to pull the joint together. A matching wood plug is made to plug the nut hole, and sanded flush. This gives the ability to dry fit everything in the rail system to insure proper fits. It also gives enough time to position the parts where they need to be as you snug up the nuts. This is a mechanical joint as much as it is a glue joint. Wide parts are prone to moving in service, so the mechanical parts hold if the glue ever were to fail.
From the original questioner
Hot glue � I�ve seen the countertop guys do that. It never occurred to me to use it for wood. Sounds like the ticket. What kind of hot melt? Is there any specific brand/viscosity/strength/cubic pound per nano? Some of the stuff I have used is ridiculously strong. To pop off blocks would mean chiseling off with grain and sanding/scraping/planing off the rest.
From contributor M:
I think that some of the good advice above is on the wrong scale. This is a little extension to a knee wall. The OP posted the handrail dimension at 2-1/2" x 5/8": no wider than a mitered cabinet door. I'd domino the miter, and clamp with two pipe clamps tightened simultaneously.
From the original questioner
I forgot to mention that the pic is a prototype/sample. The job requires four stories of handrail going up stairs/landing etc.
From contributor C:
The width of those bottom boards is going to have some open miters in no time, due to seasonal movement of the wood. Way too wide for a miter if that is solid wood.
From the original questioner
The bottom board is 3/4" x 5 1/2" rift white oak. Do you still think miters will open up?
From Contributor J:
I've made rail caps like that and joined them with pocket screws from underneath. Naturally use outdoor hardware - fast assembly with extra strength plus clamping pressure. I�m not sure what else one would need. Maybe add some dowels for alignment.
From contributor H:
I would pocket screw them as well, no one will see the holes with it sitting on the steel frame like that. Two-three pocket screws and that joint will never open up.
From the original questioner
Nice thought. For some reason I didn�t think of that. That�s what I'll do.
From contributor L:
Long deck screw from the outside, counter sunk and neatly plugged.
From Contributor J:
If he doesn't want pin holes from the Collins Clamp then I wouldn't use a plug, although it would work well to hold the joint.