Constructing and Installing Banks of Bookshelves
Library jobs typically call for multiple built-in bookcases, installed shoulder to shoulder. Here are descriptions and photos of different solutions to the construction problem. April 29, 2012
Question
I am getting ready to start building a library for a client, and once again comes the situation where the walls of bookcases have to be joined to each other. In the past, I would typically make each case with its own face frame, and then on site try and fasten the stiles from cabinet to cabinet together to get as close to a good fit as possible.
I never like this assembly, as the stiles have to be cut narrower so that when they join together they aren�t too wide looking, and no matter how much you try, you never get the alignment perfect, and you see the joint where they come together. For this job, I am thinking of a different method, and was wondering if others here may have tried this and could let me know if it worked out for them.
I was thinking of installing the carcasses without premade face frames, and then apply stiles on site, using 3/4" thick stiles, and then using a top and bottom rail that is 7/8" thick or so to finish out the frames. This would allow me to put four sections of bookcases together, use full width stiles to span where each pair of cases come together, and the thick rails would allow for a reveal so that I don�t have to worry about a perfectly flush fit at each stile and rail junction.
This job is of cherry and cherry ply, with a dark stain and clear satin varnish. I need to pre-finish all the materials in my shop. The size of each case is rather large, at approximately 3' wide x 10' tall. I appreciate anyone�s input on this. I�m just trying to come up with a better, cleaner look on these types of jobs.
Forum Responses
(Cabinetmaking Forum)
From contributor U:
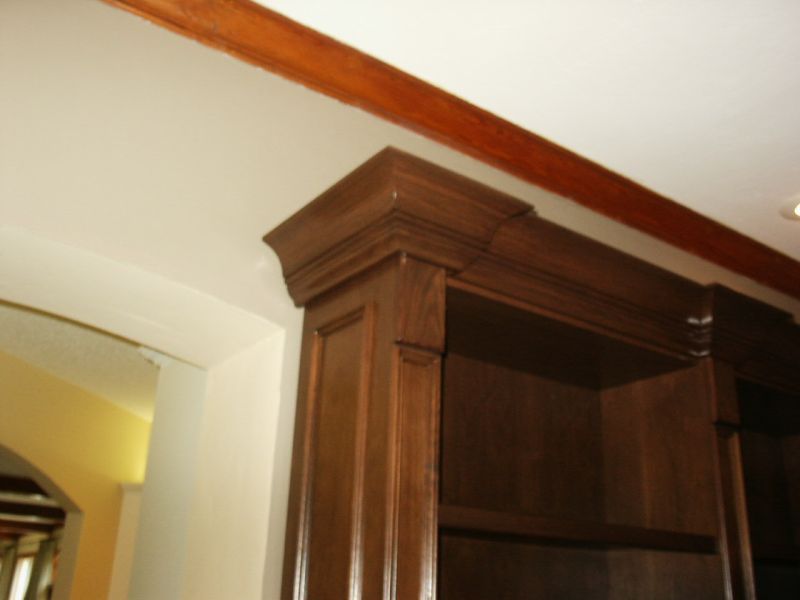
I use a 4'' beaded moulding (casing) that I put plinth blocks on to cover the seams. This adds a nice detail in the crown at the top or you can make a decorative filler to go in-between the rails and just run the crown straight across. We do it like this all the time.
From contributor L:
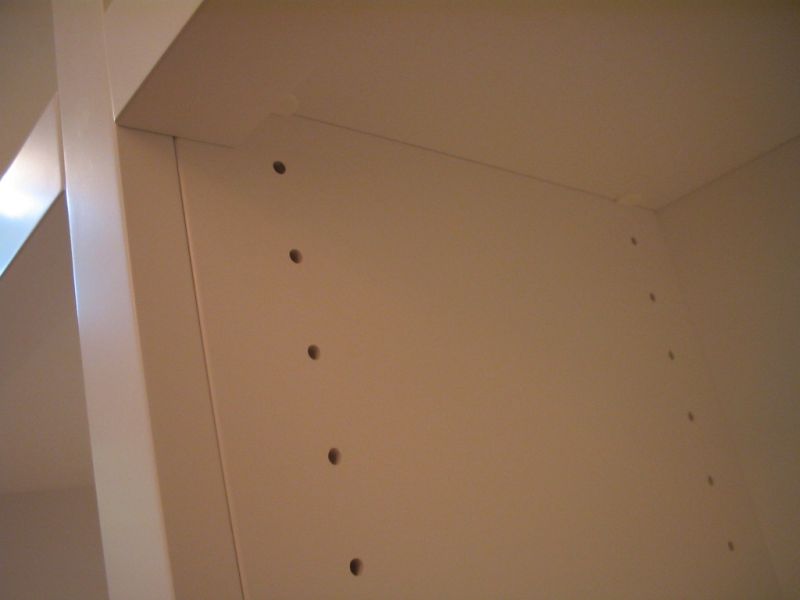
As one with a fair amount of books myself, why do you build bookcases with face frames? I have a hard time with that as it makes it a pain to get the books out of the shelf and obscures the titles on the first and last book on the shelf. Once I show someone who wants bookshelves how I make them they don't want face frames. If they want the look I keep the face frame on the outside of the shelf to give the look but keep the shelf space more open and user friendly. I'm also a big fan of magic wires for adjustable shelves.
On side by side shelf units I often make a frame and apply it after installation. Whatever works and sells. Often clients only know from what they have seen and I try to give them options and often this is a good referral selling point.
From contributor E:
In addition to the pilaster style installation we leave the stile off of one side of each cabinet (working in one direction) and build the final cabinet with both sides. The face frames then overlap each cabinet, sometimes with a hidden pocket screw accessible from the back side. I don't like the idea of attaching the face frames onsite because I don't know how you would do it without nails.
From contributor Z:
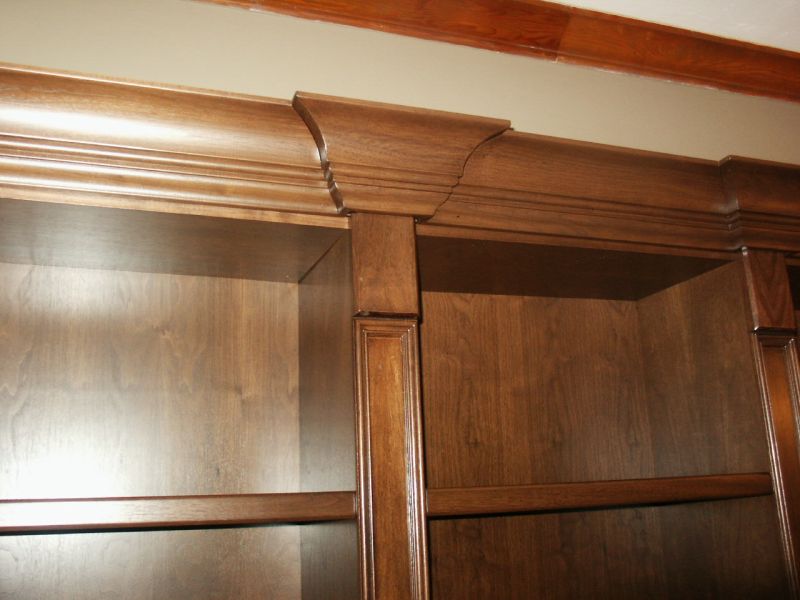
We use the full pilaster system with magic wires or Lamello�s so that shelves slide in from the front. The base is built in sections and a full top with attached crown is also built in sections with blocks that the pilasters fit on top of. There are also blocks in the top crown cap that fit into hollows in the top of the pilaster. The unit below was a really tricky unit as it climbs two stairs in a two level library. We built it in the shop and made a platform with scraps, assembled in the shop, broke down to finish, and reassembled on site. The backs were shot on at the site and the whole thing was slid into place.
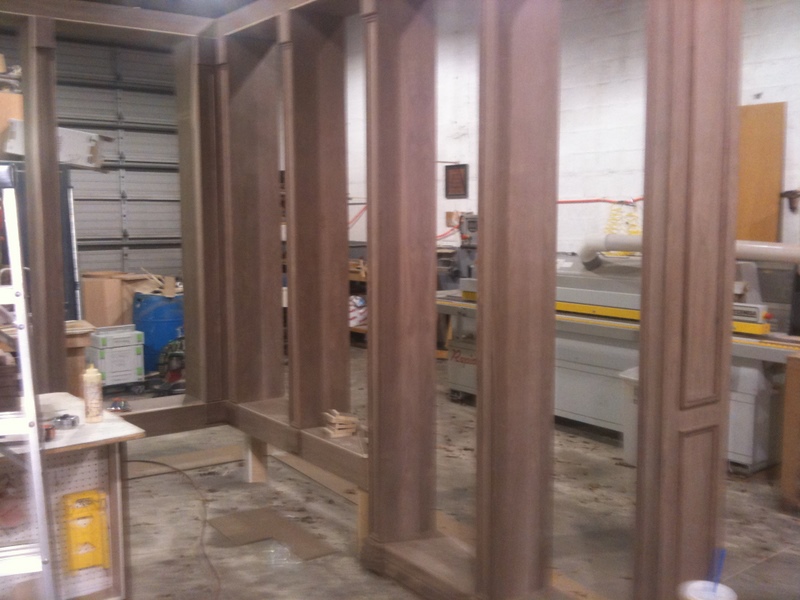
Click here for higher quality, full size image
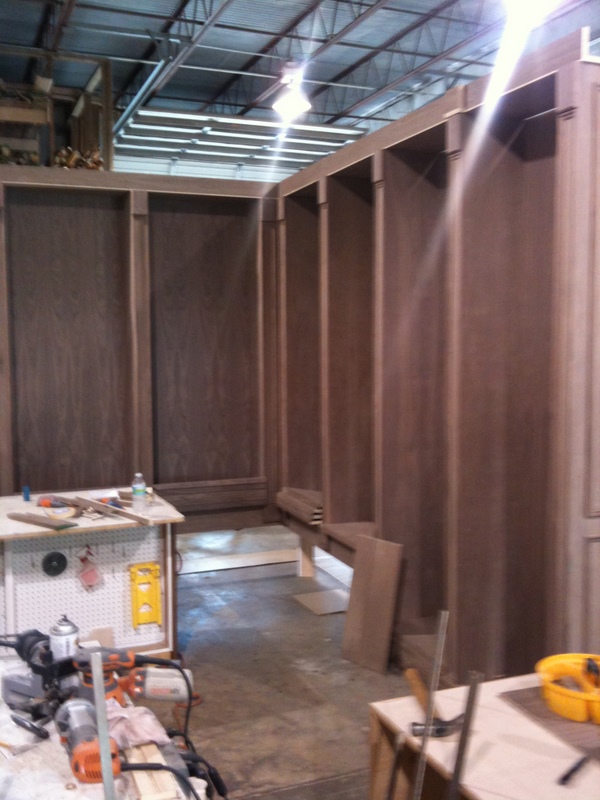
Click here for higher quality, full size image
Click here for higher quality, full size image
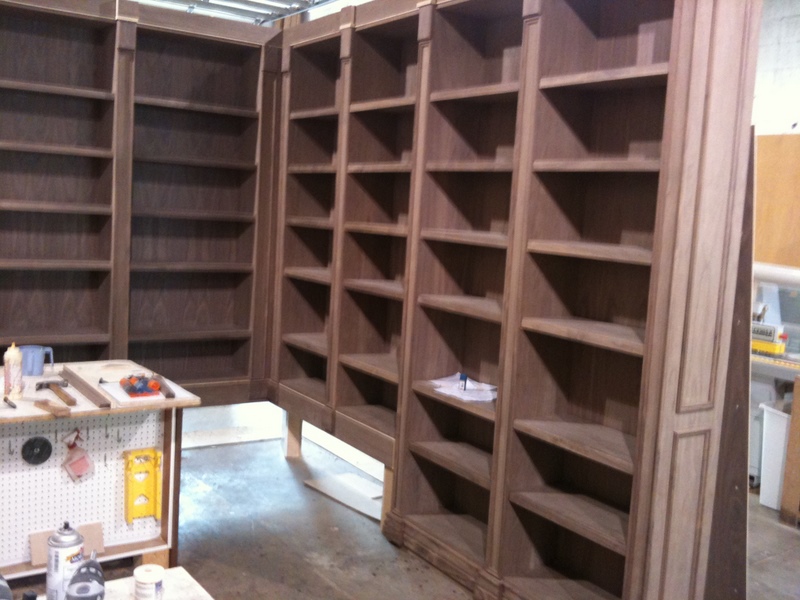
From contributor Z:
Below are the finished bookshelves.
Click here for higher quality, full size image

Click here for higher quality, full size image
Click here for higher quality, full size image
From contributor U:
Awesome work! I'll bet building it to fit those steps was a task. Are those shelves adjustable? I've never heard of magic wires?
From contributor Z:
The client did not want any holes and the shelves are fixed. We used spaced Lamello slots with a groove in the shelf sides. Magic wires are u-shaped coat hanger metal prongs that fit in very small system holes that have a compression effect and the same shelf side groove is used to slide shelf in from the front.
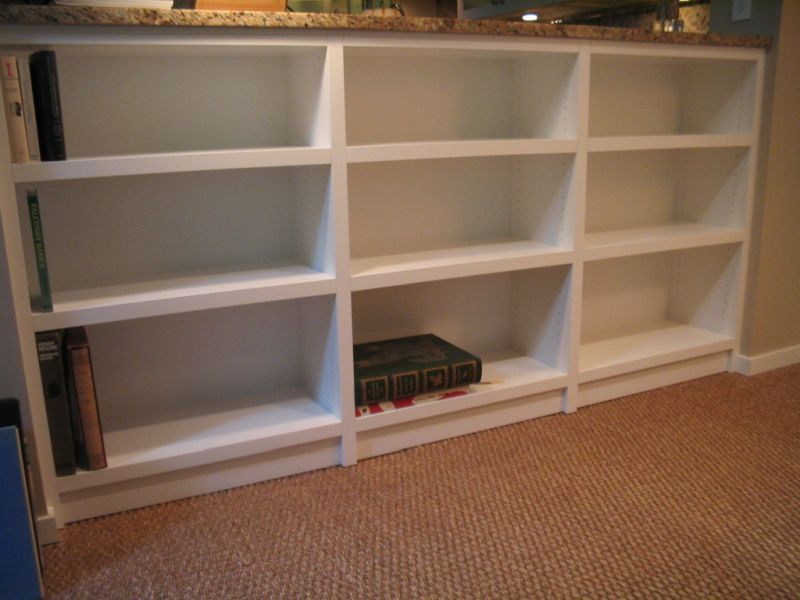
From contributor D:
Another way to do the same thing is to make each case with the right side stile coming from the next cabinet on the right to cover the walls coming together and showing no seams and no on-site nailing.
From contributor R:
Here's an example of overlapping boxes - the center box overlaps the side boxes. I use built up panel edges instead of stiles because they're easier for me (edgebanded or painted) and reduce the number of noticeable seams.
Click here for higher quality, full size image
Click here for higher quality, full size image
From contributor E:
To contributor R: That is an excellent example. I think the one important piece of information for that system is that the rail to stile joints need to be "expressed"- an eased or chamfered edge does great- but it should be used at all joints for consistency.
