Dark Cerused Oak Finish
Finishers discuss the steps needed to create the white-filled pore effect of cerused oak. August 21, 2006
Question
I have to make up a unit in cerused oak where the oak must be stained dark. I havenít make up any samples yet but hereís my idea of how to go about it.
1. Wire brush with the grain.
2. Stain the wood.
3. Seal in the stain with 50% vinyl sealer.
4. Apply the white wood filler.
5. Scrap off excess with the sharp edge of a wood block.
6. Clean off excess haze with a slightly dampened mineral sprits rag.
7. Apply top coat.
My concern with step 6 is if I try to use a scotch brite pad it might rub off some of the stain. All comments are welcome, but Iíd really love to hear from someone whoís actually done it.
Forum Responses
(Finishing Forum)
From contributor A:
Try this link: Related Web Page
Special Effects
For step 6 a rag that is T shirt material should be all that you need. After applying the filler give it a few minutes to set before wiping with mineral spirits as in step 6. This will keep you from pulling the filler back out of the pore.
From contributor B:
A squeegee like they use for silk screening works great to remove excess filler on flat surfaces.
From contributor C:
If youíre using Oak, why do you need to wire brush the wood? You have plenty of open grains on oak. Another suggestion - why are you filling when you could use a heavy bodied colored glaze to add the color? If you first sealed in the base color, then you could use the nylon pad to remove the glaze on the woods surface. Are you looking for a full finish on the oak? If you are, what clear coating are you going to use?
From contributor C:
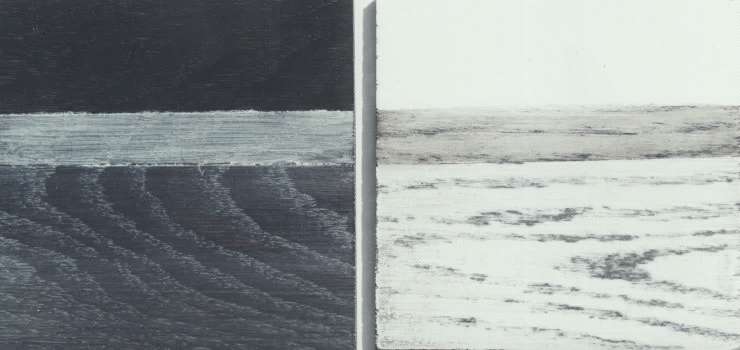
Some finishers call this "liming" - this is done without the lime or the wax as itís is done in the UK. These were done with a base color lacquer, and then sealed, and the glaze was applied and brushed, and then cleaned off, and then they were clear coated. Many moons ago, the black finish was known as "chinchilla" - it was a very popular finish in the 50s-60s. The white one was also a big seller.

Click here for full size image
From contributor D:
Contributor C is right. Stay away from the wire brush as it will be a negative influence. I have often done this using waterstains for the black and then wipe on poly or poly/tung oil combos followed by white (or other colored) wax. Shoe polish waxes work well. The waxes buff off the closed grain areas pretty easily and stick in the open grain quite nicely. Contributor Cís black sample looks just like mine did.
From contributor A:
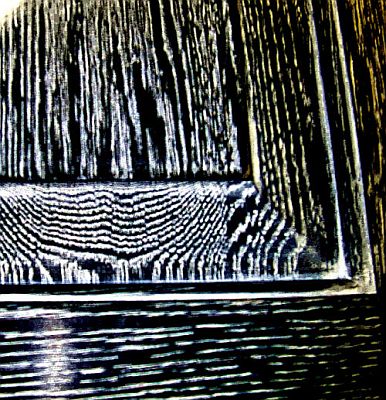
When it comes to wire brushing, it all depends on the end result that you are looking for. I like to wire brush the surface before sanding because it opens up the pores and allows you to wipe the surface of the wood cleaner without removing the glaze from the pore. The result is a cleaner contrast between surface and grain without interruptions in the grain color. Use whatever technique that produces the effect that you are looking for.

Click here for full size image
From contributor C:
Just a thought - it is very common in the UK to use different color waxes to create this look, and then their final coating is done with clear waxes. There are still some finishing shops in the USA that apply these same waxed finishes on furniture today. I prefer coatings with more durability and chemical resistance. One thing about waxed finishes that you can't beat is that they are very easy to repair. Remember, you can wax over coatings, but you canít coat over waxes. There are so many options in finishing; itís really all about each personís personal preferences. All we can do is pass on the options - then itís up to each to make the final decisions.
The comments below were added after this Forum discussion was archived as a Knowledge Base article (add your comment).
Comment from contributor E:
I always brush the oak first using only bronze brushes to open the pores. I then apply a white liming wax and buff off, then tone as required by wiping back with a thinner moistened paper towel and finish up with a single coat of either latex based or oil based satin poly depending on whether or not client wants yellowing.
Comment from contributor R:
Opening the pores with water, also called "grain raising" on oak, letting dry, and then using a stainless or brass wire brush with the grain will allow you to achieve larger pore pockets to trap the lighter color filler or stain. Some designers prefer this more sinuous look.


