Question
I am in charge of the finishing department at a custom cabinet shop. I came into this workplace when it was small - they knew nothing about finishing. I have learned a lot over the six years I have been there and am sure I have a lot to learn yet.
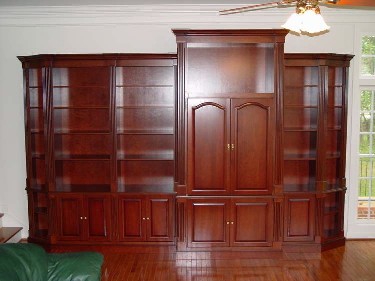
We have always had a tough time getting maple to look nice except for our natural jobs. Since I have been there, they have always sold jobs just figuring in wiping on/off stain and then finishing. It looks like crap, but doing a washcoat, then staining, then sealing, then glazing is just too many steps for the amount of time that is allowed.
I'm looking for suggestions on getting maple and other blotchy woods to look nice with the least amount of steps. Just last week we did a lighter maple job and I mixed a washcoat and added some dyes to get the color close, then we went over it with an oil based stain. The color was there and looked a lot more uniform. Is this something you have been doing for a long time? Is this allowed? Is there something better/quicker?
Forum Responses
(Finishing Forum)
ML Campbell has a product called SP20. It is a no-wipe (spray only) stain base. You can add pigments, dyes or both to it.
Your colored washcoat followed by a wiping stain is a great schedule, as you can tell by your uniform results. Not only was your coloring more uniform than you get with the stain and topcoat crowd (and the hobbyists who also follow that primitive schedule), but it was more professional looking as well. You can always tell a stain and washcoat finish and it does look rank amateurish.
While a traditional wiping glaze may be too many steps for your shop, ML Campbell's Amazing Glaze could fit right into your scheme. All you need is a finish system that is at least a TR-4 rating and proper time management and sequencing to let an Amazing Glaze finish schedule work for you.
I am not an ML Campbell salesman. I am a wood finisher and I have dealt with the same headaches you are dealing with. I do not find any stain/topcoat finish acceptable. It is the difference between what the DIY'ers and hobbyists do versus us so-called professionals.
How about a washcoat, wipe stain, washcoat, second wipe stain, topcoat look? It's simple. The kind of scuff you give to each washcoat will affect the look of the wipestain (ex: using 320 on the first washcoat and 220 on the second washcoat).
There are products out there. And there are also some techniques. You are not completely shackled.
Light stain on maple: Mix a synthetic dye directly into a vinyl sealer. Use something like Masters SolarLux ML Campbell dye stains. The sealer will look like muddy water in the cup, but take a stir stick and dip it into the finish. This will allow you to see what you are adding.
Spray the mix to your desired mil thickness, seal sand, and top as usual. This method has worked great for me but you should play with it to get the idea of the theory.
Dark stain on maple: I usually try to switch to a more stainable species when going darker with stain. If you can't, you will need to spray the dye directly on the raw wood. Reduce heavily to give a wider margin of error. Since dye dries so quickly, I have a control piece of wood in the booth with me and try to match the depth of the piece being sprayed with the control. Seal and top as usual.
A word of advice. Play with dyes on non-production parts until you master a reproducible system. Dyes can be a godsend once you master them, and a nightmare until you do. Keep dyes highly reduced to slow the build. As you get better and want faster results, you can slowly reduce them less.