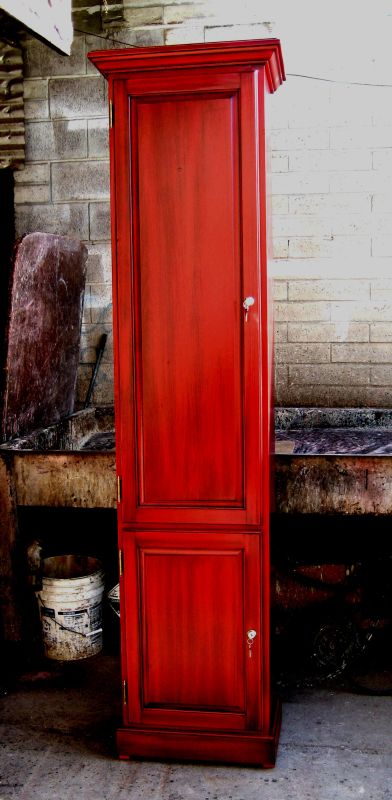
Reprinted with permission of Daniel Shafner of Shafner's Furniture Service.
Putting a finish on furniture is one of the more costly aspects of
making furniture, next to the purchase of the raw materials. Read this
finishing outline and you will get a better idea why you pay so much
for the new furniture that you buy.
This is the generic approach of how furniture manufacturers
approach the process of putting a finish on furniture.
The Furniture Process Outline:
1. Veneers and solids are hand selected and graded.
2. Substrate is sized and trimmed to meet specifications.
3. Individual parts are machined and inspected.
4. Veneers are prepared with a four step sanding sequence. Solids are prepared with a three step abrasive brushing sequence.
5. Parts are assembled and inspected.
6. This assembled piece of furniture is then hand sanded, inspected,and prepared for the finishing process.
7. If physical distressing is required, it must be executed at this point prior to finishing.
8. Sap stain is used to tone down extra light woods.
9. Blow up stain or dark wood equalizer is used for all dark wood discoloration.
10. A green tinted equalizing stain is applied on all extreme red veneers and solids to obtain better uniformity.
11. A rag sap is used on all light shapes for better color tie in.
12. Pre-stain is applied evenly overall for underneath color development.
13. Body stain is sprayed uniformly for color depth and consistency.
14. A 4% solids washcoat is applied to help seal in color and provide a good sandable surface.
15. Pre fill is applied to tops of all pieces to fill open wood pore and provide a smooth surface.
16. Fill glaze is sprayed uniformly overall and wiped clean. Surface is brushed in low areas to avoid dark hang-up in shapes.
17. Once dried, fill glaze is highlighted with gray scotch-brite or 180 grit sandpaper to match color standard.
18. An 18% solids sealer is applied evenly overall to seal in fill glaze and to prepare smooth surface for subsequent topcoats.
19. Sealer is dried thoroughly and sanded evenly overall.
20. Glaze is sprayed overall and wiped leaving a thin film. Surface is brushed to uniform color and wool highlighted for contrast.
21. Flyspeck or spatter is applied to simulate antiquing process. Edges are dry brushed for more antiquing.
22. First coat of lacquer is applied.
23. Hand pad is now executed for final color tie in operation.
24. Crayon distressing with brown crayons help with antiquing process.
25. Cowtail, another form of antiquing, is applied.
26. Second coat of topcoat is applied evenly overall.
27. Third and final lacquer topcoat is sprayed evenly overall.
28. Once finish has completely dried, it enters the rubbing and packing area.
29. Surface is leveled with a 30 lb. Stuhr dual-pad, straight-line, pneumatic rubbing machine, using rubbing lubricants and wet/dry sandpaper. This process could involve as many as 5 or 6 cutting operations.
30. A series of Scotchbrite, rubbing compounds, and polishes are used to remove all sand streaks that remain from the sandpaper. 2 or 3 separate operations may be required to accomplish this.
31. Rubbing residue is removed by thorough cleanup.
32. At final inspection, all items are heavily scrutinized to assure complete compliance with all requirements and specifications.
33. Items are tagged, packed, and readied for immediate shipment.
Reprinted with permission of Daniel Shafner of Shafner's Furniture Service.
