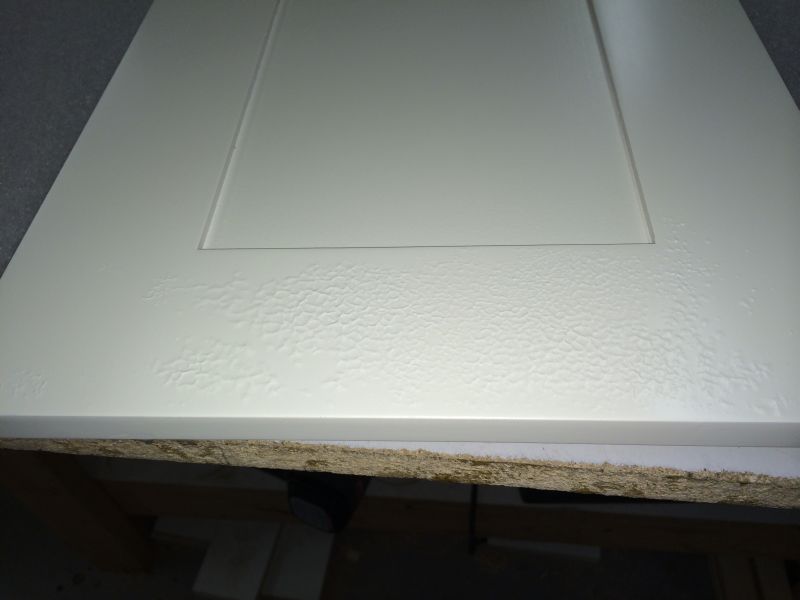
Question
I have a project where I need to do a very fine satin black texture finish over MDF. I would not call it an orange peel, as it is much finer. The best way to describe it is it is very similar to the texture on many of the older plastic computer components (e.g. printers or monitors), but perhaps slightly heavier. I have gone to several paint stores and they just scratch their heads. I know it is possible because I have a sample. When it is done it is hard to tell if it is paint or moulded plastic.
Some suggest it is done with the settings on the gun, but I don't have time for too much experimentation right now. A friend of mine said there are beads that can be added to the paint to achieve the texture. I can only think of glass bead that is that small, and that would probably tear the tip and needle of the gun apart in short order.
Forum Responses
(Finishing Forum)
From contributor J:
I know this is not what you want to hear, and you can pay for sand or beads or self texture paints if you wish, but the way to do a texture is simply to use a pressure pot and set your air pressure lower than your fluid pressure. Depending on the type of paint you use, start with about 8lbs air to 15lbs fluid. Turn your fluid flow control on the gun down for a finer satin type texture. Open it up for a larger one. Shoot a smooth base coat, let it dry and then mist the texture coat over it. Build the coats slowly, allowing more distance off the gun than normal. Remember you want something in between dry spray and a full wet coat. Adjusting the size of the texture is a simple matter - practice on a piece of cardboard first. Remember the lower your air pressure is in relation to the fluid pressure, the bigger the size of your texture will be. A small texture such as you are going for may even be achieved with a gravity gun, simply by dropping the air pressure. I did this every day for years when I was a metal finisher. This is way easier to do than to explain.