Question
I have a client wanting a small bar built out of cherry for his soon to be finished basement. We will be mimicking a commercial version he saw in a local restaurant. I inspected the bar carefully and feel fully confident in the task at hand even though I have never taken a bar on before. However, there was one problem I immediately detected and I know I can not afford to make the same mistake. They used draw bolts or "dog bones" to assemble the miters and I can't imagine that they didn't use glue. For the most part the miters held together pretty good, but there were a few places where they had opened up, obviously in between the fasteners. Does anyone have experience with a foolproof method so this will not occur? I was considering a series of pockets to drive large cabinet screws, so I wouldn't have to mess with the draw bolts.
Forum Responses
(Furniture Making Forum)
From contributor V:
I have used the draw bolts and pocket screws. I think you will find that on thicker material like bar tops, the pocket screws can misalign the surfaces. Though they can be sanded in, it puts unequal stress on the bottom of the wood and does nothing for the top of the joint except maybe pull it apart with the downward pressure.
Comment from contributor S:
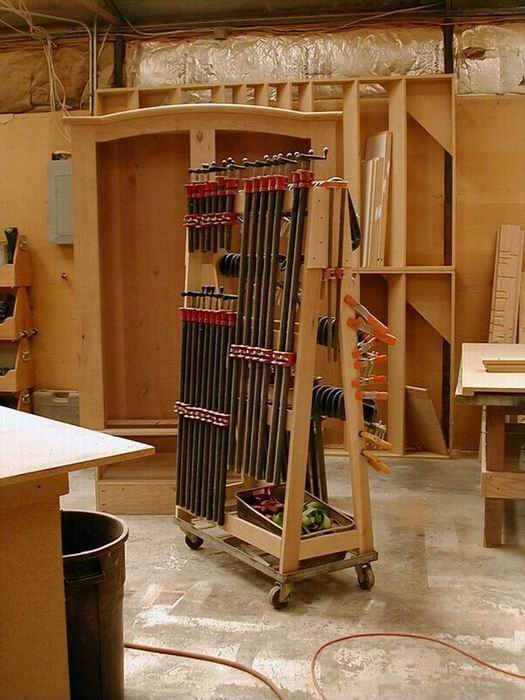
We just produced a cherry bar top with a long miter. The technique was a series of floating tenons (dominoes) within the miter and glued up with Gorilla Glue (very strong adhesive). The clamping technique was created by gluing on a series of triangle blocks along the edges which create parallel surfaces to the glue joint as well as an edge to be used for clamping, in order to close up the miter while gluing.
Between the triangle glue blocks and top edge is brown paper so that these blocks can be broken off after clamping is completed. Titebond is used (a rub joint will do) and needs to set up overnight prior to clamping. It's a great technique that gives full clamping ability on any miter joint. Once done, break off the triangles with a hammer, scrape and sand the brown paper off and voila.