Question
I would like to merge the efficient 32 mm techniques (i.e. system holes for drawer glides and hinges) while still using face frames. The customers in my market do not like melamine or frameless cabinets.
Things I would like to achieve:
1. Attach pre-finished face frames with pocket screws. I've always attached ff with glue and nails. I would start at one corner, nail, then move on down the line, measure for correct scribe/reveal, nail, etc. If you try to screw while holding the ff in place manually, sooner or later the ff will shift while screwing. Is it necessary to clamp every pocket screw location or is there a jig or some other technique for attaching pocket screwed ff?
2. The inside edge of the case sides need to be flush with the inside edge of the stiles to use system holes. Building out for the drawer glides and hinges is very time consuming. Attaching drawer glides and hinges to cases takes only seconds when using the 32 mm system.
Again, has anyone figured a way to use ff while still making use of the system holes? Am I going to have to for go the pre-finished ff in order to flush trim the insides edges of the ff to the case?
Forum Responses
(Cabinetmaking Forum)
From contributor D:
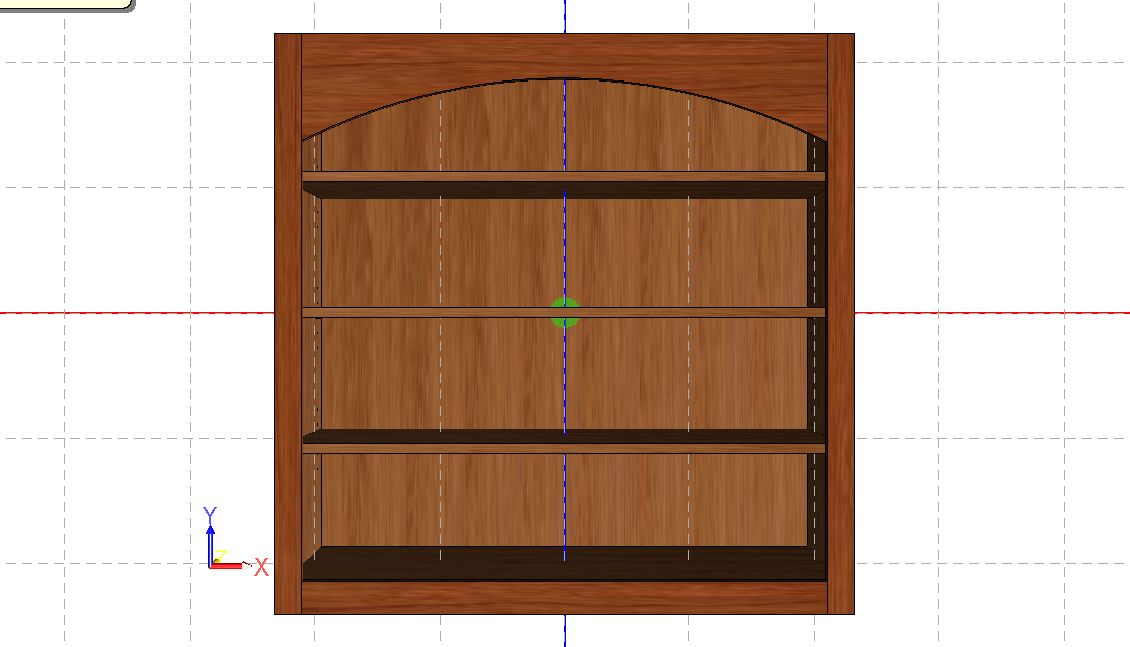
I've asked and answered (for myself anyhow) the questions you ask. I've mostly copied the techniques used by a very high end shop whose work I admire and here's how I now do it. The description below applies to flush inset face frame cabinetry with system 32 on the inside.
I build all my boxes out of 3/4 material (usually pre-fin maple) so that when you attach boxes to one another, the total thickness of the abutted side panels is 1 7/16 (since ply is 1/32 shy of 3/4). Before I install the boxes, I put a 5/32 slotting bit in my router and run a slot down the front edges of all vertical front edges of my boxes. Then I mill my beaded face frame parts to exactly 1.5" width typically, and 7/8" to 15/16" thick. The extra 1/8 to 3/16 allows for bumper thickness plus a little bit so that the face of the drawer/door is slightly recessed relative to the face frame. The 1.5" width means that the face frame will overhang the inside face of the box side panels by 1/32, which doesn't create any problems with hardware clearance in my experience (use Blum Tandem, Blum clip hinges, or Accuride side mount - no problems).
I make my face frames so that one frame covers a whole bank of cabinets (rather than one frame per box, which I don't like). Finish the face frames and then with the biscuit cutter, put the occasional biscuit slot into the back face of the face frame parts to align with the slots cut in the box edges. I attach the face frames to the boxes with the biscuits/glue and Bessey edge clamps, which provide excellent pressure to keep the face frames tight to the boxes while the glue dries.
Once you have the knack for accurately aligning the biscuits (make some setup blocks out of hardwood, delrin, etc.), the system is excellent, I've found. No nail holes to fill, no alignment issues with pocket screws, etc. Fast, too. I also sometimes make the face frames so that the top edge of the bottom rail on the ff is 1/2" below the top edge of the box deck panel. This allows me to use the leading edge of the deck as the stop for the door. A stretcher below an upper drawer accomplishes the same thing to stop your drawer.
So this method allows you to use all the system 32 settings for hinges and slides, since the door/drawer front stops in the same plane as it does with frameless cabinetry. You'll use full inset hinges instead of overlay as in true frameless The slight overhang of the face frame is also nice because it means you don't have to band the verticals, and the 1/32 overhang is very clean looking. The tolerances on this method have to be tight, but once you have a dead accurate stop system for your ff notcher, chop saw, etc. and everything is calibrated, it works like a dream. If you're doing overlay ff cabinets where the drawer/door closes on top of the face frame, then I guess this doesn't help much.
The only thing I would add is� At the end of his description he says, "If you're doing overlay ff cabinets where the drawer/door closes on top of the face frame, then I guess this doesn't help much." If you move your system holes forward by the thickness of the face frame and add an equal reveal around the doors and drawers, then it works well also.