Question
I have a customer that has a lot of custom cabinets she wants me to build. She wants to have me build a 60" diameter slab a minimum of 2" thick top for a iron table base that she is to have custom built. I told her that I don�t do this kind of work that custom cabinetry is what I do the best. She wont take no for a answer and wants the top done first.
To get the rest of the work that I need to fill out my winter jobs (can get kind of slow in MN in the winter) I have to build this top. She wants solid lumber as wide as possible and has not settled on the type of wood she wants to us. Is this a problem � warp, cup, split and etc? She wants it to be rustic next to the wood finish. Any help on proper construction and finishing? Or should one farm out the?
Forum Responses
(Furniture Making Forum)
From contributor D:
If I read your post right, she wants to use this table for an ironing board surface? Or is it a table to support a separate ironing board that will sit on top of the table?
This should give you a fairly rugged top. After you glue up rasp the outside edges in various spots, use an Awl to make worm holes on the top as well as simulate cracks and scratches. I also use a chain made from various items to fine tune the distress marks. Remember old pieces do not have sharp edges, everything is softened from age. Sand after distressing - not too finely.
When you finish you may have to apply a glaze after stain and sealer to bring out more of the defects and character. I would not distress the underside of the top but make sure you finish with same finish schedule as the top. Attach allowing for movement.
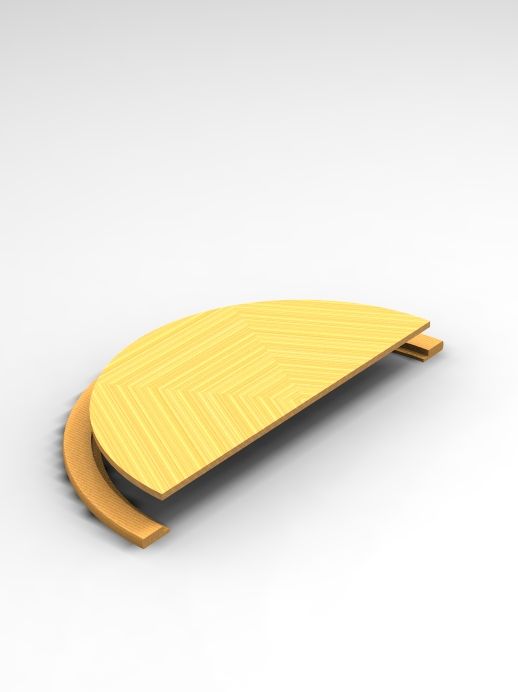
Here are some tips: when picking out the materials watch the end grains. Avoid the ones that you know will cup. You should find what you seek at a local mill. They can help you find the wide stuff. When you go to assemble I would use a tung and grove to join the slabs. Use the top and bottom clamp method. Let it sit for 3 days. Set up your bandsaw to cut the circle.
Because the top is so rough all you have to do is belt sand it down until just the top rough is gone. This leaves the pits and gouges from the mill. At this point most of the time all I do is give the beast three coats of really hot wax. Use brown wax for the first 2 coats (sometimes the 1st coat is just right for the color, if the color is what you are looking for then go to the next step.)
Now finish with bowling alley clear for the top coat/s. Sit at the table put your arms on it like you were eating dinner. Take a spoke plain and slice out just a little bit where your arms hit the top. Do this all the way around. Take the brown wax (hot) and add some black color to it and rub it into the bare spots, just a little - not too much. Follow it with clear. Mount to the base and you�re done.
Comment from contributor P:
The tricky part is finding someone who slow cures slabbed logs who is willing to part with the wood, unless you do it yourself. The circular shape is a little peculiar. If you bandsaw it, that eliminates the natural edges. You could glue-up eight or ten (or more) pie shape slabs, cut alternately from a monolithic slab, leaving the outside edges natural. You'll need to use some cleverness to blend the joints, which being natural, won't match, and of course it would only be a circle within a tolerance of a few inches.
One way to ease matching is to glue alternate pies together, so there is only the saw kerf missing from the original natural edge. Of course there will be two spots that don't match at all: the transitions from pies taken from one edge of the original slab and pies taken from the other edge. This type of work is easy and has a good margin, because the tables appeal to 'high end' customers.