Mitering End Panels to Face Frames
Advice on machining and fastening the long joint where an end panel meets a face frame. July 25, 2010
Question
We are a small cabinet shop in CT and due to space we usually purchase our face frames and doors prefinished. This is usually not an issue until we sell a project that has what I call wrap around end panels. This situation requires that we install a frame on the side of the cabinet with a door. In order to create the best look we miter the point where the two face frames meet. Until now we have rough cut the miter on the table saw and then cleaned it up on the shaper. Does anyone else have this issue and how do you do it? Would a sliding table saw help in this situation?
Forum Responses
(Cabinetmaking Forum)
From contributor M:
In the situations you're talking about, I generally use butt joints and biscuits to join the finished end panel to the back of the face frame. It takes a little more color matching of the mating piece, but I think it�s a stronger joint than a miter and I haven�t had any complaints yet. If it�s a finished panel that makes a 45 degree angle like on the back of a peninsula, I rough cut it on the table saw at 22.5 and then I run both pieces on the jointer (long) and then cut off the snipe to length. They fit together incredibly tight every time. I biscuit the miter, dry fit, and assemble on site during installation. Here's a peninsula where I did it that very way. I did the same thing for the wood that wraps the large post.
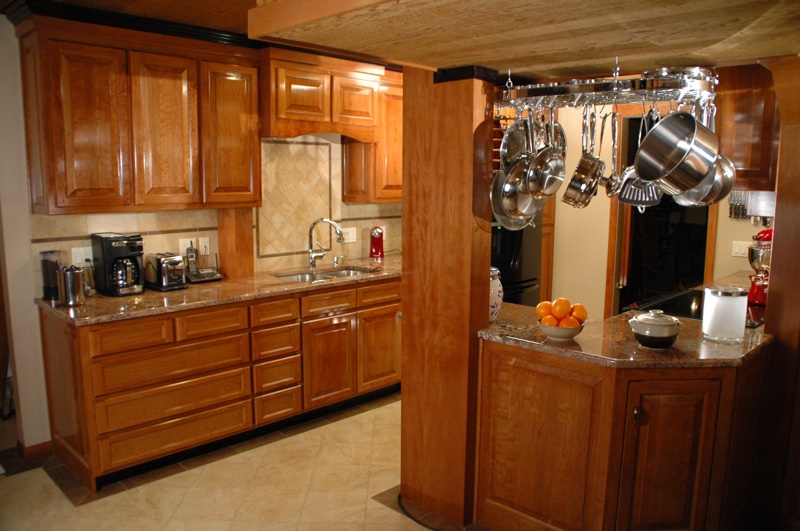
Click here for higher quality, full size image
From contributor V:
I don't use premade or prefinished end panels but when I need to miter them it is a face-up operation so it should work for you. This works best with a power feed but can be done with good results hand fed with hold downs.
I use a left tilting 10" saw and with fence on the wrong side of the blade I run the blade up and into a sacrificial sub fence and set the blade elevation and fence so that the thickness of stock in question is mitered just to the face edge without removing any of the frame members cross grain width. Just do the reverse on a right tilting saw. As long as your frame stiles are straight edgewise this will yield near perfect miters every time.
Sometimes I use a sheet of flat 1/4" 4x8 MDF or such as a sub saw table so that long faceframes don�t get hung up on anything while being fed through the miter cuts. Also leave a rabbit or space at the bottom of the sub fence so the offcuts have somewhere to go and do not come shooting out of the front of the saw. Slot a few #20 biscuits for alignment and made clamping easier.
From contributor S:
The first key is straight lumber. Second is a feather board with a little pressure against the wood against the fence. Another key is consistent down pressure and one fluid movement through without stopping. I also rip mitered piece to width before mitering then I can watch it and make sure the blade cuts straight on the edge. I build my whole carcass out of 3/4, glue and clamp the f/f, clamp panel, and miter to miter with f/f clamps or flat head vise-grips. When glue squeezes out wipe and run a round tool down the miter like a punch or something. This smoothes out glue and sharp slivers and it doesn�t leave pinholes. You could slice a watermelon on it. It�s not the saw it�s the movement of the lumber through the saw.
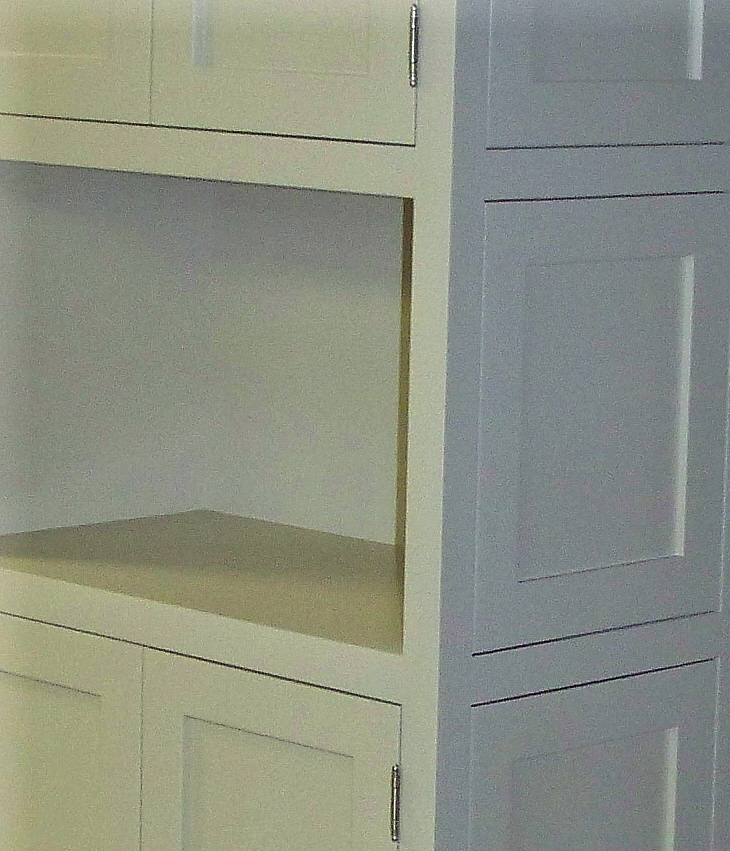
Click here for higher quality, full size image
From contributor W:
All the answers above are right but seem to be labor intensive and require a lot of skill to come out right. Someone once said years ago "if you can't hide a joint, celebrate it". I use a 1/4" bead on the outside edge of the E.P. and butt it to the back side of the F/F (which is 3/4" out from box).
From contributor I:
A 1/4" bead like you�d have in flush inset door openings?
From contributor V:
The original post is looking for methods to miter a prefinished and outsourced face frame to a pre-finished and outsourced end panel. Making a straight and accurate 45 degree miter in this case is as simple as two short rip cuts. The setup is time consuming but mitering the edge of a stile that is part of large frame is easier in the long run than trying to clamp up a faceframe with a stile that is already mitered on the edge. Yes I am sure pocket screws probably make that possible.
From contributor W:
Yes it is the same bead. I've done it on face frame edge but it looks better if done on the vertical edge of end panel.
From the original questioner:
Thanks for all the suggestions so far. I currently have a Jet cabinet saw. After reading the comments it looks like maybe adding a power feeder to my saw would be a good option. I was looking at the slider for the scoring blade when working with melamine and figured it would be more accurate then the table saw
From contributor D:
Do yourself a favor and experiment with the method I described by hand before you possibly needlessly buy a power feed. Make the setup and run (by hand) a few test scraps of any consistent thicknessed 3/4" material to get the feel of setting the fence to miter right to the top corner of the material - that's the main thing. After playing with edge mitering on that setup you should be able to tell if you need the added stability of power feeding for your purpose. If I was pocket screwing my frames and could just run the stiles as loose parts, I would probably just use a hold-down and run them against the fence by hand. My power feed bolts to the saw with tapped bolt holes both right or left of the blade but it is still more work to use it and it's in the way when I don't need it.
