Question (WOODWEB Member) :
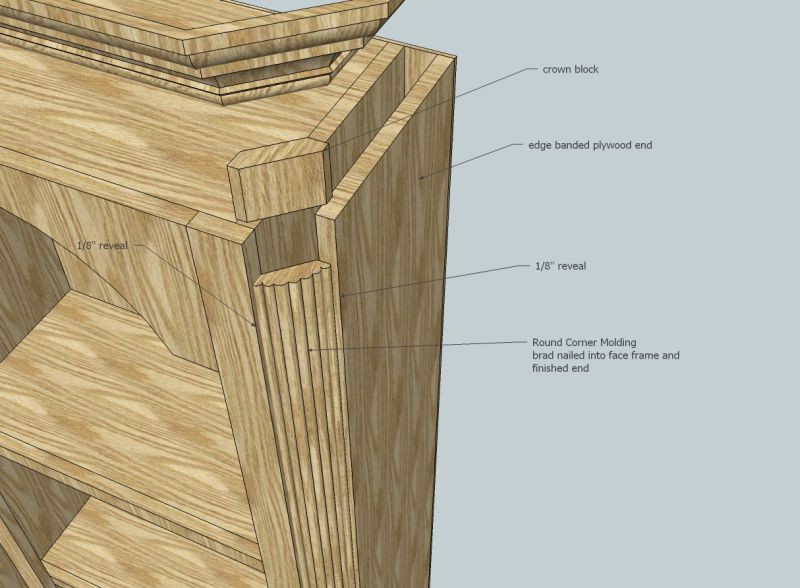
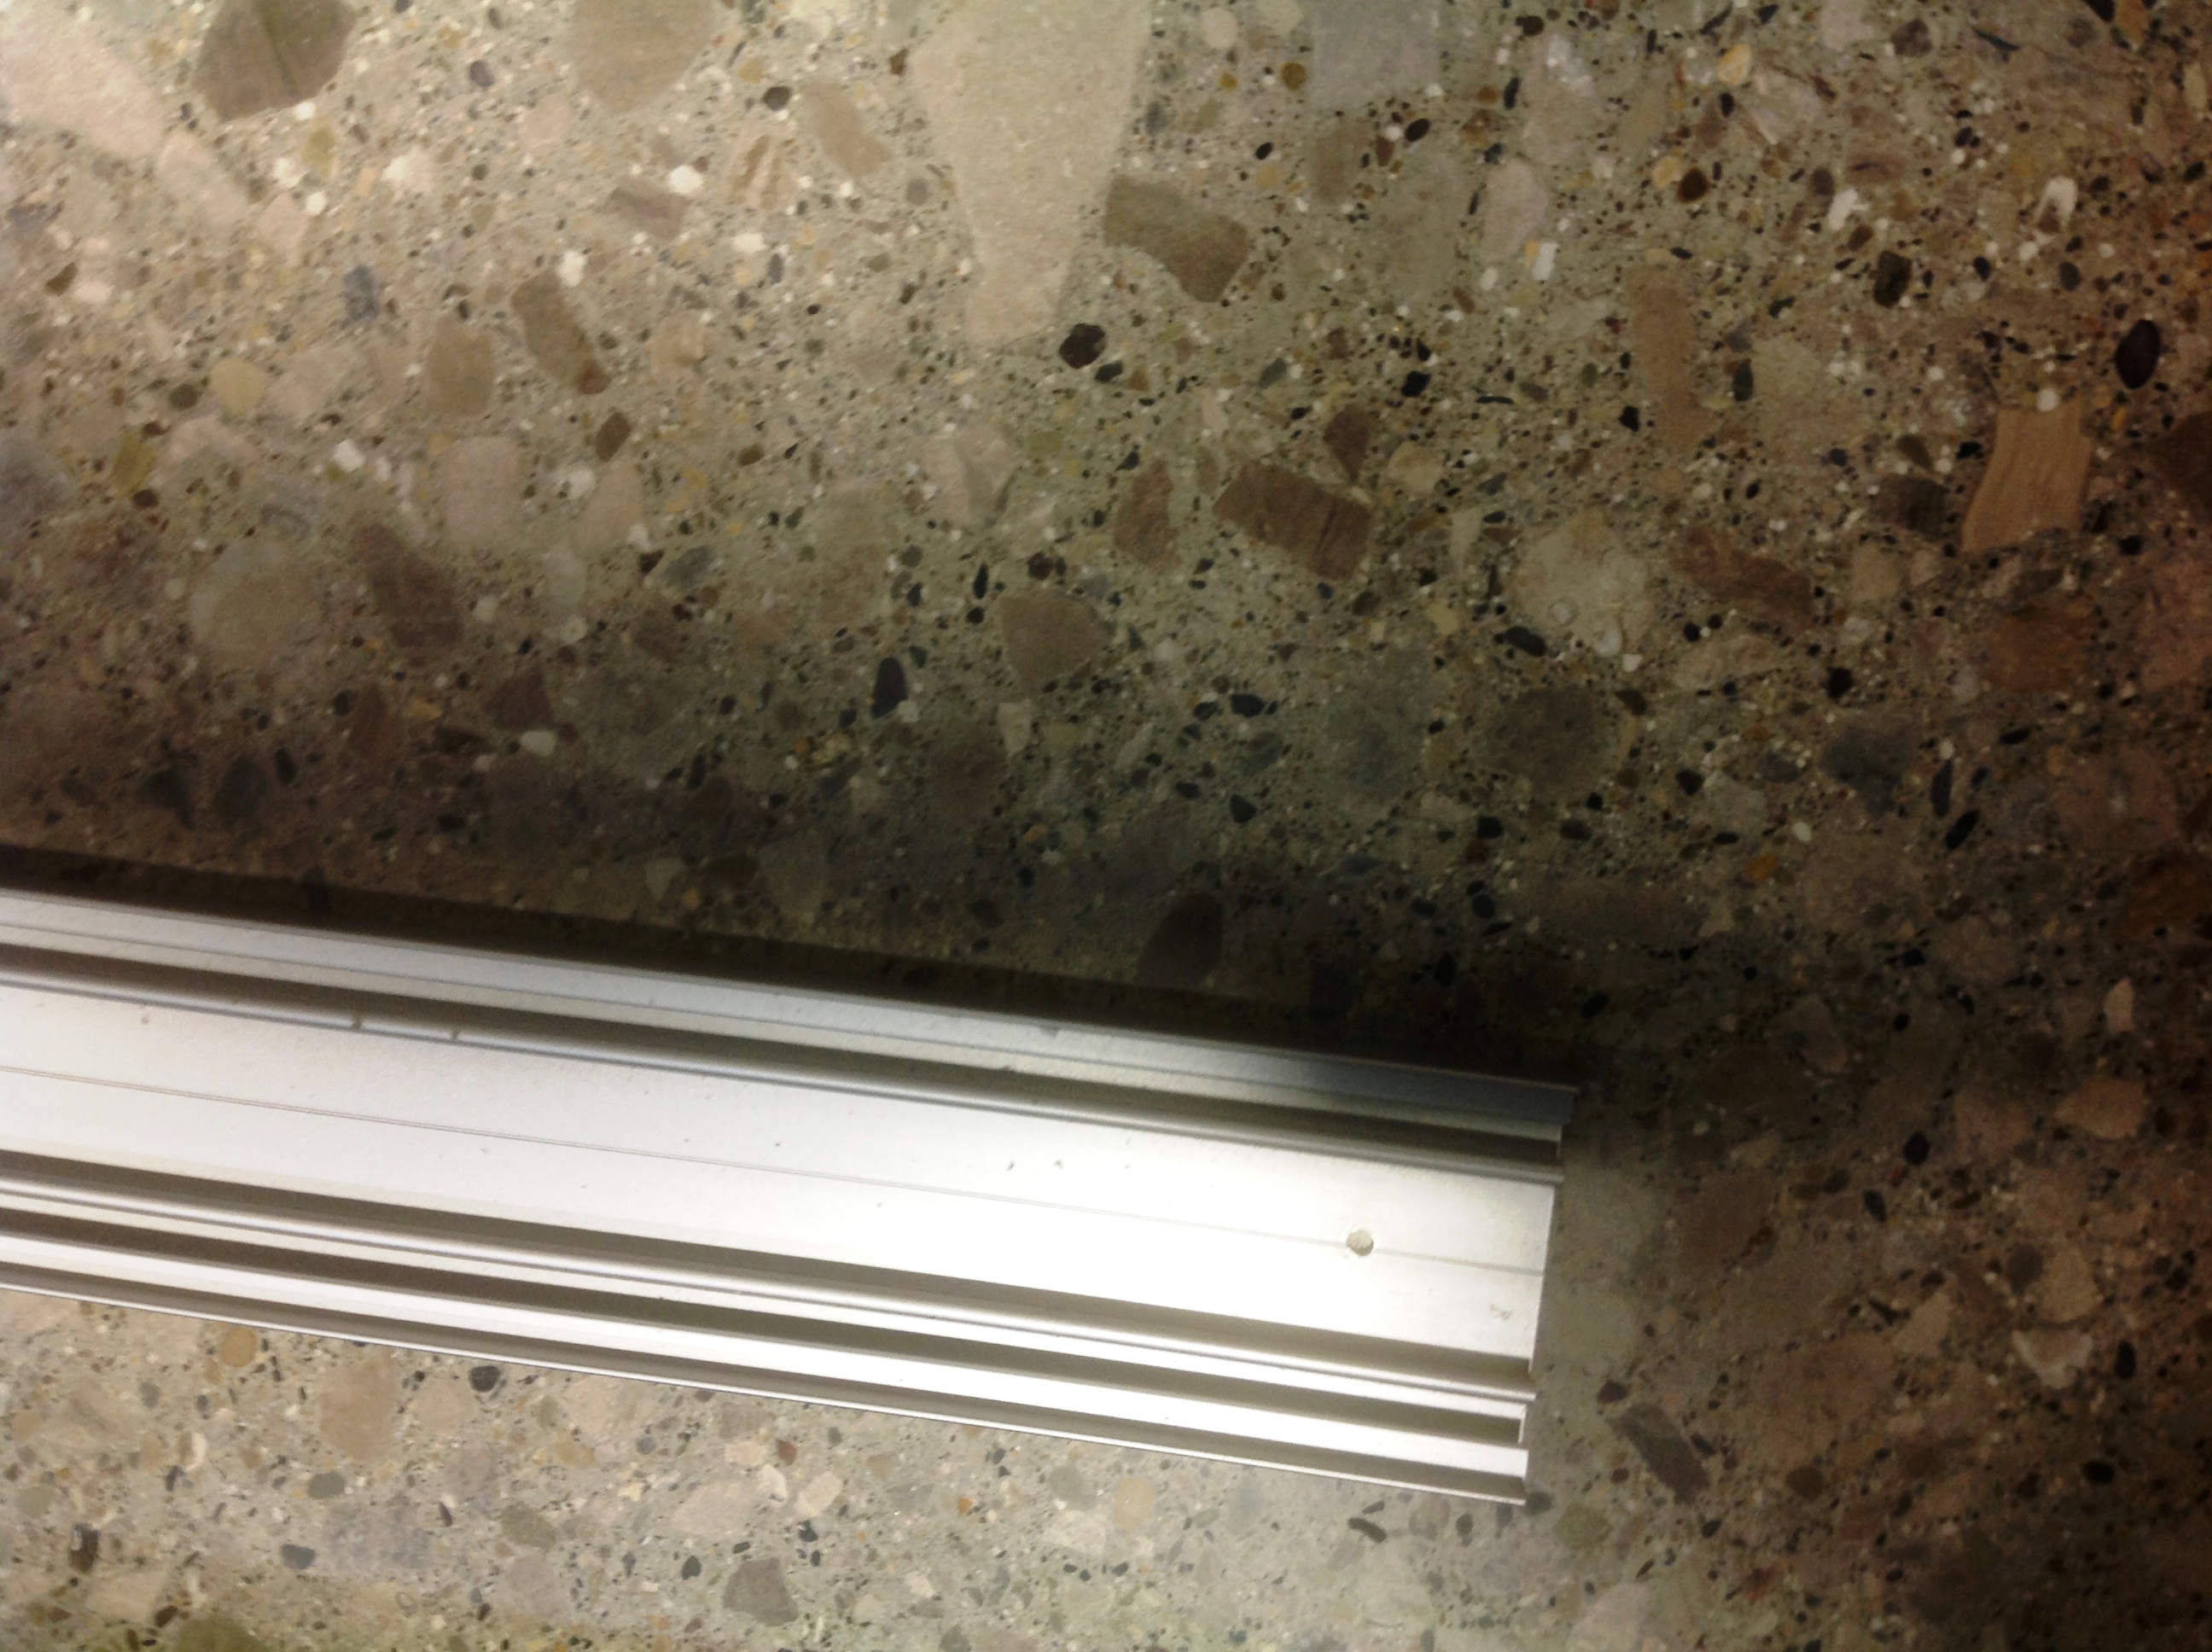
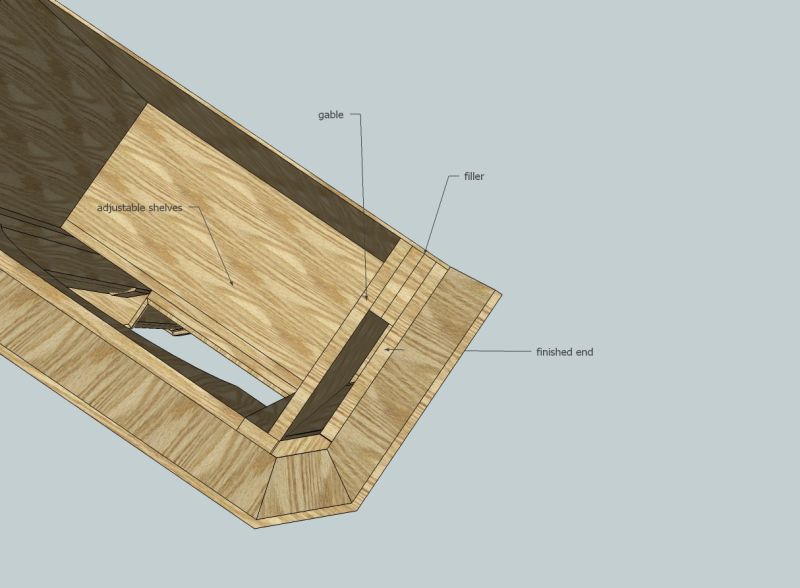
I'm building an entertainment center to match a homeowner's kitchen cabinet style which includes outside corner molding. The pictures below show the type of cabinet I am building and how I am inclined to construct it; the finished end is not raised panel, just the project plywood. I've also considered drilling the pin holes in the finished end and clipping the corners of the adjustable shelves.
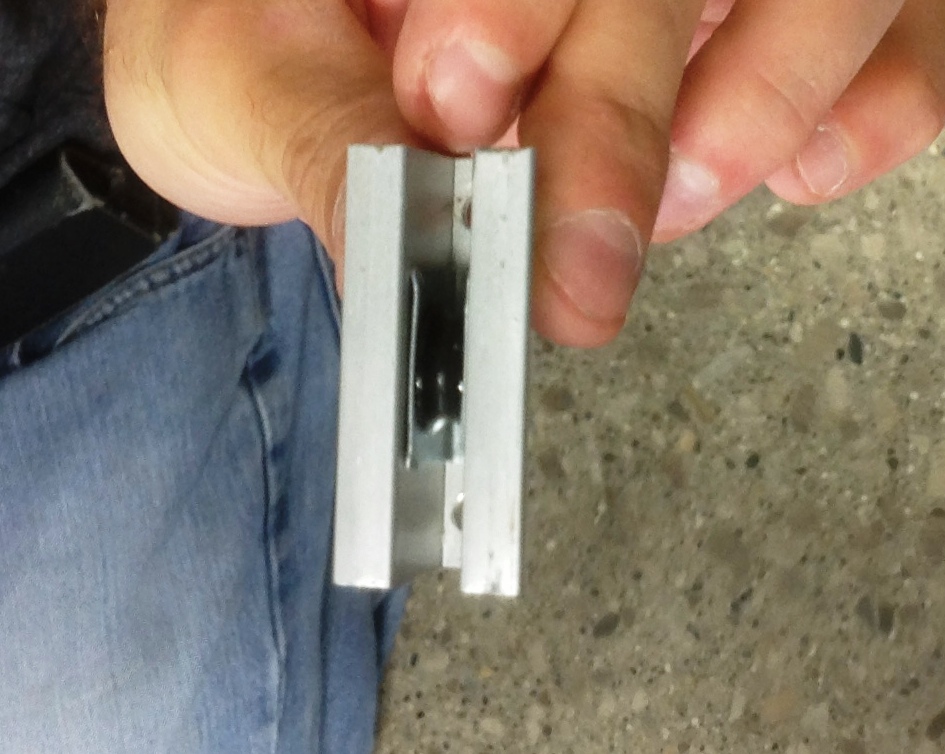
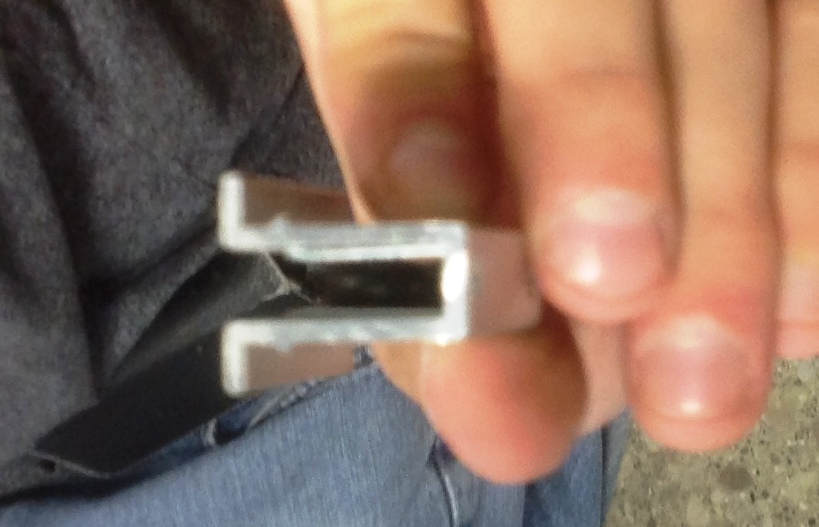
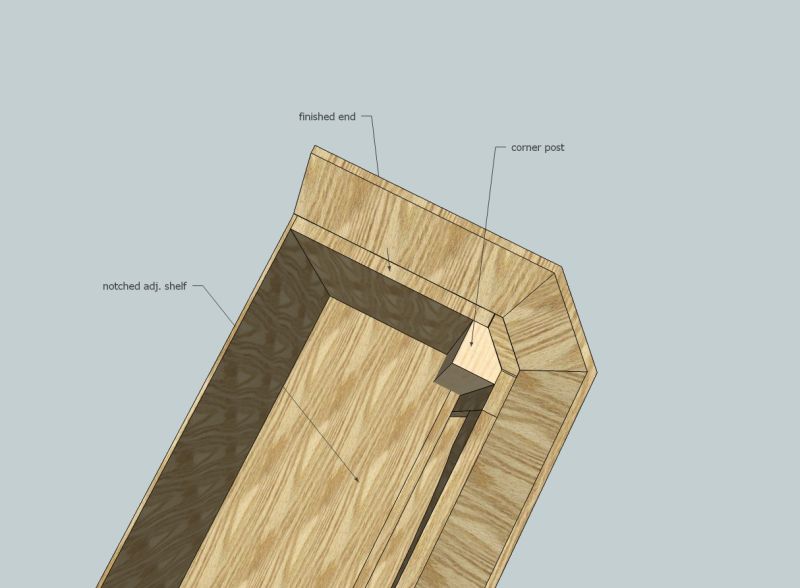
I've inspected a cabinet like this before and it looked like there was a piece added to the inside of the cabinet to make a corner post to tie the face frame and the finished end together and backup the molding (third pic). The shelves were notched around this post, but they weren't adjustable and were resting on cleats that were nailed to a finished, raised panel end.
Since this will have book/display cases I don't really like the idea of that corner post and notching the adjustable shelves. Also, I don't like the idea of using only the molding to tie the face frame and end panel together and simply clipping the corners of my shelves as it doesn't seem very sturdy. This will be the first cabinetry project I've done with these types of corners and I was wondering what the typical construction method is.

Forum Responses
(Cabinetmaking Forum)
From contributor F:
I would do this as if you were using a quarter turning. Use a small 90 degree L to connect the FF and side and apply the angled moulding to the L. If you inset the corner moulding you can create additional depth the side shadow lines. This is the same as your first pic, just add a small piece at 90 degrees to the false end and attach it to the outside end, then your structure and stability is not on the 45 degree corner and you've eliminated figuring out what type of joinery to use there.