Touching Up a Burn-Through in Maple Plywood
Striving for perfection in a tough touch-up: finishers swap expert tips. July 29, 2011
Question
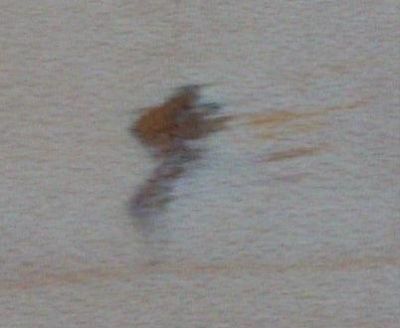
This maple plywood top came to my shop with a burn-through in the veneer. It gets a clear finish and I have shot one coat of vinyl sealer. Can this mar be touched up to where it will not show?
Forum Responses
(Finishing Forum)
From contributor A:
Paint the dark spot with dye powder and thinned vinyl sealer. Make sure you mix it transparent and build your color from light to dark, don't start out dark.
From contributor R:
This should not be your problem to fix. Get another piece of plywood or bill the supplier for your time to touch it up. Please don't get me wrong, but if you have to ask if it can be touched up so it won't show, your touchup skills need to be developed to a higher skill level. If you can't cut around the blemish or use that particular piece for a part that won't show, send the sheet back and get a new one.
From the original questioner:
Thanks. This piece of plywood is 10 feet long and 4 ft wide and has a glued-on hardwood edge. It will be polished to a high end finish. Cutting on the board is not an option at all and sending it back is what I hoped to avoid by consulting with this forum. After 30 odd years in the trade, my touchup skills are superior to most people that I know, but I am always open to suggestions by other trade professionals.
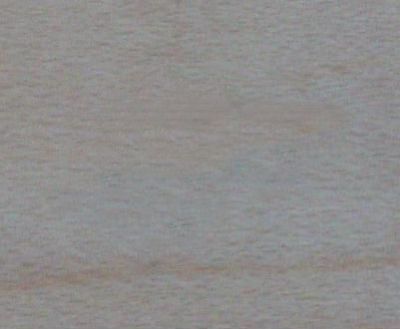
From the original questioner:
Here's an after touch up shot:
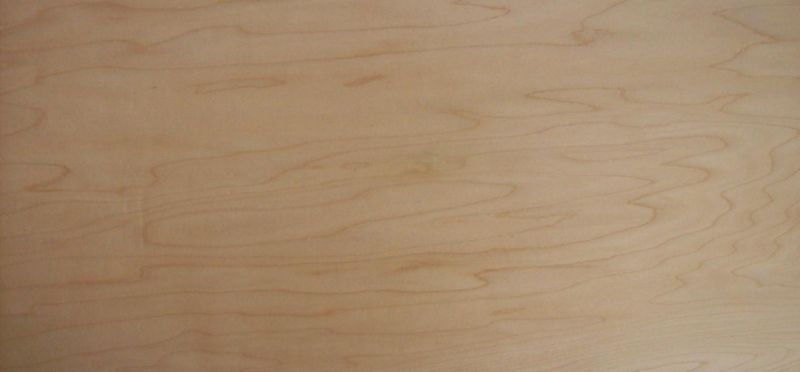
Click here for higher quality, full size image
From contributor R:
Very nice job.
From contributor J:
Very nice repair! How did you work your magic?
From the original questioner:
It was all done in about 30 minutes using artist acrylics layered between force dried coats of vinyl sealer. Colors used were white, raw sienna, burnt umber and a drop of black mixed up on a pallet board and applied in thin layers until the blend was achieved. Then a couple more shots of sealer followed by leveling with a razor blade, then off to the booth.
I wanted to try contributor A's method of pigment and sealer but kind of got caught up in the moment.
It all goes back to the original question, which was, "Can this be made to not show?" My repair does in fact show if you look hard enough and that is what I want to overcome. When I say "not show," I really mean an invisible repair, changing a dark spot to a light one, which in my opinion is much harder than light to dark.
From contributor P:
Just faux paint it like this, or run a scanner over it and print a paper patch and seal and clear coat over it.
From the original questioner:
That's a great idea! I knew someone would have a novel idea. I will try the scanner method tomorrow on scrap. I assume you run the scan after the initial seal coat to get the color right?
From contributor M:
To the original questioner: nice job, but I bet you have a shift when the light hits the layers of acrylic paint. There is always one angle that either the colors shifts to too dark or too light - the angle that the customer looks at it from. I would start with a shellac and alcohol base and use dry powders as my colorant. Natural maple is always a pain, in that to get your base color you need to use a white, then add either raw umber or burnt umber, which sends the white to a green color. Now add red and a little yellow and the yellow will tend green if it is not a warm tone. If you do your touch up in three different color layers, sealer and sanded between coats, you should have a level end product and minimize your shift. It takes practice.
From the original questioner:
Thanks. You are right about the color shift. I noticed it when we moved the piece. I am afraid I may have to take the whole piece back to bare wood in order to blend in a new repair using the powders. Do you think so?
From contributor M:
Once again you are dealing with the worst touch up you could run in to (head on!). The problem is that you have nothing to hide in. The background is too light and the grain is not concentrated enough to be any benefit. I like dry powders because with the shellac and alcohol mix you can reduce the film layers down yet still have some hiding power. I would try again with the item at the same lighting and viewing angle that it will see when in normal use (the one that the customer will see it at). With the premise that you will always have a color shift (unless someone knows something that 35 years have not taught me!) this will reduce the chance of a major problem. You may also pull the touch up area out a bit to draw one's eye away from the damage. One last point is that people view things differently in both tone and color. Have someone inspect the touch up after you finish, then pray and hope the customer never sees it! It is no shame providing you have enough money in the job to hire a touch up jockey. A different set of eyes and hand could help.
From the original questioner:
Thanks again for your help. You would not believe the trouble I had finding dye powder. I finally found one bottle of powder and luckily it was yellow oxide. It was Mohawk brand. I needed white to start but they only had burn in sticks that were white, so I got one in spite of the fact that I have never tried to use burn in sticks before. I got another burn in stick in a putty color and one in natural. I wish I had known about the balm beforehand. That would have made it a whole lot easier. I also got something called a Blendal Stick in raw sienna. Anyway between all that stuff and a couple of hours of learning how to use them, I pulled off a passable repair. It is a desktop and viewed from a sitting and standing angle. I think I just might pull it off.
But what a chore! My God! How much do these touch up jockeys charge on average and how does one go about locating one? Do you spray the colored layers of shellac on, or brush?
From contributor U:
The best way to learn touch-up is to be a screw-up at everything else you do, as well as stubborn (never give up). The interesting thing about these repairs is there is no definite answer. Everything depends on grain pattern and irradiance (along with practice). Contributor M is right on. Ribbon stripe mahogany and fiddle back sycamore have also provided a great challenge (any natural wood with irradiance). Try brush mixing in dye with your powder.
From contributor M:
$85.00 per hour in shop, $125.00 after hours. Most pigments are pretty cheap. Sinopia.com or Kremerpigment.com. No insult to Mohawk, but I still have 3 dozen bottles that came in my touch up kit 30 years ago. Watch the Mohawk yellows - they turn green by just looking at them. When you order, get white, black, blue, red, green, med. yellow, orange, raw umber, burnt umber. The shellac is used as the vehicle for mixing your colors (3 oz. squeeze bottle for finish and 3 oz. bottle for alcohol). You will want a few artist brushes that have at least 1" of bristle. A few spray cans of sanding sealer and pre-cat flat, satin, semi, full gloss. Have fun!
From the original questioner:
Thanks. I went so far as to write Mohawk and this is what they said:
You can do a repair and make the spot better. You may even be able to make a perfect repair, but natural wood is tougher to match than a stained wood. You'd fix this like you would a cigarette burn on a table top. First you have to cover the dark spot with a background color that closely matches the most underlying tone of the finish. On a cherry stain this might be a beige to tan tone; on your maple it might be a white. The key here is high opacity so you can block the spot with as little paint as necessary. I use one of our background aerosols (not a specific product category) like our M104-Series Enamel Aerosols. These are nitrocellulose lacquer based just like our other toners, just more opaque.
Our M104-F202 Flat White could be your starting point; you spray a quick burst of this material over the dark spot a shot at a time until you hide it. You will get some overlap that you'll have to blend in, so use care not to overdo it. You might want to cut a hole in a piece of stiff paper a little larger than the damage to use as a mask. You don't want to lay the mask on the surface or you will get a harsh line, which is bad. If you hold the mask an inch or so off the surface and spray the aerosol at the hole, it will concentrate the color over the damage, allowing some color to flow out beyond the mask and give you some feathering. Only use enough material to break up the transition. You do want to cover enough of the damage to hide it, but once it is lighter than the surrounding wood and you can no longer see the shape of the damage, you have done enough.
Next you will use another toner or possibly a Blendal Stick to do some additional shading. The strong white was mostly for hiding power to knock out the spot and it provided a base to build on. Next you have to tone the white closer to the color of your maple. Then you can add any grain lines or texture missing from the natural wood. Don't overdo your shading or texturing or it won't look natural. Less is more in this situation. You may want to use some clear sealer when you get close to see how it'll look once you topcoat. Again, matching natural wood is a challenge since it has so much more than just color working in it. Keeping things to a minimum while adding texture to match is the key and as soon as you have the repair where your eye passes over the damage, you should stop.
You may not get a perfect fix, but you can make a considerable improvement that you might be able to live with. Another option is to make the spot look like a natural occurrence in the wood, such as a knot. If there are other instances in the wood you might want to incorporate one of them as part of your repair. This may help the area blend since it could distract a viewer's eye. I'd recommend that you do some testing on scrap to see what you can do. Also remember that you don't have to do all your work on the raw wood. You might be able to add some additional color, etc. over your sealer or topcoats as you build your finish.