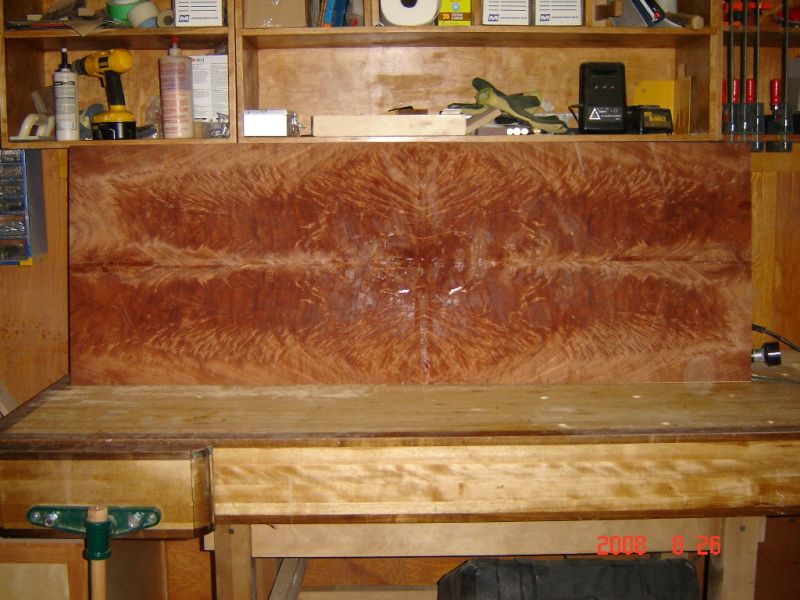
Question
I am embarking on my first veneering project and have some questions. I am an experienced woodworker.
Project: 4 ft x 12 ft dining table, mahogany veneer top with 2" tulipwood band around the perimeter. I will use a wash coat sealer followed by an oil-based stain. Topcoat will be cat-lacquer. The substrate will be banded with 5/4 mahogany so that the edge can be routed with a multiple bead.
1. I have read numerous posts concerning issues of using various glues, adhesives, and contact cement. What process would be most appropriate for a project of this physical size? Can I accomplish with reliable results using contact cement or do I need to invest in a vacuum press and bag? I will do that if necessary, but would prefer not to spend $700 to $800 if not necessary.
2. I would prefer to use 10 mil sheets of paper backed mahogany veneer except for the tulipwood band. Is that appropriate being that there will be a routed edge on the table? In other words, will the paper show at the routed edge? If not, what other alternatives to minimize seams?
Forum Responses
(Veneer Forum)
From contributor J:
Plain veneer with no backer, Titebond glue and vacuum press. You have to veneer both sides to balance the panel. Go ahead and spring for the vacuum press. You'll be glad you did. Check Grizzly for press.
Assuming you go for a wood veneer, I would use UniBond 800 for such a large glue up. It is a two part urea formaldehyde that will give you a longer open time to get it all prepped and into a press. A PVA will work if you are fast, but more times than not it stresses me out for larger glue ups. Another bonus of the Unibond is that it has very little water in it so there is less tendency for the veneers to curl up when you first place them on the substrate. The downside of Unibond is you need to keep the panel in the press longer than PVA (up to 5 hours), but if you have a heat blanket that can be improved upon.
If you have any plans to do more of this work in the future, a vacuum press is a wonderful tool for smaller runs. I suggest you take a look at the Vacupress site and consider one of Darryl Kiel's vacuum setups. They are worth it. His DVDs are also very helpful. Veneer Systems also retails Vacupress products and many other very useful veneering tools.
Don't even think about contact adhesive.
You will need at minimum one other set of hands, preferably two.
Sliding this thing into a bag is a killer. You are better off with a frame press or making a bag yourself that you seal around it once your veneer and caul have been placed. I've made custom bags for big tops with roll vinyl and double stick tape.
Go with the Unibond, you'll need the extra time.
Veneer both sides, as close together in time as you can manage.
If there is anybody that has experience in your area, get some help. You may even find someone that can joint the veneer for you. Getting a good straight edge over 12 feet will be tough without the right equipment.
Have fun, take your time, and let us know how it goes or if you have any more questions.
Vacuum + Unibond 800 is the way to go. I bought my pump and bag used, and can't imagine life without it. You can use this combo with paperbacked veneers or raw veneer. A 4x12 bag could get a little pricey, though.
One big piece of advice when using backed veneers of any kind - be extra careful when sanding. The veneers are ridiculously thin.
I would rather give an organ transplant a try for the first time than veneer a 4 x 12 ft table and sell it to a client. I can't imagine trying to join veneer pieces 12 ft long so they are tight. Spreading glue on 100 sq ft (both sides) evenly and not having dry spots or puddles. Or worse yet, using insanely thin paper backed veneer that may delaminate from the paper or from the core. Then I have to conquer all the tricks of getting a vac bag to not create air pockets and voids. And even if I pull off the lamination, having to hand sand the entire top to a flat, smooth surface free of open grain.
Someone would be paying good money for you to practice. You should learn on smaller stuff. Get someone (local if you can) to do it who knows their stuff. I've seen this kind of thing a lot, and it's not pretty. Often you think things look good only to find a bubble in finishing or when the client runs their furnace all winter at 75 degrees.
