Reprinted with permission from Custom Woodworking Business.
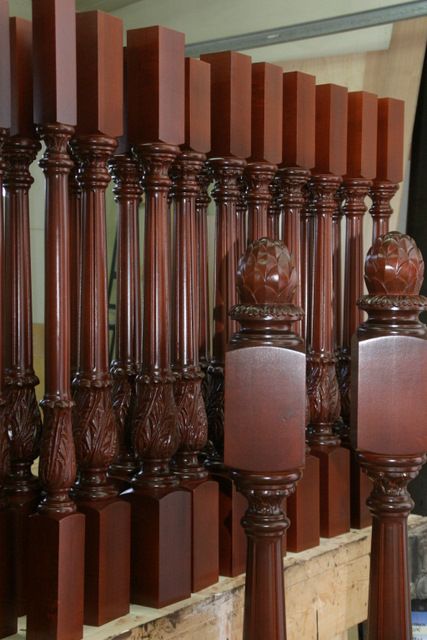
This technique uses a graining tool to create a "false wood" finish.
By Mac Simmons
This month, this column focuses on a faux finishing technique that I call "rolling out the grains." This faux bois (false wood) graining process is another Old World finishing technique that is still used today to produce false graining lines on various colored backgrounds.
It is easy to learn how to do this unique finish. As with most faux finishes, there are three basic steps. Step one is applying a colored base coat, which acts as the background color. The second step is using a colored glaze and a graining roller to add false grains on top of the colored background, and the third step is applying clear coats to protect these colorful finishes. This technique can be used in many different color combinations, both by changing the color of the background and the color used for the grain lines.

Starting the process
It is important to wear protective gear, i.e., eye goggles, a mask and gloves, and always work in a well-ventilated area. As with all finishing, start with clean, well-sanded woods that are dust-free. You can use either a solvent- or water-based stain, toner or opaque-colored coating for your background color. I suggest that you apply a seal coat to protect the background color, for two reasons. First, this will prevent the background color from changing, and second, if you make a mistake with the grain lines, you can wash it off without affecting the color background.
To be sure all your finishing materials are compatible, you should always make complete samples, from the start of the process to the last clear coat. This not only allows you to test all your materials for compatibility, but also to become familiar with the process. Select one of the color mediums for your background, apply the stain/toner/opaque coating to the sample, allow for complete drying, and then apply a seal coat.
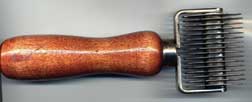
The graining roller, sometimes called a "check roller," can be purchased at most paint stores or home improvement centers.
Adding the grains
To add the grain effect, you use a graining tool, sometimes referred to as a "check roller." A bristle or poly brush is loaded with a colored stain or glaze and held or placed on top of the tool. This feeds the rollers with color, and as you push the tool, the coloring medium adds the grain lines on top of the stain or toner. You also can add color directly to the metal rollers with a brush loaded with the coloring mediums. You can purchase one of these tools in most paint stores or home improvement centers. I recommend that you do some practicing to get the feel of using it. It is only by trial and error that you will get the feeling of doing this technique.
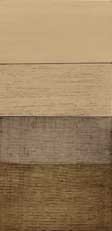
After you have perfected the application technique using the tool, you can change the background colors or use different colors for the grain lines to create unique looks.
If you look at the five samples in the photo above, you can see different types of effects that can be created by rolling the grains with different colors.
Saving some steps
After you have practiced and come to understand this technique, you may want to try saving some steps in the finishing process, such as not seal coating over the stain or toner and going straight to the grain rolling. You also can eliminate the glazing and just apply the clear coats. Another method is to use a semi-translucent tinting tone, apply a seal coat, roll out the grains and then apply your clear coats. Here is another twist: First, seal coat the wood and allow it to dry. Then roll out the grains, allow it to dry again, apply another seal coat and finish with a colored shading stain of your choice. Once you achieve the color you want, add clear coats to complete the finish.
You can get a feel for these step savers by trying them when you are making your samples. The key to grain rolling successfully is practice. Also, be sure not to overload the bristle or foam brushes you place on the graining tool. If you prefer brushing the colored stain or glazing medium on the rollers of the graining tool, then first test it on some newspapers to be sure you get uniform grain lines. Once you have the right amount of color on the rollers, you can start �rolling out the grains.�
With a little trial and error, you can master this false wood technique.
Reprinted with permission from Custom Woodworking Business.