Assmbling an edger
These are the steps I took in assembling my Norwood Edgemate edger. April 25, 2001
by Robert Sokolowski
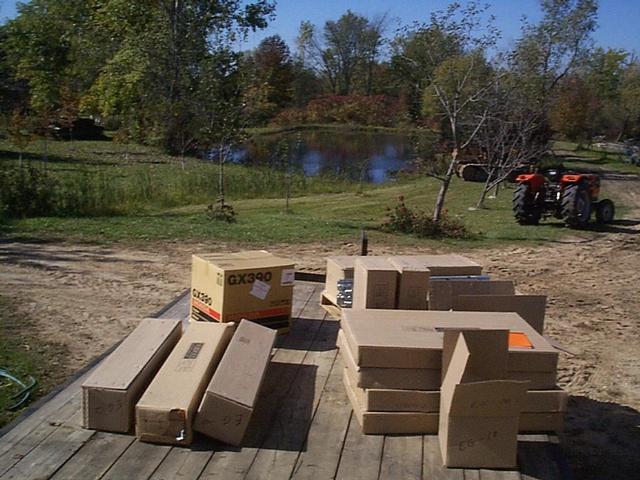
The Edgemate came all on one pallet, in the boxes shown here.
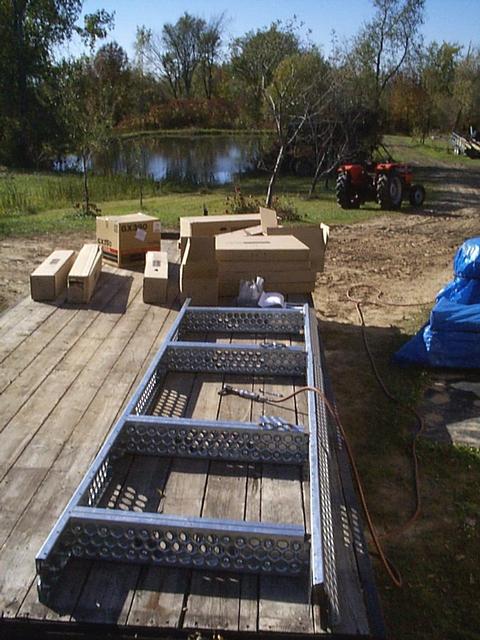
I built it on a flat bed trailer. It's important when building the track to get it flat before tightening all the bolts!!
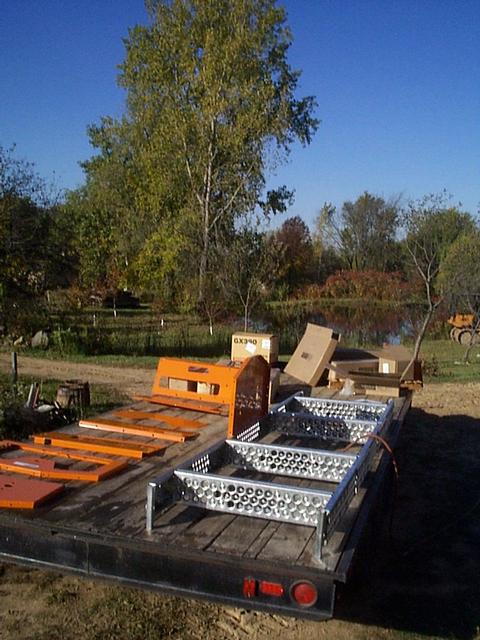
With the track done, I've now laid out the body of the Edgemate.
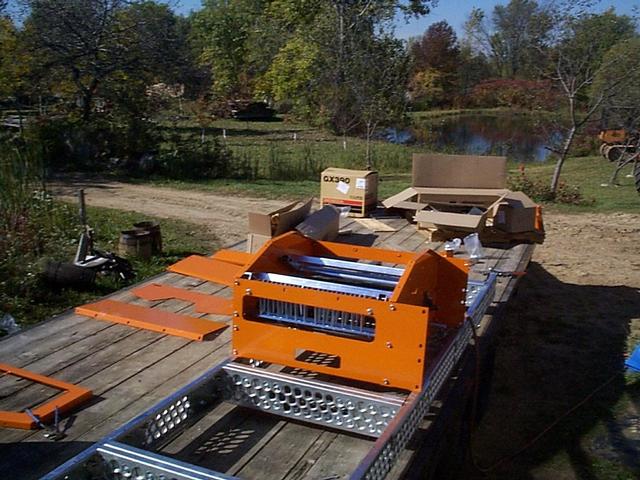
I'm now getting the "body" and interior parts bolted on. Using an air ratchet really speeds things up a lot!!

Now it's almost ready to put the top on, and install the 13 HP Honda motor. Inside there are two 10" blades, one is fixed, and the other is moved with the lever you see coming out of the front. The movable blade will adjust from 2" to 16" apart.
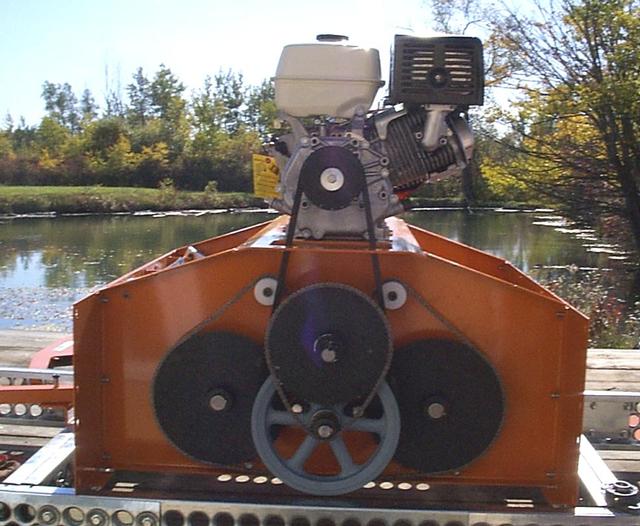
Engine is installed with all the "gearing" that makes it all work.
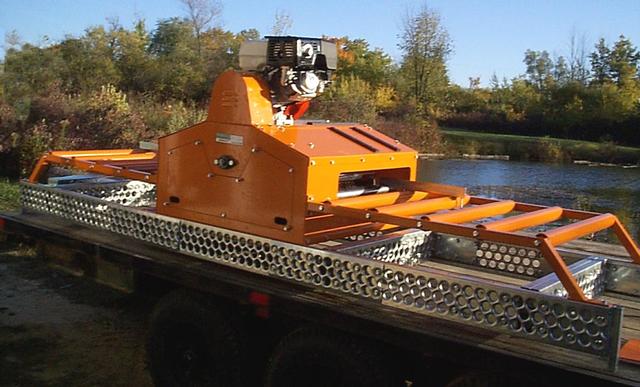
Well, it's all finished, and ready for final adjustments.
The Honda started on the second pull. Now it's time for the final adjustment of things.

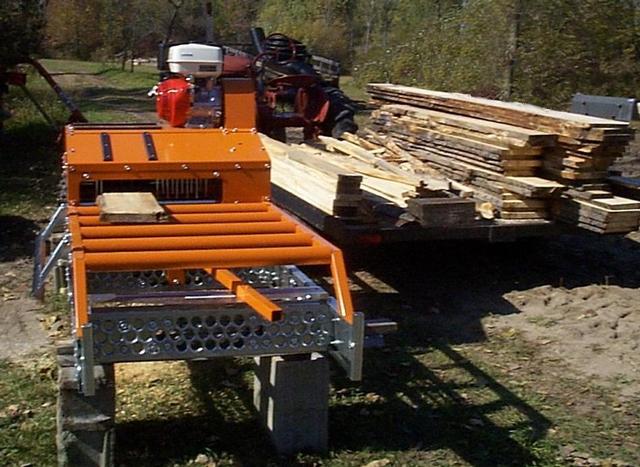
WOW, this sure takes a lot of work out of milling!! And the edgings make good stickers for construction lumber.
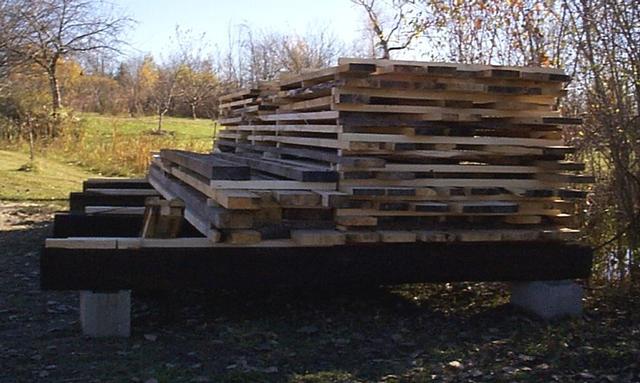
Here's a pile of stickered 2x lumber air drying, and waiting to be used to build a shelter for my Lumbermate, and Edgemate! I'm still adding to it all the time!
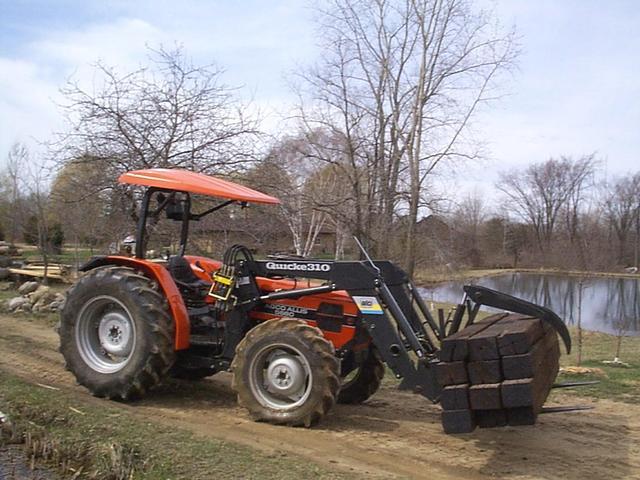
Here's my "heavy mover". I use railroad ties for a foundation to pile my lumber on. The pallet forks will pick up over 3,600 pounds!
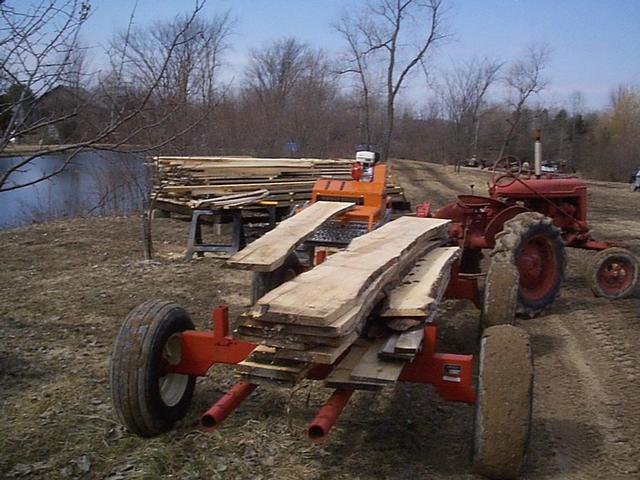
Here's a load of flitches that include red oak, beech, and poplar. Most of the flitches were already through the Edgemate before I took the picture.
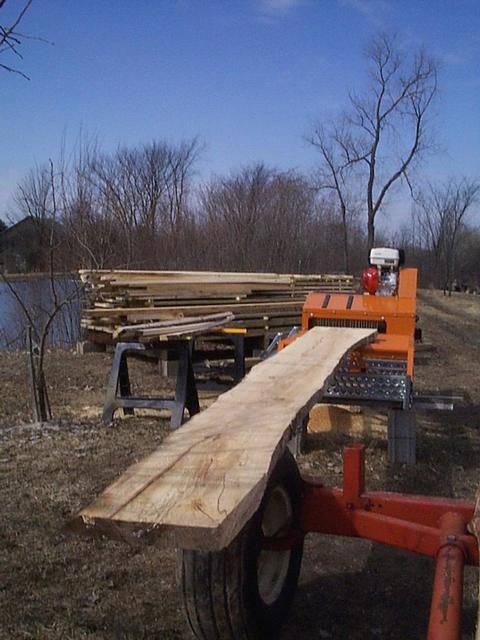
These beech flitches are 1-1/2" x 15" x 16-1/2' long. I got two 2x6's and a 2x2 out of each one. I use the 2x2's for stickers in the lumber stack in the background.
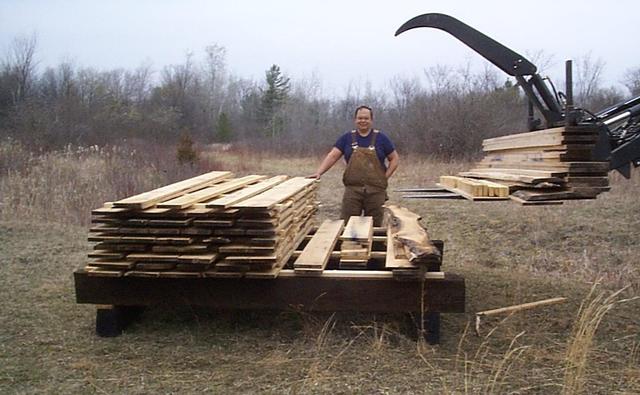
Here I am piling some red oak that I milled, and ran through the edger. A lot of this lumber is quarter sawn. All of the logs that produced these boards were harvested from my wood lot, far behind me in this picture.