Descriptions, pictures, and advice about setting up a bandsaw mill. May 21, 2009
Question I have just recently purchased a Lumbermate 2000 with the 23hp B&S. Due to the plentiful amounts of snow up here in New York I don�t see myself setting the mill up for a few months yet. So this gives me plenty of time to research things so I can get the set up correct first time. I would be grateful for any suggestions regarding this subject and to start with a simple question regarding placement - should it be placed on a concrete slab/pillars or would a wood base be sufficient? The location will be permanent and I will eventually build a saw shed and possibly solar kiln. Ideas on saw shed design would also be grateful.
Here�s an idea as to why we bought this sawmill. We have just purchased another 78 acres making our total 128acres, with 100acres being wooded. The plan is to build a home and barn and various outbuildings. Thanks in advance of any information that would be helpful.
Forum Responses (Sawing and Drying Forum)
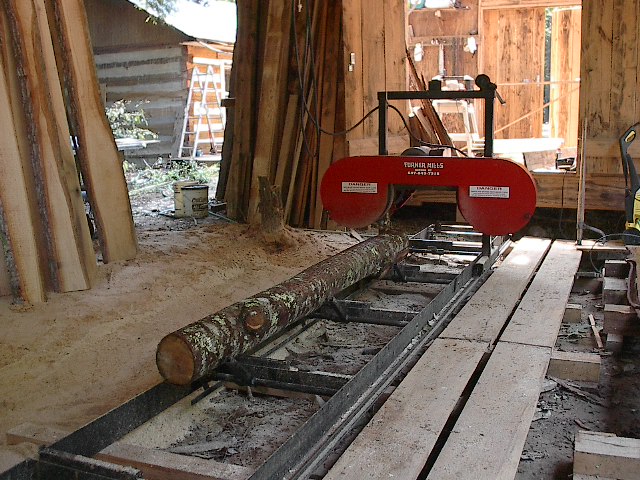
From contributor R: Put some 4x4�s under the bed and bolt the bed to the timbers like the photo below.
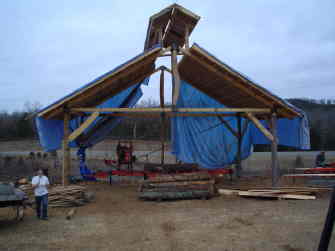
I found this video of a 30x30 frame being put together. It might give you an idea on how to build one. I�ve seen the arch built from wood also.
From contributor A: Putting it on a concrete pad would make it nice. You can then build the building over it as you go. Make the door opening to the mill at least two feet wider than the longest log you can saw and 12 feet high. No matter how big you make the saw shed it will be too small. I would pour the pad 16 feet wide as a min and 12 feet longer then the mill. If you cannot afford the concrete then just work off of a crushed stone pad. You can put 4x6's spiked down with re-bar and fill with 3/4 to fine crushed stone. It will set up pretty firm and let water weep out. The mill could sit on a 4x4 stringer system like an rr track.
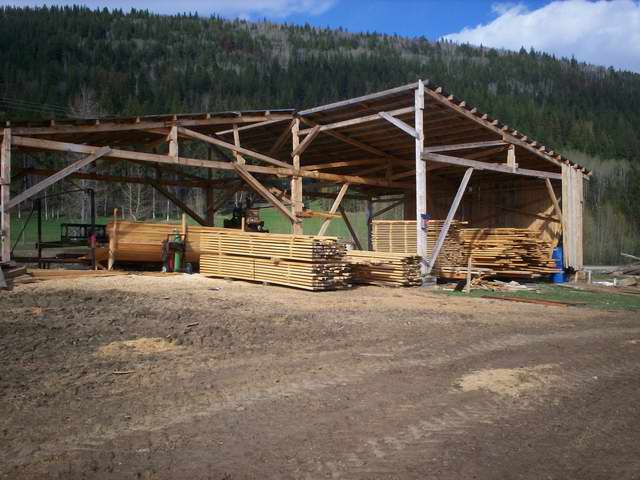
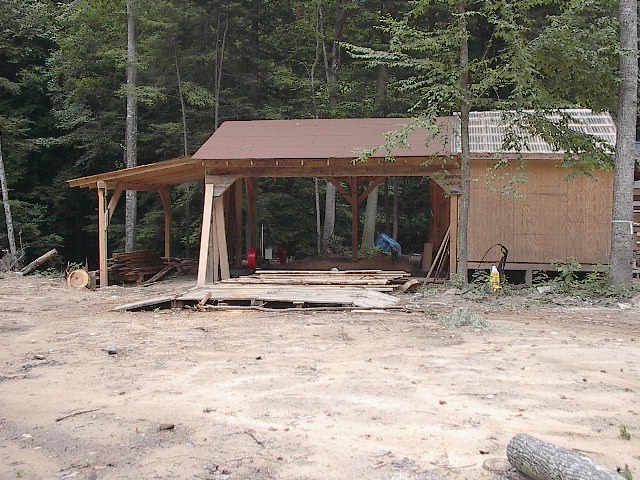
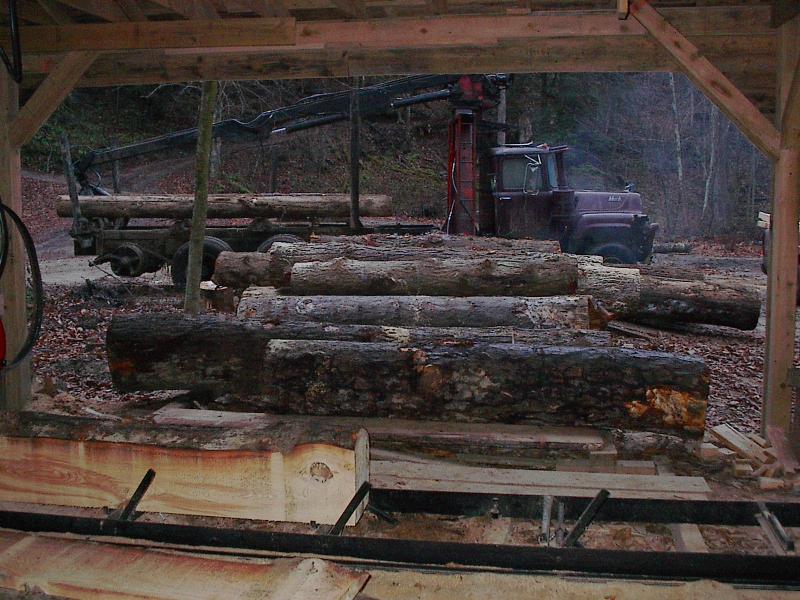
From contributor M: I agree with the last post. I built 36x68 and I will need to add more someday. If you can be more than 12' high it gives more room to forget how high you have the forklift mast. I have sloping ground out the one side so about 15� and it is much better than the 12' side. Set up so your lowest board cut is at waist height and your back will last longer. It is easy to pull a board down off the top of the log but much harder to lift it off the ground. There are many ways to get logs up on to a mill that don�t involve a lot of strength but you will handle every board by hand so lift the log not the boards. Another advantage of being up off the ground is room to get in and clean out bark and sawdust.
I live in an area with frost in the winter so a slab would just end up cracking. I have been on 6x6 cribbing for 3 years with no problems. I will be making some changes now that I have added a waste conveyer.
Don't get too hung up on the first time set up because once you are sawing you will have thousands of little improvements that get made over time. Make sure the foundation of your mill is as solid as possible with the ability to shim things as they settle and build the biggest roof you can afford.
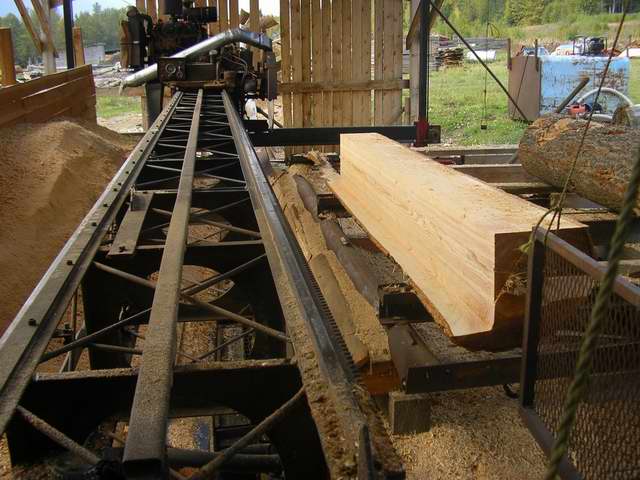
The mill. I will be installing a new log deck which will have a floor sloped into the conveyers. No plans for a live log deck yet (I did get a longer handle for my cant hook which will have to do for now).
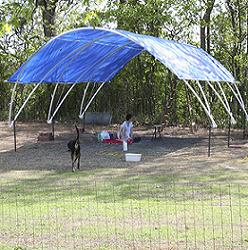
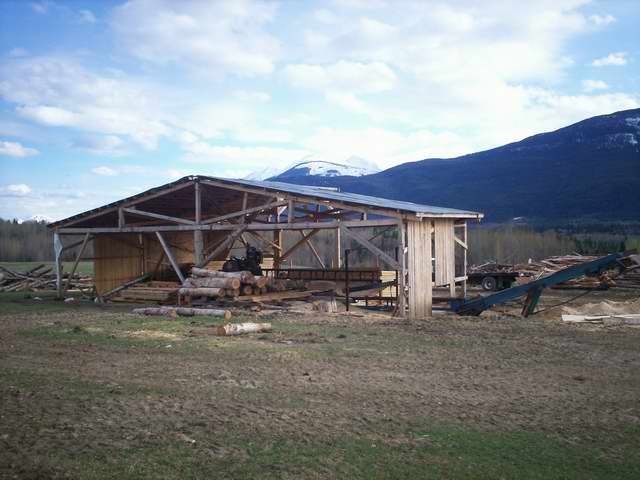
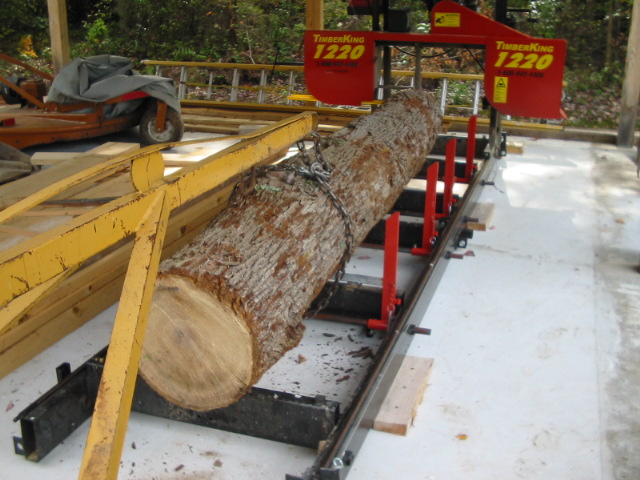
From contributor W: I can load and cut 24 foot lumber with this setup pretty good. I do have the mill setting back further now than you see in this picture. The mill also has the six foot extension attached in this picture. I cover the bed with a tarp in bad weather.
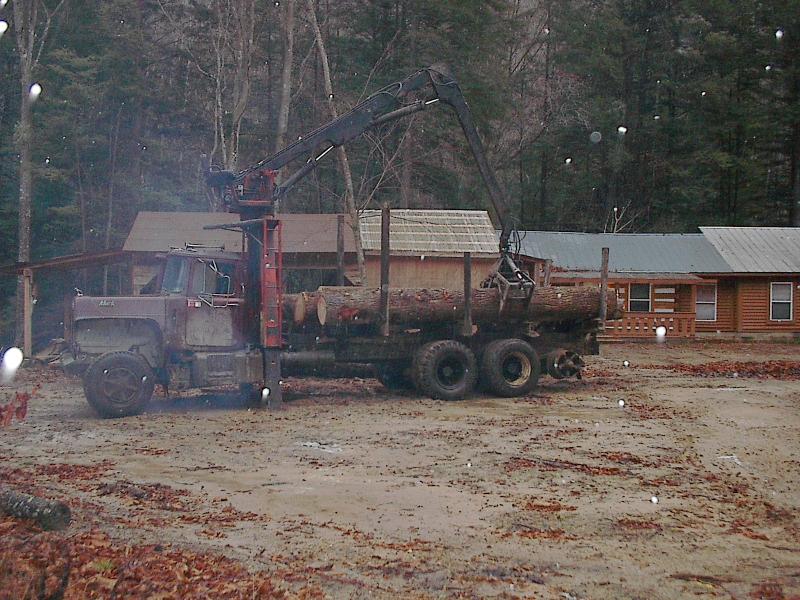
From contributor R: I used a an old 4x4 truck to drag logs out of the woods with ease like this one. I made a deck where I drove the truck across to load the log onto a log deck where one person can roll the log onto the mill with ease because the logs rolled down to the mill.
From contributor M: One more thing, I set up my mill with the prevailing wind at my back to keep the sawdust out of my eyes and the south side open so the sun shine helps keep me warm in the winter.
From contributor R: I made the log deck 20 foot long so it would hold a load of logs from a log truck.
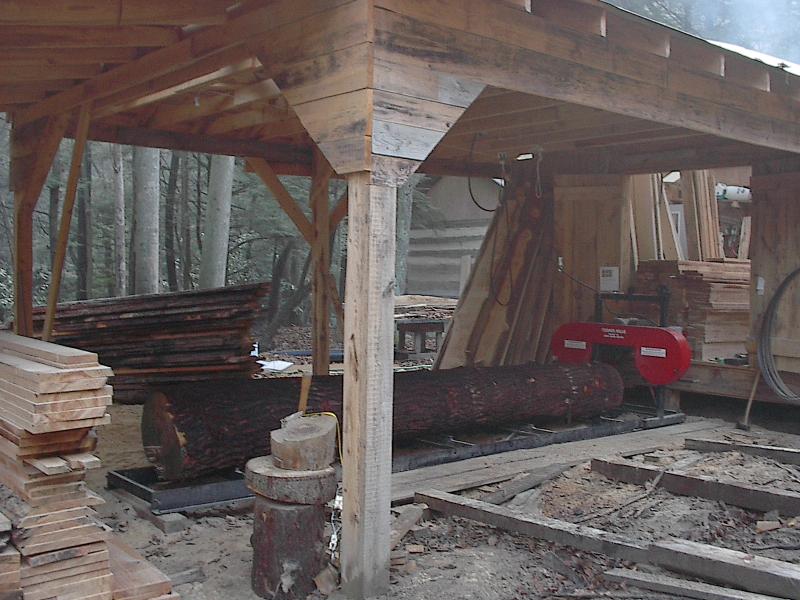
From contributor B: I sawed my first logs on a concrete slab in front of the garage - not good, too much dirt! I set up on timbers out in the open. It has its advantages, as it�s easy to load logs with a tractor and good ventilation. I decided I wanted more protection from the elements so I went undercover. Being on a slab allows for easy cleanup and a way to keep the mill from moving when loading logs.
From the original questioner: Thanks for all the responses. This has given me lots of ideas. The guys who have the concrete pads are U-bolting the mill down or just floating on top. Not sure if I can have the pad though with our very cold winters.
From contributor G: If you put in adequate footers below the frost line and have proper drainage, a concrete slab would be ok. Check with your local building/construction firms and they can give you the requirements you need.
From contributor B: Soil conditions, expansion/control joints, consideration for ground water drainage, thickness and reinforcing are factors to consider when designing a slab. I used wood blocking fastened to the slab to keep the mill from sliding when loading heavy logs.
From contributor T: That's the same mill and engine I use. We've been too mobile to justify a sawmill shed, but this spring we may finally get started on one. I don't think it would be a good idea to secure the mill to the slab unless the attachment points could give a little. When there's no place else to give, any had hard jolt has to be absorbed by your mill. Putting wood blocks between the mill and the slab then bolting it down like contributor B did would work.
Just make sure the holes are over-sized and the bolts aren't too tight. I say this from the perspective of having maxed that mill out many times and torturing it to near breaking. Setting up a log deck to load your logs on the mill will ease the stress on it and you. It will make loading more efficient. This way the deck can take the abuse of any loader accidents while it also allows you to gently roll logs onto the mill. Put a gentle slope on it and let gravity be your friend.
Considering the cost of concrete, the easy access to wood, and how much worse your legs feel after being on concrete all day. I'm considering a wood floor over gravel and packed/watered crushed lime surface.
If you have a back wall on your shed that is near the mill then, counter to the mill design, it seems the best set up is to load from the off side. If you didn't then all the sawdust would end up against the back wall and be hard to clear. Blowing the sawdust out of the shed between the mill and the deck would make it easier to clean up. It would also provide better shade for the operator in the summertime. It's not hard to load the mill from that side - I've been force to do it mobile many times and it really doesn't add extra steps.
By far your biggest challenges with a manual mill are log handling. Any mechanical assistance makes a big difference. This applies to getting the logs around the yard, moving beams off the mill, and turning large cants. There will be other considerations. If you mill a lot, how are you going to move the boards from the mill to storage? Do you have a kiln or plan on building one? It never ends.
From contributor D: Work your Norwood in the open until you get a feel for it and develop some sort of rhythm. You'll have a better idea of where not to put posts! Give a lot of thought to how you want to load your logs, offload the slabs and boards and remove sawdust. Will you be working alone? How will you move everything? Consider rollers even for smaller boards. Determine your preferred working height. I prefer not having the mill on the ground but that also requires log loading assistance or a highly recommended deck! Bolt the mill down. My preference is sonotubes for frost areas. Try to allow for expansion and the largest longest log you might ever mill. Consider overhead lifting possibilities too.
From contributor D: Bolt or not to bolt? If the mill is raised I suggest bolting for two reasons. The Norwood comes with levelers that will only push down and raise the rails. I've had issues where I couldn't get an end down no matter what I did to the other levelers. Bolting would allow both pulling down and shimming up to make sure the rails are level. Also, my son and I almost pulled our mill off its stands while trying to roll a big log! I never would have thought we could have done that even if we wanted to -a 24 inchx16 foot log! So I still suggest, if the mill is stationary and raised, level it and bolt it down. If you're still worried about bumping into it and bending the rails, then at least bolt down the rails at the log end. I love my Norwood and its light weight is an asset for mobile use but its mass is too little to offer a lot of stability on its own.