Baseboard-to-Stairs Trim Transition
Here's a nice way to handle those trim transitions where baseboard moulding runs into the bottom of a staircase. October 25, 2006
Question
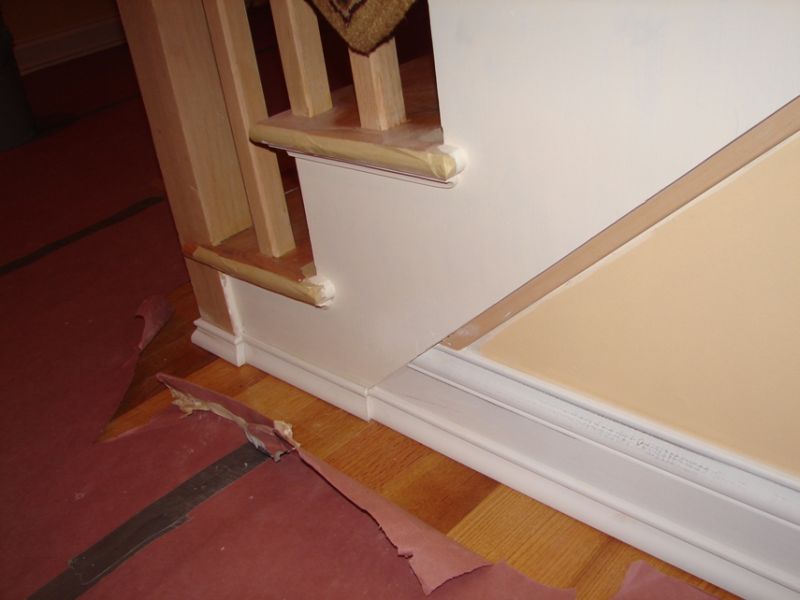
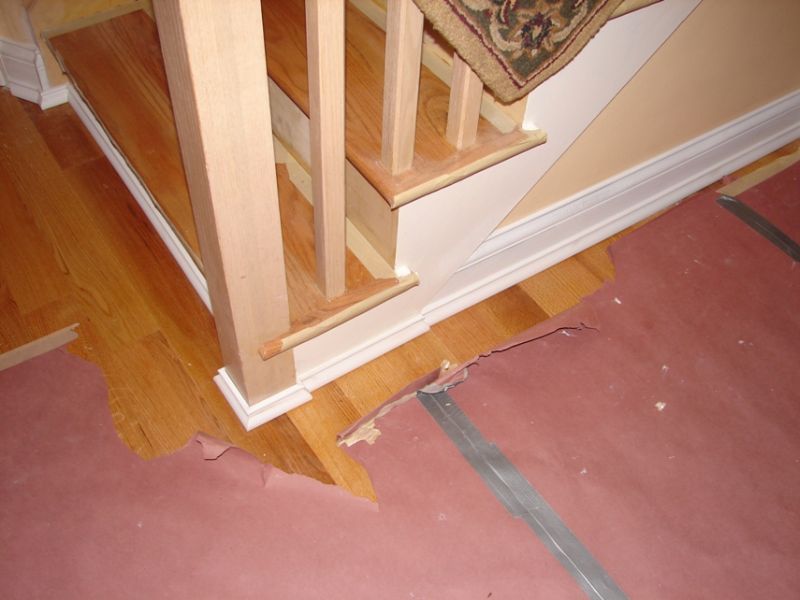
I was trimming out a place and curious if anyone had a better way to handle the shoe under the stair in this picture? Picture is best, but to clarify, I cut the shoe at the same angle as the base, then cut a mitered return and coped it (as well as coped the back of the shoe) to fit. The offset was about 7/16", so running one piece would have looked bad.
Click here for full size image
Click here for full size image
Forum Responses
(Cabinet and Millwork Installation Forum)
From contributor L:
Looks good to me. That's the way I would have done it. You can't make the base fit under the stairs and have it look correct, so what you did makes it look right.
From contributor J:
That does look good. I would probably have mitered the tiny piece of shoe (both inside and outside corners) then shot it to the long piece (against the rock) from the back side and installed it. Then worked towards the newel. But the result would have been the same.
From contributor J:
Clarification above: Long piece (that goes against the base that's on the rock)...
From contributor B:
I usually take a piece of skirt board and cut it to make a triangle and butt it up to the other skirt board, making it a square but for the base to run into, but your way looks good, too.
From contributor G:
Looks great to me! I just finished a mantle that I had to do the same, except with crown molding.
From contributor O:
Just to complicate a little, I have sometimes planed or sawed away the back side of the molding where the attachment surface steps out. Of course some of the profile is lost, and in this case the height would drop, but it's worth considering for some situations as it can look more normal than one might think. I think it would have worked for the first step here, but too much would be lost on the one around the newel. I agree with the rest; a great looking job there.
From contributor P:
I do the same as contributor B and use one of the triangle cut outs from the skirt board and attach it to the bottom edge of the skirt. This gives a square edge to butt the base into. But I am curious - do you normally use base cap for shoe molding? Wouldn't dust and debris tend to collect under the rounded edge of the molding?
From the original questioner:
I left the homeowners a sample board with base, shoe, case and crown options. They were dead set on the base cap as the shoe. They liked the extra shadow lines and detail. I thought it detracted from the taller base, but couldn't talk them out of it. Thanks, everybody.

Click here for full size image
From contributor R:
Keep in mind that there must be shoe everywhere - no dropping the skirtboard directly onto the floor wood. Remember that the shoe will have to be removed/replaced when the floor is refinished. The questioner done good.
From contributor S:
Looks good to me! A couple of other options (although I think you took the best already)� If - and that's a big if - the newel post was proud enough to cover the thickness of the base and there was enough room under the tread, you could have dead ended at the post and jogged your base back to the wall at the point where the top cap hits the skirt, and ran your shoe all the way around like you did.
If the above could have worked, maybe wrap the newel and dead end the base into the riser? Maybe across the riser face and the far wall too? Nah, maybe not the riser, but a little piece on the far wall. At least everything to the top of the base height should have been painted to match the base except the riser? The other being the above mentioned skirt add-on. If you here fishing for an 'atta boy, you got it!
From the original questioner:
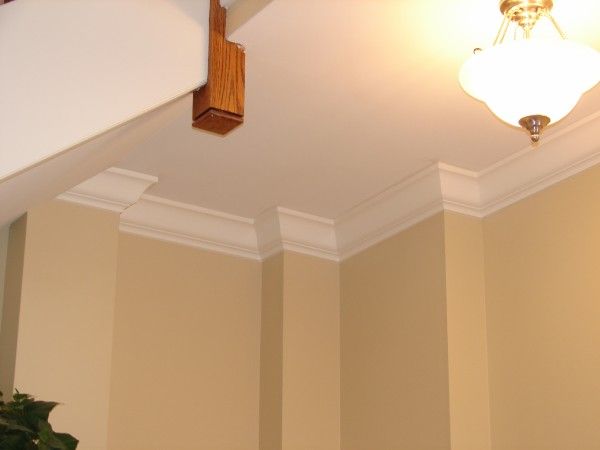
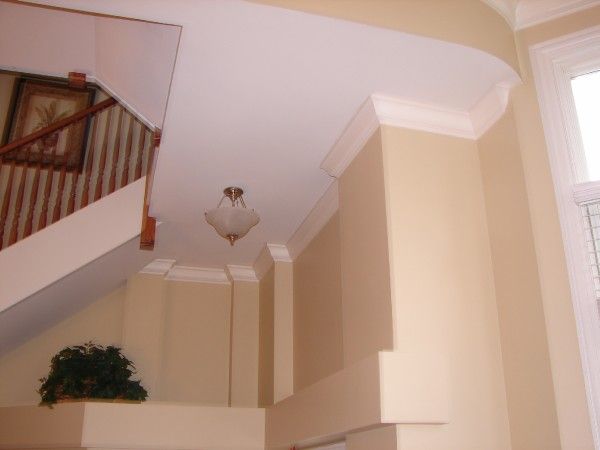
Wasn't fishing, but I'll take 'em if I catch 'em... Thanks. I wouldn't mind seeing others' crown work, coffered ceilings, curved trim and other stuff along those lines. I usually spend more time on those little things than I budget for, but I find customers appreciate those little details.
I just did some shoe this week - the new kitchen hardwood was an inch higher than the old floor in the rest of the house. The flooring guys put in a beveled transition that came down at a 45 to the old floor. So instead of stopping the shoe and starting, I turned it up the bevel and continued it. The homeowner commented about 5 times how much she loved that little detail.
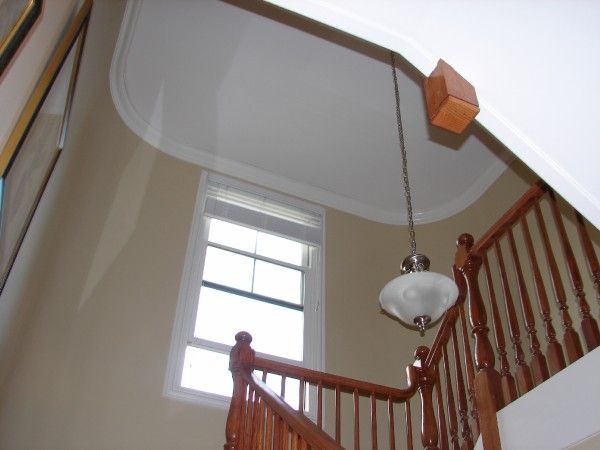
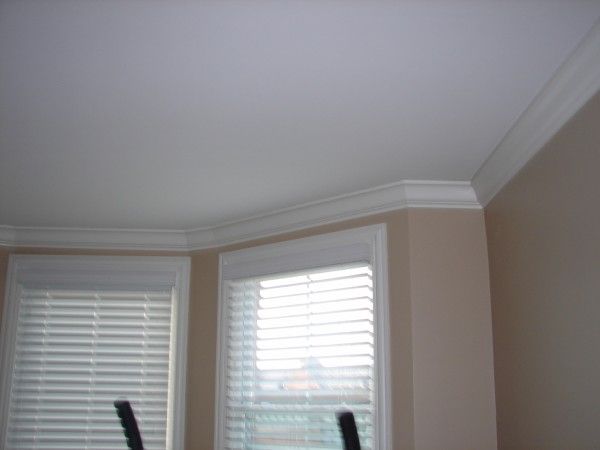
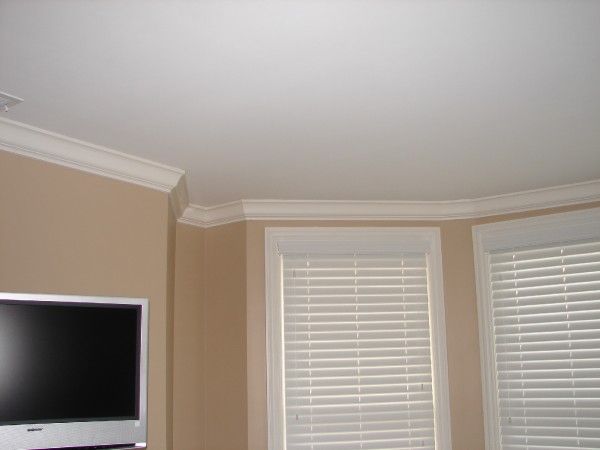
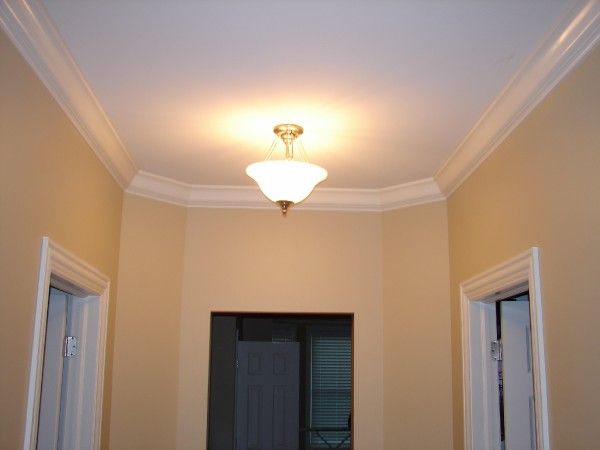
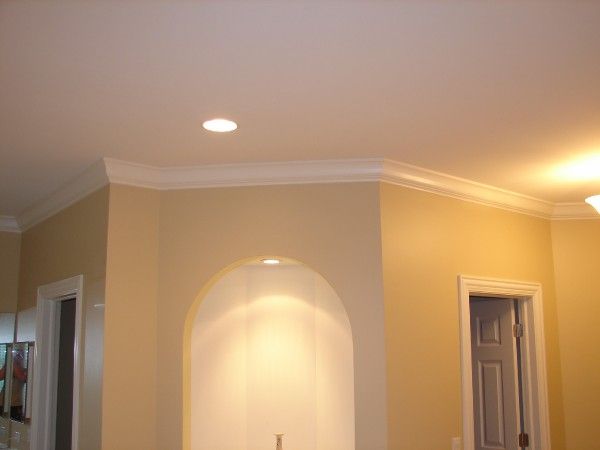
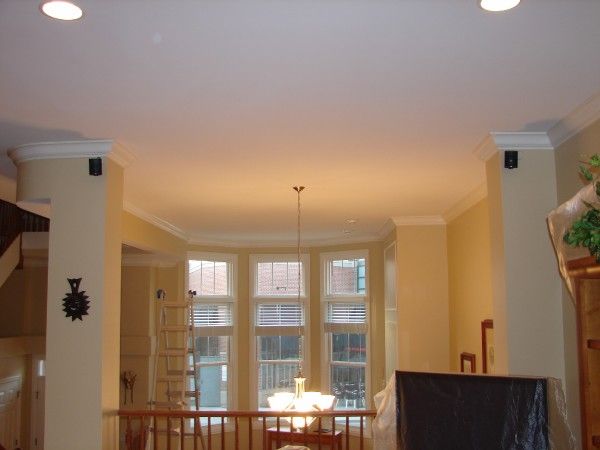
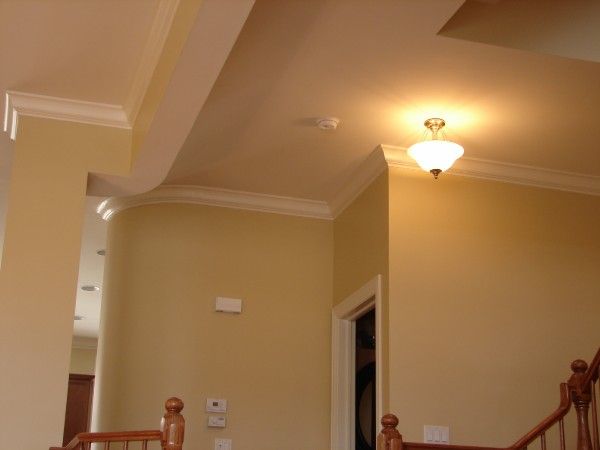
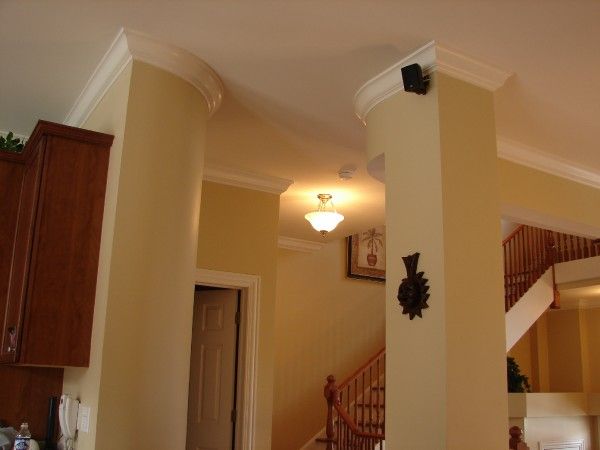
As for sharing pics, I did a crown job last month with some curved work and many ins and outs... (and 14' ceilings in parts). If anyone has other trim photos, I'd love to check them out.
Installation and photos by Robert Kubsik of Danaka Custom Carpentry & Renovation, Inc.
Click here for full size image
Click here for full size image
Click here for full size image

Click here for full size image
Click here for full size image
Click here for full size image
Click here for full size image
Click here for full size image
Click here for full size image
Click here for full size image
Click here for full size image