Custom-Built Curved Range Hood Ideas
Brainstorming about ways to design and build a custom range hood with concave curves. February 16, 2014
Question
I am going to attempt my first concave type range hood where the sides arch inwards along with the front (I guess concave is the right word). I have a plan in mind on how to do this and have studied the design out by looking at pics online. I plan to use bendable plywood which will be painted (faux, maybe an antique copper look). I have wanted to try one of these for a while. Have any of you guys done any of these, and are there any tips you can give as far as construction that might eliminate some of the first time trial and error mistakes?
Forum Responses
(Cabinetmaking Forum)
From contributor A:
You can use wacky wood or bending ply to get an easy curve. The last veneer should be a piece of 1/4 refined MDF to give you a real good substrate to paint. Are you going to do returns or a simple hollow? Give the joinery on the leading edge some thought because it�s going to be in someone�s face. It has to be good - no telegraphing glue lines or Bondo.
From contributor X:
I have done a few in the past. I framed it out almost like framing a roof for a house. I cut the rafters out of 3/4" plywood and those have the curves cut in them. After that was assembled I wrapped it with bendable plywood. From there you can wrap it with whatever skin you want, depending on the finish you want.
From Contributor O:
What no one is talking about is how the corners come together when the sides (returns) are also coved. The joint is close to a 45 at the top of the assembly, and closer to, but less than, 90 at the lower edge. This is artful hand work at its best - not for the faint of heart or the router boss. Butting joints on MDF will telegraph in no time, so they can only be done if the thing is getting gessoed or some similar coating. The ones we have replaced have been good for Bondo retailers.
From contributor X:
What I did once the structure was made was wrap it with wacky board. I got the corners the best I could by just holding the front piece down against the face and bringing the side piece up to it and scribing and trimming until I got the angle/curve to match up. Then I after attaching the sides I traced the curves for the front piece from the back side. Once the wacky board corners are fit the best you can and fastened down. I then went back and wrapped it with MDF thin enough to bend to the contour. At this point it's just a matter of letting the piece hang over and marking it from the back side. If memory serves me right I cut the compound angle/curve on the bandsaw with the table beveled. The ones that I did got painted and glazed, but if you wanted a wood finish you could just go back over it with veneer. The hoods I did that way held up very well. I was just at the jobsite not too long ago (after six years) and they look just as good as the day I made them.
From the original questioner:
The way I was going to do it is close to what Contributor X does. With what I'm doing there will be plenty room to cover up the mistakes. I may try a veneered one once I get the hang of it.
From Contributor G:
No need to go crazy - just use 1/8 or 1/4" MDF and some plywood ribs to form the basic shape. Do the best you can without going crazy. Then repair any defects with Bondo, epoxy, filler, or whatever works. Let it dry, smooth it out with sanding and then veneer over it with a smoothed grained wood like maple, or just 20 mil paper. Then you need to paint it. You'll get good corners without a hassle.
From Contributor C:
I used Italian bending 1/8'" poplar plywood. It turns out well enough not to require veneer. The one they wanted had ribs on the sides and down the mitre. It took about a day, not including painting and glazing and I charged $1,500 or so.
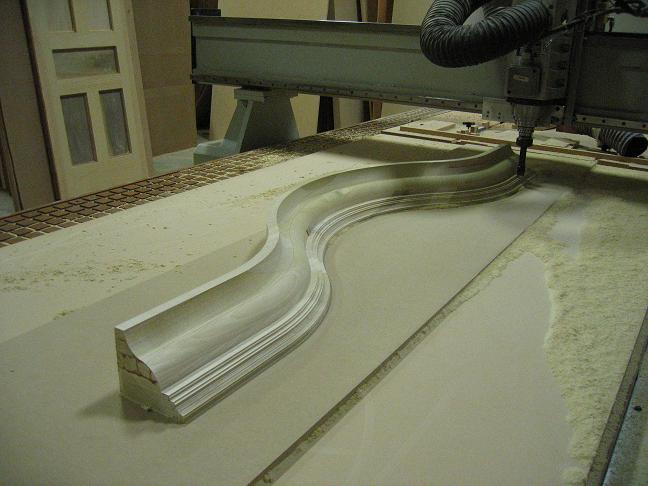
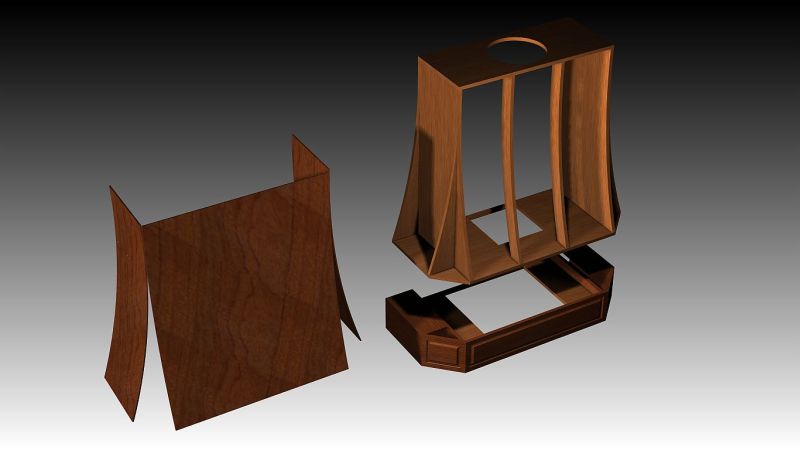
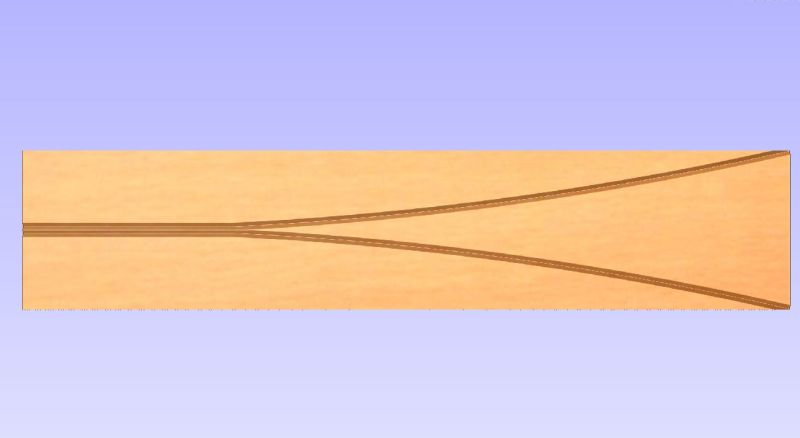
From contributor K:
We cut the frame with CNC (blind dado const.) then cover with 1/4" MDF or MDF core ply. The skin is also cut on CNC with V-Bit. This particular hood has such a slight curve that bending the skin is no problem. The raised panels were also modeled using CNC.

Click here for higher quality, full size image
Click here for higher quality, full size image
Click here for higher quality, full size image