Question
I have a sink cabinet that needs to have some fluted pilasters on either side of it. It has a 4 1/2" toekick and I can't wrap my head around a design that I can agree with. I�m trying to have some sort of a plinth on the bottom.
I was thinking that I would have a 5" board that is attached to the side of the cabinet flush to the front. Then I would have the 4" pilaster centered on that board. The pilaster would be in the same plane as the doors and drawer fronts. How do you make the drop in front of the toekick recess look proper? Does anyone have an example they can show me?
Forum Responses
(Cabinetmaking Forum)
From contributor F:
I do as you are suggesting with a filler a little wider than the pilaster. I make the filler similar to a cabinet with two sides and a front and it goes all the way to the floor. Pilaster also goes all the way to the floor. Then the toe kick is straight between the pilasters under the sink cabinet. I start the fluting 4" up from the floor (height of toe kick). Below is an image from KCD. The toe kick is recessed back too far and the fluting goes down to the floor, but you should get the idea.
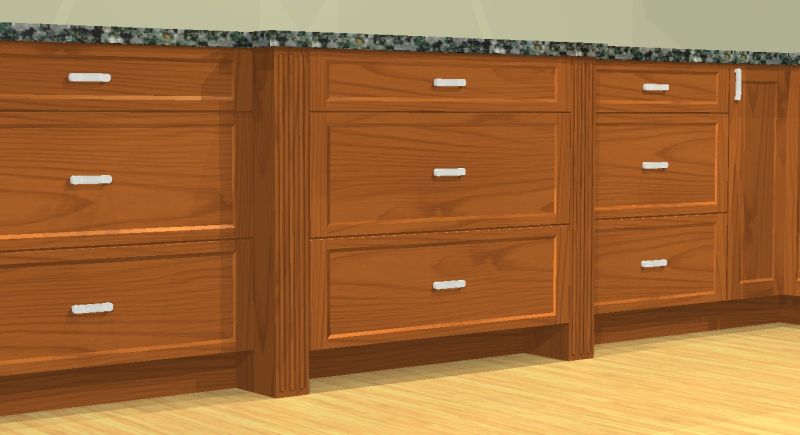
We somewhat jokingly refer to this as a modified euro style, as the filler piece becomes a face frame of sorts. One last thing - we use a 1" door as our standard, so we make the fillers out of 6/4 or better stock so that we don't have to miter it to the return piece that gets mounted to the side of the cabinet. The thought is that when the door is open, due to the thickness of the filler face piece being greater than the door plus the bumper, you can't see the joint to the side panel it is mounted to. This speeds up our filler fabrication a lot. It really is a nice built-in look when it is done.