Filling nail holes in prefinsihed moulding
The installer has shot your custom-milled cherry job full of nail holes. What do you do? September 19, 2001
Question
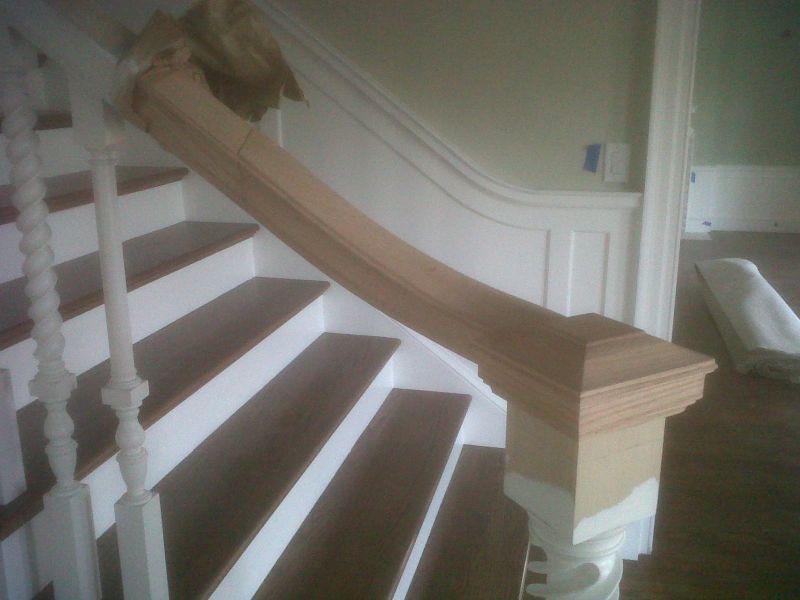
We just finished a high end job with all custom milled cherry doors, jambs, etc. We finished the trim for all the doors before the carpenters installed and planned on coming back after installation and filling nail holes and spraying the last coat of lacquer over the top. However, the installers were having trouble with thickness/hardwood, getting nails to go through into the casing. So we have a ton of nail holes we have to make invisible. We have tried every color putty known to man, Mohawk "rainbow" selection of wax filler sticks. In addition, the installers gun left a nasty black ring around some of the holes. What can we do? And colored markers� we just sanded one all the way down and used famowood and restained (looks worse).
Forum Responses
You need a touch-up artist to fill those holes with a lighter color putty and match the cherry color and apply the color with an artist brush. Mineral spirits or naptha on a rag will most likely rub those black marks away.
I just did the same thing at a local TV station where the cherry was all pre-finished in a nice medium brown with some dye tinted lacquer over the top. We used wax sticks (Konig) and then I had to do a little graining on every one of over 2500 holes. Then sprayed a quick shot of lacquer to even the sheen. I don't know a better way to do a very nice job on millwork.
Many guys just use the "play dough" type oil putty and I think that looks like crap. Have the carpenter with the air nailer help you fill them so next time he takes it a little easy on the nails.
I also found that sometimes trying another brand of touch up supplies will give you better results as they have better colors to choose from.
Bob Niemeyer, forum technical advisor
Your best bet is a good touchup guy to do the best he can, then you re-shoot everything if necessary. Main thing is the touchup guy has to be good - they all say they are, but in reality skill levels are all over the map.
Man, if I could have a penny for every nail hole I've filled, I'd be driving a corvette to a nice house on the seashore.
Thing about cherry is the grain is very amorphous and hard to touch up. You need to either have a real pro touch-up artist doing it for you or learn it in a big hurry yourself. I've cleaned black marks with naphtha and 0000 steel wool. Feel sticks are great because they don't take time to dry. Feel the hole and if you're careful, use a new razor blade and scrape excess off. Use lighter color feel stick. Also, when you're doing touch up, make sure you walk away from the piece on a regular basis and see how it looks from 6 feet back. Spray some lacquer on the top after you're done with the pigments. It takes some time to get a grip on this.
Get the Konig soft wax sticks and their applicator. Pick a color a shade lighter than you need. I use Mohawk toner, but Konig toner or markers would work also. I spray a little toner into the lid of the aerosol can and use a fine artist's brush to color in the nail hole and then spray a little clear aerosol lacquer over this to finish. Seems like a lot to do but when you get the right colors it goes pretty quick. At least your carpenters didn't sand the joints into bare wood!
Are there better touch up materials and procedures suited for this job than what Konig offers? Not that I have seen.
It's a combination of the proper use of their soft wax sticks and their special applicator to apply them. The job goes quick, easy, and (if you are good) is undetectable. Seal in with their Special Repair Lacquer.
The Konig repair system is not hype. And do not let the word "wax" scare you away.
When we apply mouldings, we try to place the nails in a "groove" of the profile. The holes are a little more difficult to fill this way, but once they are filled, they tend to disappear, as your eye is usually drawn to the flats and curves of the moulding. It also helps in the long run when the cherry ages and becomes darker than the filler applied... not much help now though, if your moulding has been peppered!
A big factor here is the quality of installation. While I was in LA I had the privilege of working with some very fine European craftsman. After an installation there were not many holes to fix. A quality installer will use panel adhesive and kickers with an occasional finish head screw to pull things tight. Recently I was doing touch-up on a custom home here in Nevada and the "carpenter" used 15 nails to attach a 6"x9" plinth block! I've had similar situations at other jobs also where trim is jointed on a long run--they can't get it glued up flush so they sand through the molding to raw wood at the joint. This is a fun touch-up on pre-cat lacquer, as you have to be careful not to exceed the mil thickness where the finish still is and yet build the raw area up to match. I try to suggest to the installers that less is better on the nails and screws but it is just faster for them to be machine-gun Kelly with those nail guns. It was better when they had to use a hammer.
For years I worked on the West Coast with true craftsman and very rarely had to go out and touch up nail holes. Here in the Midwest I see a lot of "hack" installers that use way too many nails. I filled 23 nail holes on only one cherry door jamb and stop.
As for supplies, I have used them all, from the old and I mean way back Star products. Mohawk and Konig. I swear by the Konig soft wax and the tool they sell to apply and remove the excess. Also the spray cans they have are the next best thing to my spray gun. Use the special repair lacquer and I promise you will not have a spray halo. And they label the can with the correct sheen in the number form, like 19-23 sheen, etc.--not just "satin" or "dull rubbed".
Bob Niemeyer, forum technical advisor
From the original questioner:
I contacted a local furniture finisher who does touch-up work. He will see what he can do. I went back and counted the holes on one header--just one side--there were 29 nails�ouch.
The guy who put that up ought to look for a different line of work.
If you think about it, it's not everyday that these finish carpenters put up cherry trim, most likely. And they will do what they always have done. It's a matter of education from the general or architect to the subs on how trim should be applied. It's going to happen again if someone doesn't let the carpenters know what the finish guys have to go through to satisfy the architect or owners. It's the same thing as when the general contractor hires his house painter to finish out the kitchen cabinets. They, as a rule, will use what is used on the rest of the house. Latex paint or amber colored polyurethane. Then when it yellows or there are brush marks or paint all over the hinges, they want us finishers to go in there and perform magic for little or no money.
The comments below were added after this Forum discussion was archived as a Knowledge Base article (add your comment).
Comment from contributor A:
Having applied base, door and window jams in a 3000 sq foot home, which had 15 interior doors and 36 windows, and using prefinished ash, I found Minwax sticks to be very effective and locally available. By having several colors on hand, I was able to "blend" and hide all the air gun holes very nicely. Apply the wax and have a soft cotton cloth to wipe off the excess. I sometimes use a damp rag also. One thing I have learned is that most people do *not* see 90% of the "flaws" that I do. I have found this true in home construction and cabinet making. While I am very particular about my work, most non-woodworkers rarely notice any variables.
Comment from contributor B:
These installers should go back to trimming tract housing. Cherry is one of the hardest woods to match. Its photo sensitive properties cause it to darken with light exposure. UV inhibitors should be used in the finish. Lliquid nails, panel clips and beauty brads (headless narow guage pins) and limited trim screws are the way to go. AWI standards dictate allowable fasteners according to the grade of millwork. The touch up man is usually the most well paid man on the job if he knows his stuff. A small paper bucket with a proper size hole in the bottom makes a great air brush touch up shield after filling and graining is achieved. Only nail guns that do not use oil should be used and with soft rubber tips (Senco).
Comment from contributor C:
Easiest way to get perfect color to fill holes is to cut a few pieces of scrap wood you used in the job, in this case, cherry wood. Use some of the cherry sawdust and mix with a bit of putty and paint thinner. Perfect.
Comment from contributor D:
Sand while wet. The fine sawdust goes into the putty and gives you the desired color. Also, you will cut your sanding labor costs.
Comment from contributor H:
Might sound kind of goofy, but buy the largest box of Crayola crayons that you can find. It's amazing the wide variety of colors and shades. Very easy to use, also.
Comment from contributor E:
I was a picture framer for over 25 years and found that the standard wax fillers used by that industry can cover a multitude of sins. They come in a wide variety of colors and can be mixed to an infinite variety of shades and tones. They do not dry, however, but are very easy to work with. Usually a touch darker will be best match. Investigate a local frame shop and see what's available. They might be willing to share a source and some fine points with you.