Question
I'm thinking this piece is a lost cause, but here's the story. As a favor to one of my cabinetmaker customers, I accepted a job to refinish his 50 year old walnut coffee table that had water damage from plant watering.
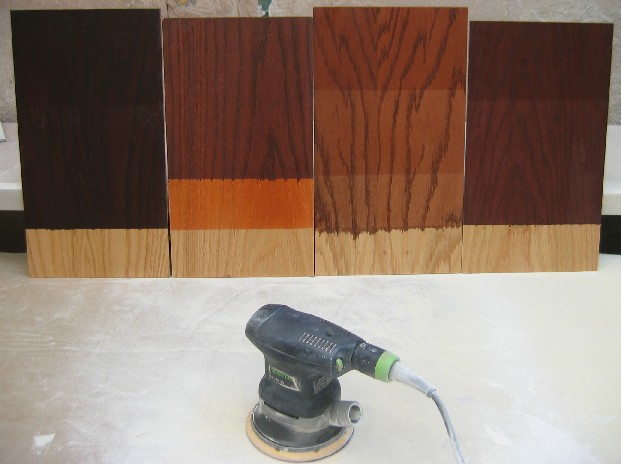
I stripped it, rubbed with a Scotchbrite and xylene followed by a Scotchbrite and lacquer thinner wipe, let it sit overnight, then washed it with oxalic acid and good rinse of clear water. Let it sit for a couple of days, then sanded it with the orbital with 120, 150, 180 and a hand sand of 180, then stained it to match the base. Then (this is where I probably messed up) I shot Valspar 60% self-seal pre-cat on with no sealer while I was doing an office desk and book case set that I sealed the day before. I didn't look at it... sprayed it and placed it on the drying rack. When it came time to sand, I noticed a few small fish eyes and hand sanded like hell and sprayed on another coat and it now has fish eyes in the hundreds if not over a thousand, on a 2' x 5' table. What do I do?
P.S. I finish new cabinets for a living and from what I've read, smoothie is not going into any of my spray equipment.
Forum Responses
(Finishing Forum)
From contributor C:
Well, lots of mistakes for sure. You will have to remove the present finish and start from scratch. Depending where you stripped and sanded, you may already have contaminated the shop by introducing sanding particles of siliconized wood into the environment. Only time will tell if it's a problem. If the sanding was not done in the area where you're finishing, probably not, but no guarantees.
When re-stripping, after the new finish is removed, you really need to use oxalic acid followed by TSP to neutralize the acid and then a few washes with clean water. Before that, you need to remove the silicone contamination with 50/50 xylol and toluol using fresh rags each time and one wipe only per section, otherwise you're just going to spread it around instead of getting rid of it. Several times or more is usually necessary for this.
Another way I hate (but that is affective) is to get a tub big enough to hold more than half the top and scrub it with ammonia, non-sudsing type. This will act as an emulsifier on the silicone oils, so they can then be washed away by running water, much like soaps gather oil off your hands and hold them in suspension until you run them under clean water when washing.
After you have removed as much of the oil as possible, apply shellac, which will prevent the oil from bleeding through to your preferred top coat. It has to be applied properly in order for it to work as well as it can.
I use a 1/4 lb cut for the first coat applied in a mist coat that dries in 30 minutes or less. When dry, I do not sand it. The upper surface of the lac is what is needed not to be disturbed. In order to lock the oil down, a second coat of 1/2 lb cut is applied, and when dry, a 1 lb cut. None of these coats are sanded and applied thinly.
After a few hours or more, a final coat of 2 lb lac is applied. Then sand with fine paper (400/600) till smooth and ready the surface for the coatings to follow.
Most likely at 50 years old, the finish was nitrocellulose lacquer. I would use the same material, only using a bar top lacquer to better protect it from further water and/or alcohol damage. It will also knit perfectly to the shellac barrier coating. It should be applied in a dry coat for the first couple of coats. Wait till dry to also form a solid barrier of lacquer that will help the coating from possibly fish eyeing, which can still happen if you were careless with the previous shellac steps outlined. How would I know that?:)
At this point, there should be no evidence of even the most minute circles/holes which would indicate there is still an oil problem. If this is the case, unfortunately, you will have no choice but to add smoothie to the lacquer and go forward.
Not much will be needed, though, if the problems are tiny in size, maybe several drops. Make sure to do this away from your other work, outside if possible, and that includes all prep work. I would recommend a cheap gun like Astros to dedicate to siliconized finishes so that if ever this arises again you will have it on hand.
If you have to spray in your booth, I recommend spraying the top as close to the filters as possible and changing the filters after the coatings have dried hard. I would then advise you to put a fresh coat of booth-coat over the entire booth to seal in any possible contamination. Overkill? I'll let your future non siliconed work answer that question for you - it is always truthful.
While I respect contributor C's assessment, I would never go to all that time and trouble. I could not afford to be down that long. I would replace the hoses if I had to. Hell, I would make a new top as well. That's just me. Time is money. You know you have silicone contamination. You just have to find what works best for you.
In this case, you already have fish eyes in the surface of the finish. The way to fix the problem is to sand the finish back as far as you can without cutting through and getting into the stain. Then add some Smoothie to your finish and spray additional coat(s) over the leveled finish. You may have to perform this sanding/leveling 2-3 times if you sprayed the finish heavy and have deep craters.
Fish eye eliminator like Smoothie is silicone oil. I've been using it for years and have never had a problem with contamination of my sanding area, spray booth, or spray equipment. I do throw away the sandpaper I use between coats of finish and clean the spray equipment well with lacquer thinner or acetone after use (like always).
I like using a 2k isolante coat myself to seal off the offending contamination and then if that doesn't work, it gets a shot of smoothie through my gravity cup. (I use my Sata and just clean it well after use.)
Paul, do you have a Smoothie gun? I would be afraid of future contamination. Sometimes regular finishes can be difficult to clean.
I would think the newer Sealcoat shellac would be ideal as a barrier coat for these old mystery pieces covered with lard and/or Pledge. A few unsanded coats should bury most contaminants.
When refinishing furniture and cabinetry, I think it's wise to use Smoothie every time. It doesn't cause any harm but it does prevent fisheyes which are a pain to fix once you have them. I have tried various contamination removal processes including a flow over bath of wax and grease remover solvents with limited success. I've had the same results using shellac (limited success).
If you're using 2K poly, the isolante for oily woods will seal the contamination. I have used it only once on a refinish job, and it worked well.
Give the stripped items a good wash down with generous amounts of lacquer thinner and clean rags. Let the stripped items sit for a day.
Apply the new finish using the steps appropriate to get the color and effect you want. When using pre-cat and CV on bath and kitchen cabinetry, I prefer to use vinyl sealer over the stain and glaze coat(s). With CV, the vinyl sealer needs to be catalyzed to avoid wrinkling.
Add Smoothie to the vinyl sealer and CV topcoats.
If you get spots that don't want to dry (sticky), don't panic. It's caused by the wax from the stripper migrating to the surface of the finish. Give the spots a really light wipe with a clean cloth and naphtha and they will dry pretty quickly. Otherwise, it will take days for them to dry on their own.