Reprinted with permission from TJ Brown of TJ's Woodshop.
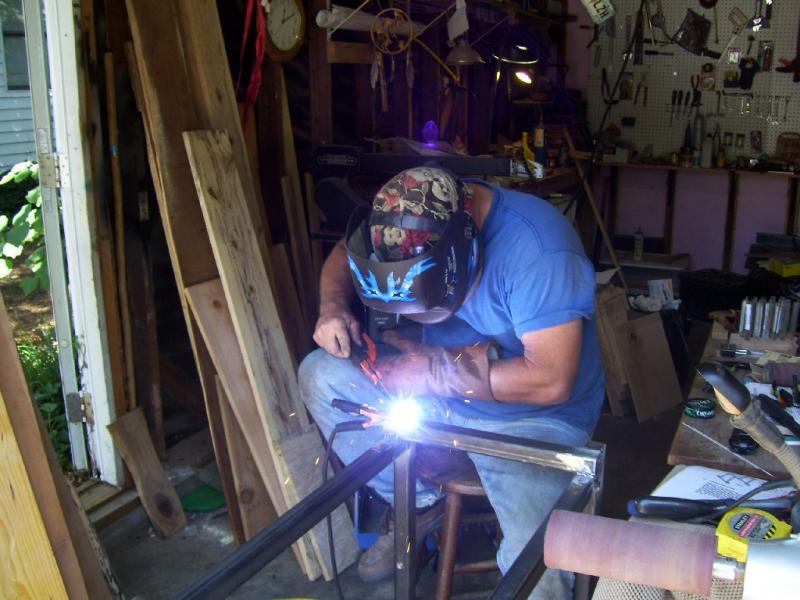
This page shows the step by step photos of a portable chainsaw sawmill that my friend Chuck and I built and my reasons for the changes we made.
It's powered by a modified 066 Stihl chainsaw with a 32 inch bar. It took me over 18 months of looking at other people's mills, planning, daydreaming and gathering the parts and then 3 months for me and my friend to build it, because I kept making changes and adding what I thought of as improvements.
Now that it's finished I have to say it was worth all the time and trouble to get the mill built the way I wanted. I can't describe what a great feeling it was to cut the first log on it.
Don't let the 3 month build time discourage you if you are thinking of building a mill. I only worked on it a half day here and a couple of hours there every week or two. Truth be told, I bet we have less than 40 hours in the build time.
On a side note, there is a big debate among people that own sawmills about which is better, a chainsaw mill, bandsaw mill or a circular mill. All have their advantages and disadvantages, but I guess it comes down to this for me. I'm the one who will be using it and I built it to suit my needs.
Now if you just can't stand the thought of someone using a chainsaw mill and you want to give me a portable bandsaw or circular mill, Great! I would love to have it and use it.
Other than that you are not going to change my mind about the bandsaw or circular being any better. This is from my personal experience. I have milled and helped others mill using some of the big name commercial band sawmills and circular mills and I have also milled on some home built chainsaw mills.
I will put the quality of the lumber cut on a good homebuilt chainsaw mill up against any bandsaw or circular mill, commercial or homebuilt. A portable bandsaw or circular mill might saw through a log about a zillion times faster than a chainsaw mill, but I bet you can't mill quality lumber any better than I can.
Click here for higher quality, full size image
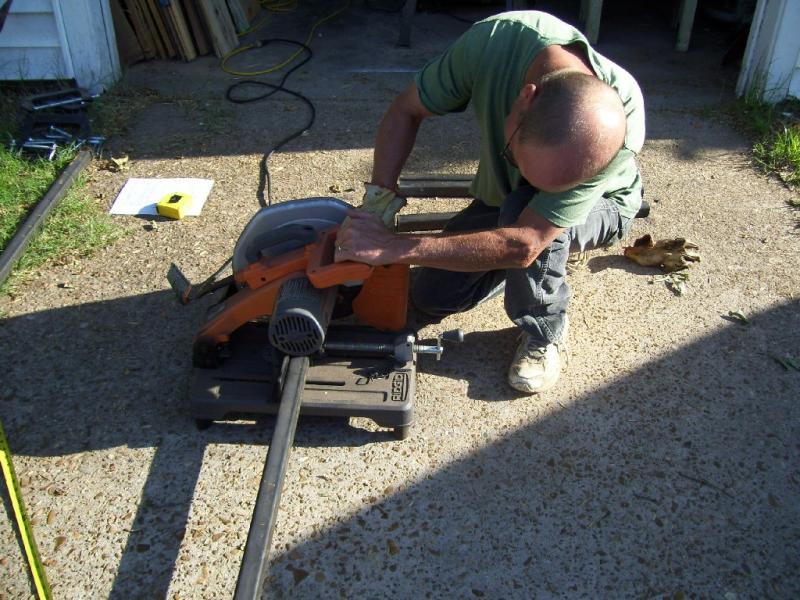
Making the first cut on the inch and a half tubing that will be used for the frame
Click here for higher quality, full size image
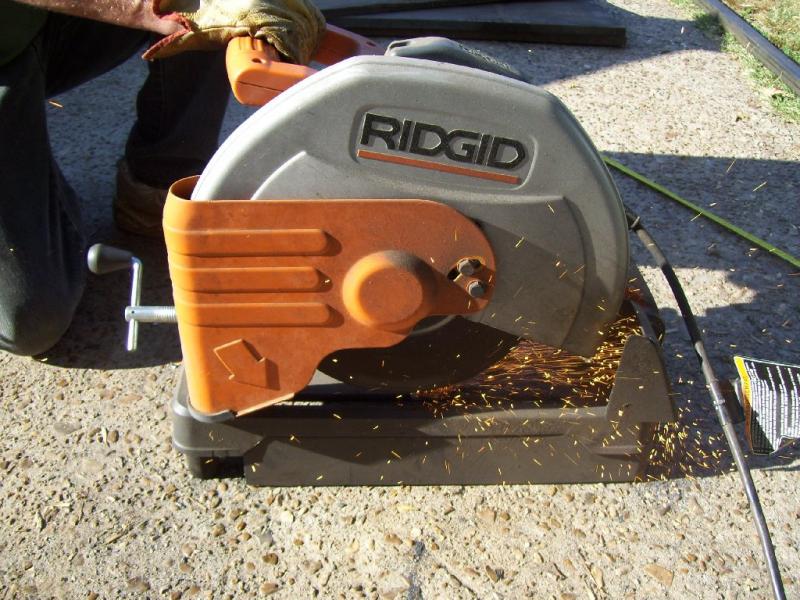
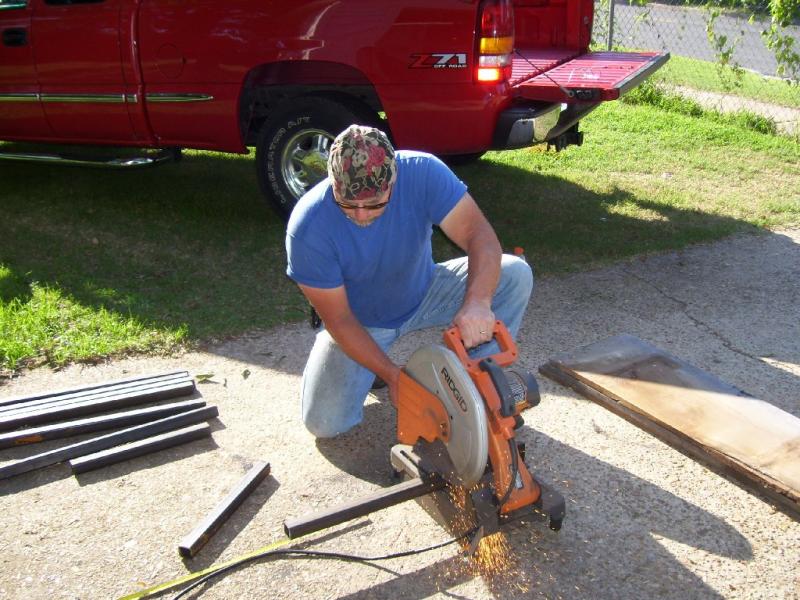
Getting all the tubing cut to length
Click here for higher quality, full size image
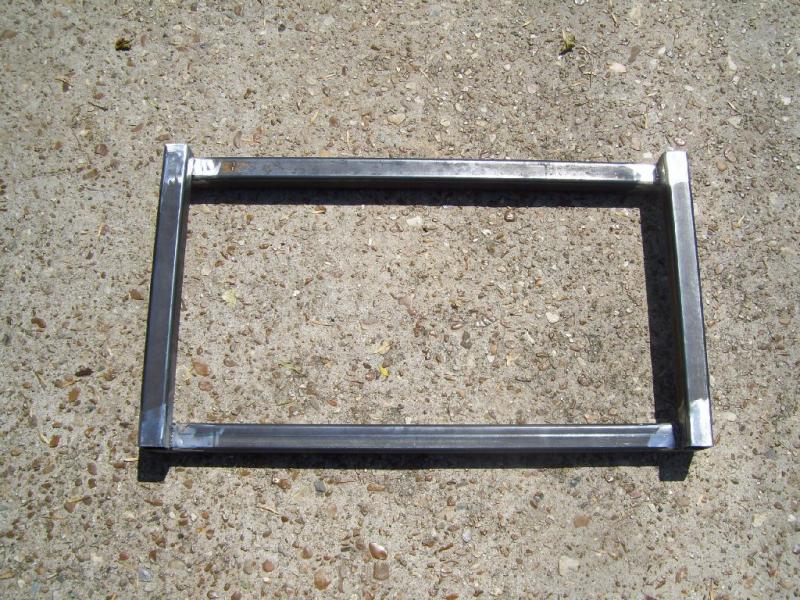
One side of the frame welded
Click here for higher quality, full size image
Adding the top pieces
Click here for higher quality, full size image
Tacking it all together
Click here for higher quality, full size image
Frame is almost finished, we thought

Click here for higher quality, full size image
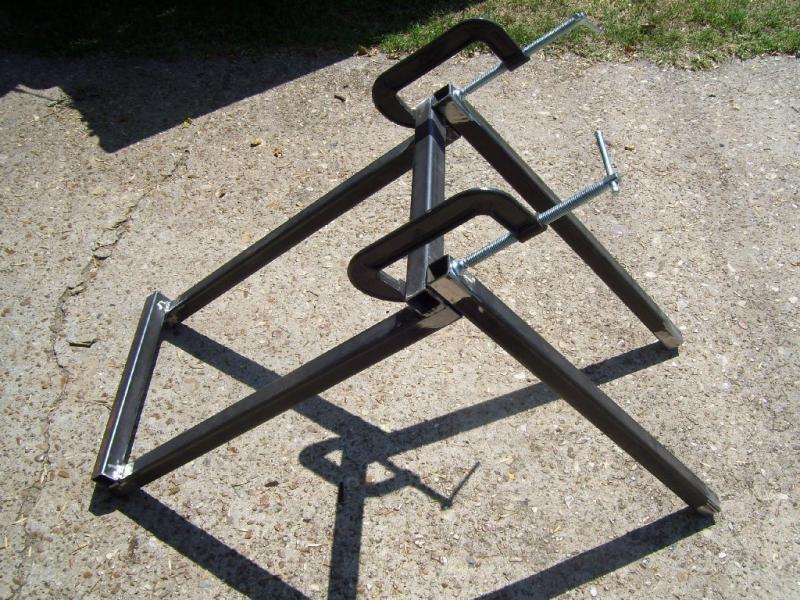
Decided to add corner braces
Click here for higher quality, full size image
Adding the 2X4 tubing that the wheels bolt to
Click here for higher quality, full size image
Ready to weld them

Click here for higher quality, full size image
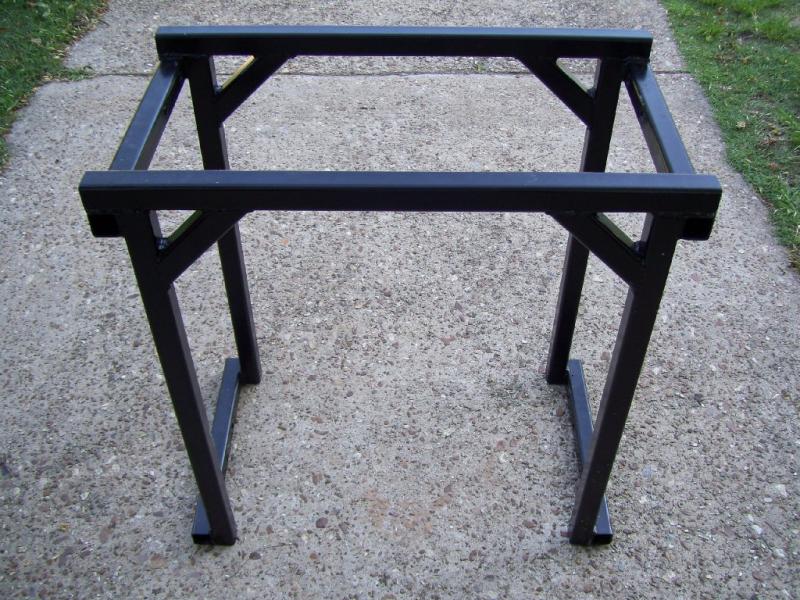
Thinking once again that the frame is almost finished

Click here for higher quality, full size image
Starting to bolt the hardware on
Click here for higher quality, full size image
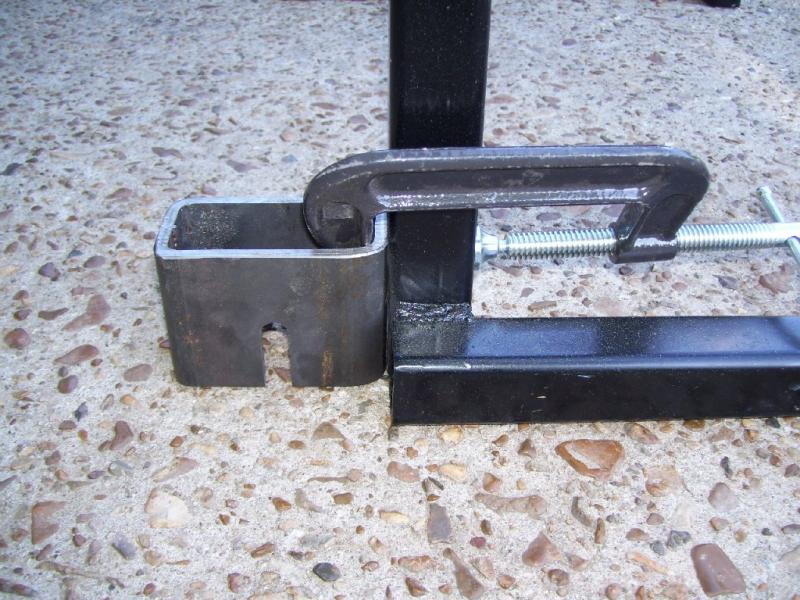
Not really liking how it's turning out and starting to think of the first changes
Click here for higher quality, full size image
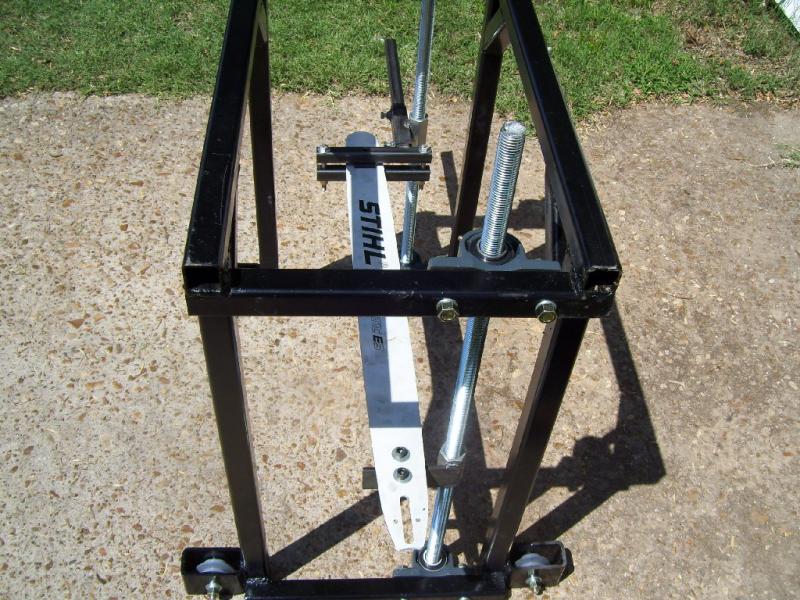
Close up of the sliding bar clamp
Click here for higher quality, full size image
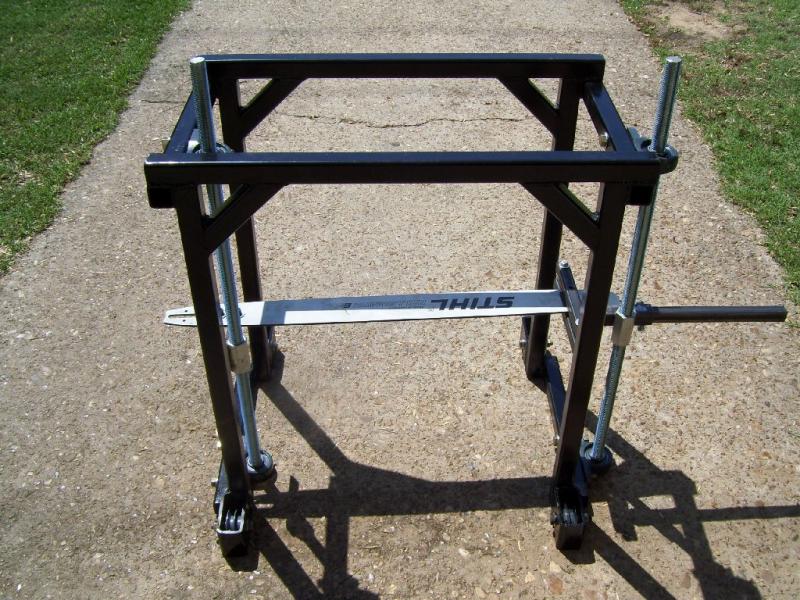
Bolted the chainsaw on for the first time and decided the frame is not wide enough for what I want to do

Click here for higher quality, full size image
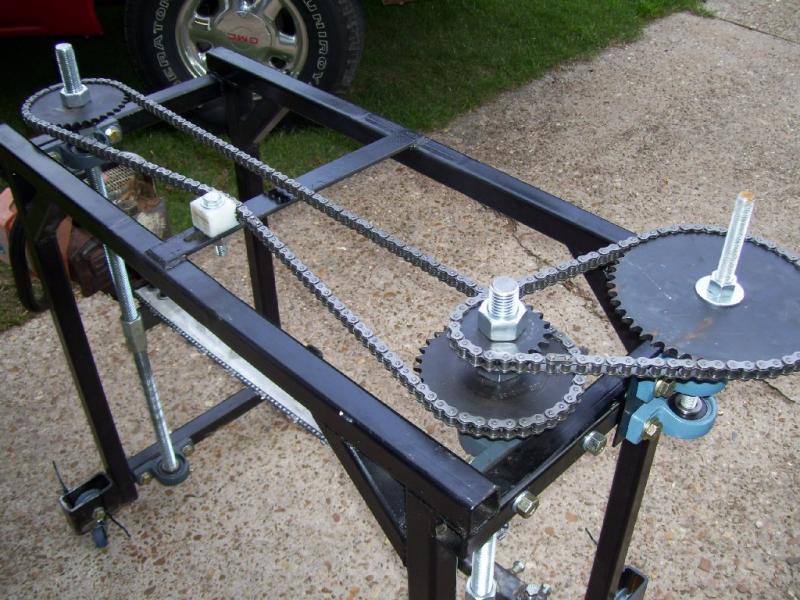
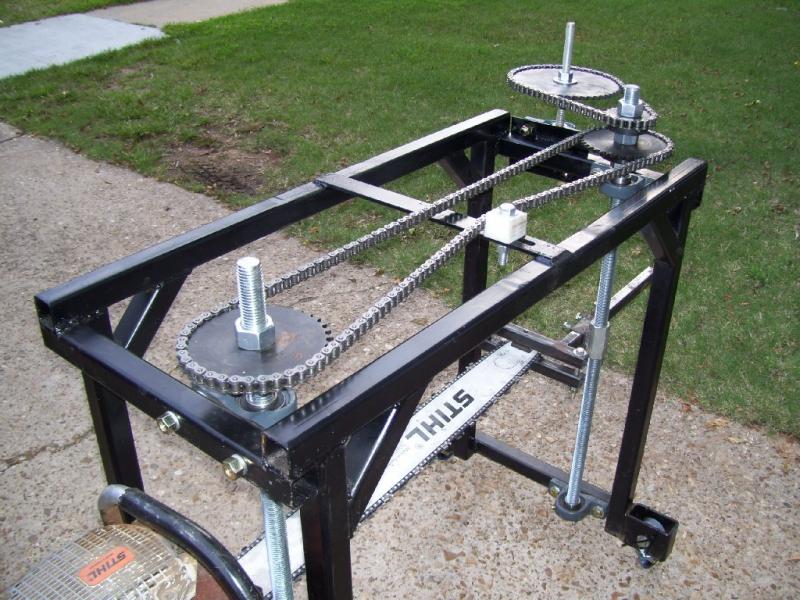
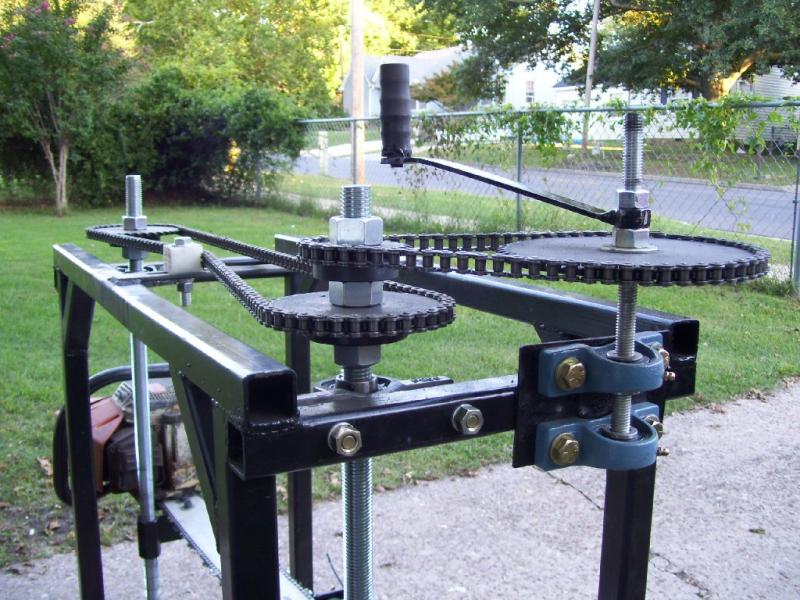
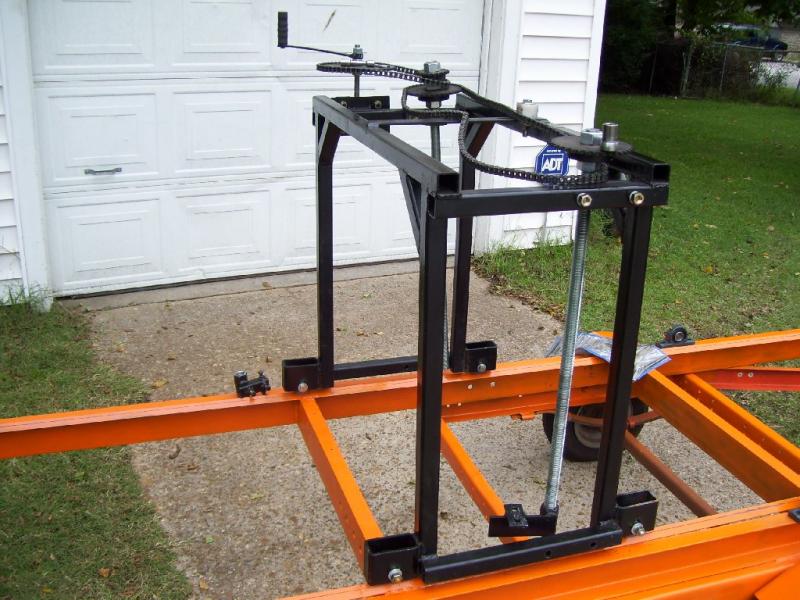
Frame is now 38 inchs wide, moved the hardware that lifts the saw to the inside and added the sprockets and chains
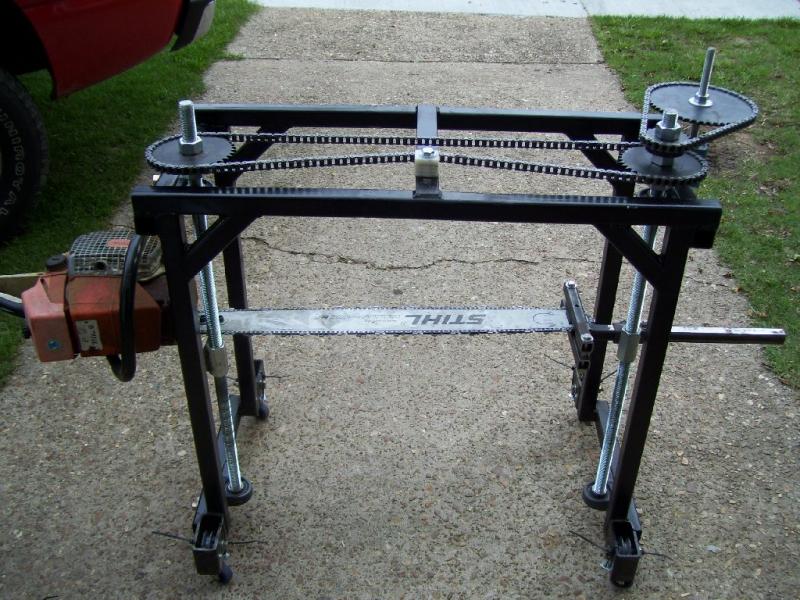
Click here for higher quality, full size image
Decided to mount the height control on the end away from the saw head, I will also mount a remote throttle control on this side. This is the side I will be loading the logs on and turning them when I'm milling

Click here for higher quality, full size image
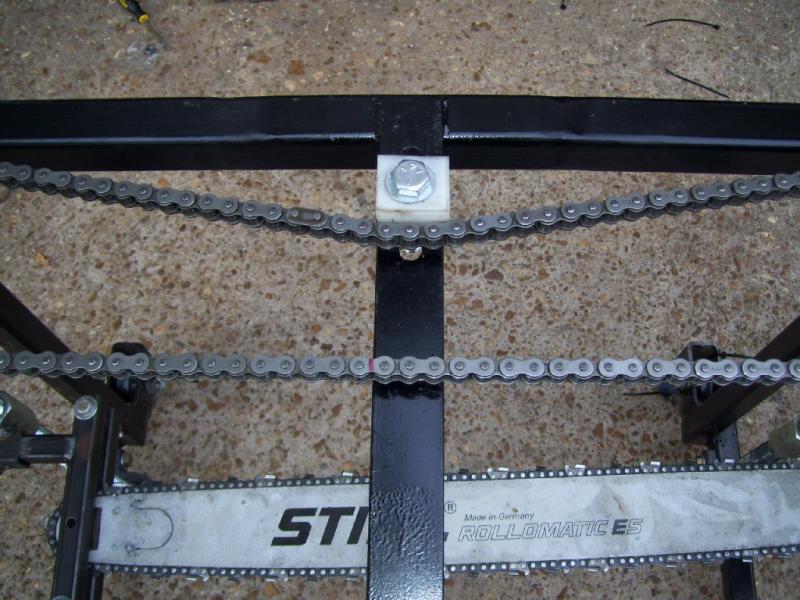
Added a flat piece of metal with a groove cut in it to the center of the frame so I can tighten the chain to prevent it from sagging
Click here for higher quality, full size image
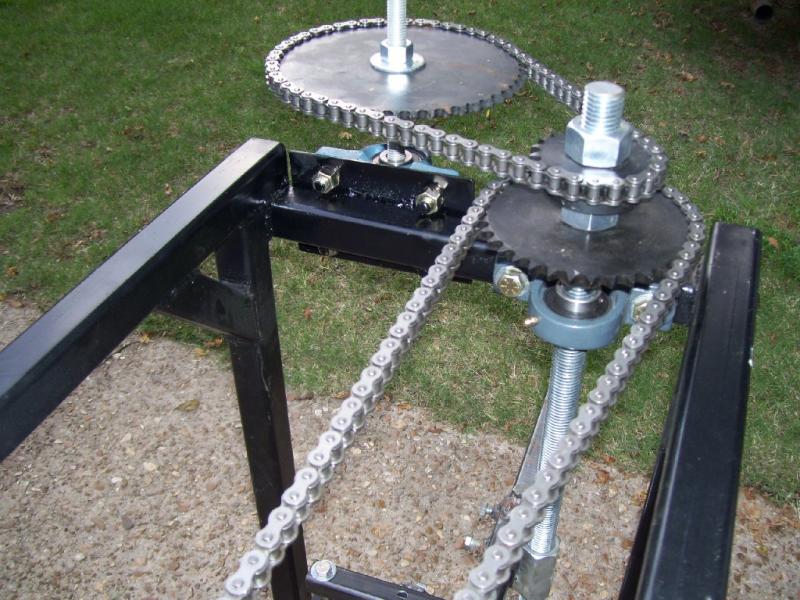
Thought about using a small sprocket but used a piece of polypropylene that a friend that owns a machine shop gave me.
Click here for higher quality, full size image
I will attach a handle to the 50 tooth sprocket to turn the 20 tooth which will turn the 36 tooth below it. It should end up being 4 turns to move the saw 1 inch
Click here for higher quality, full size image
Almost finished, I think
Click here for higher quality, full size image
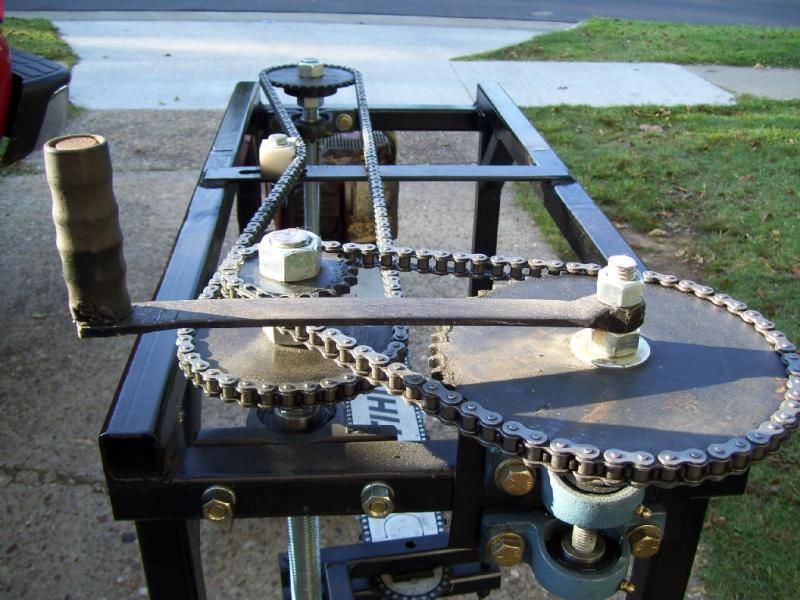
Built a handle and installed it, the height control is finished
Click here for higher quality, full size image
Guess it wasn't finished after all. I didnt like how much of the all thread was sticking up above the nuts so I trimmed it off and lowered the handle a inch. Now it's finished
Click here for higher quality, full size image
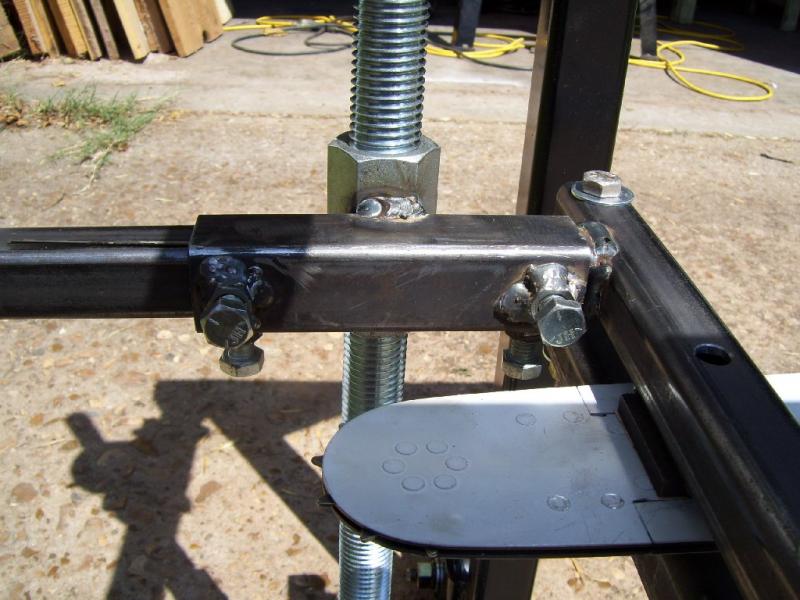
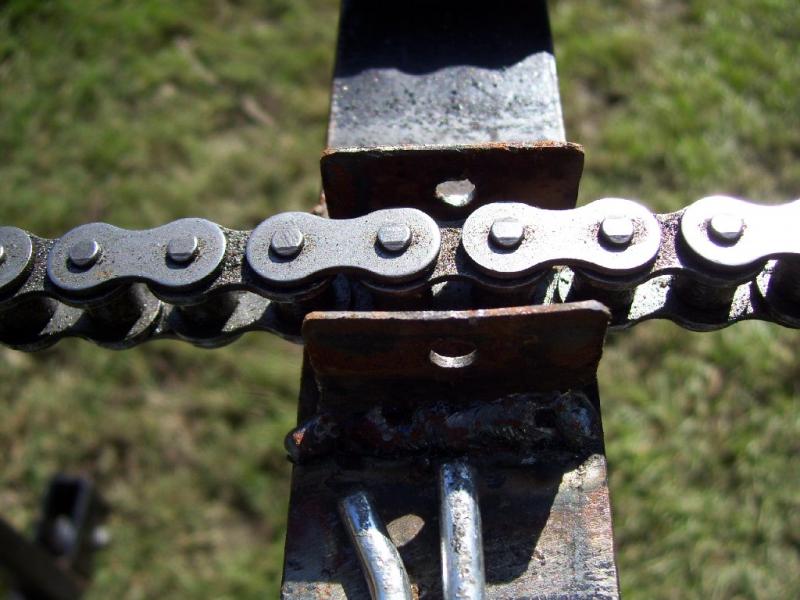
Had a problem with the vibration from the saw making the height control start unwinding and the saw start dropping lower. Chuck sliced the top off of a 1 inch piece of thin tubing and drilled a hole through it so I could weld it on the bar that I adjust the chains tension with
Click here for higher quality, full size image
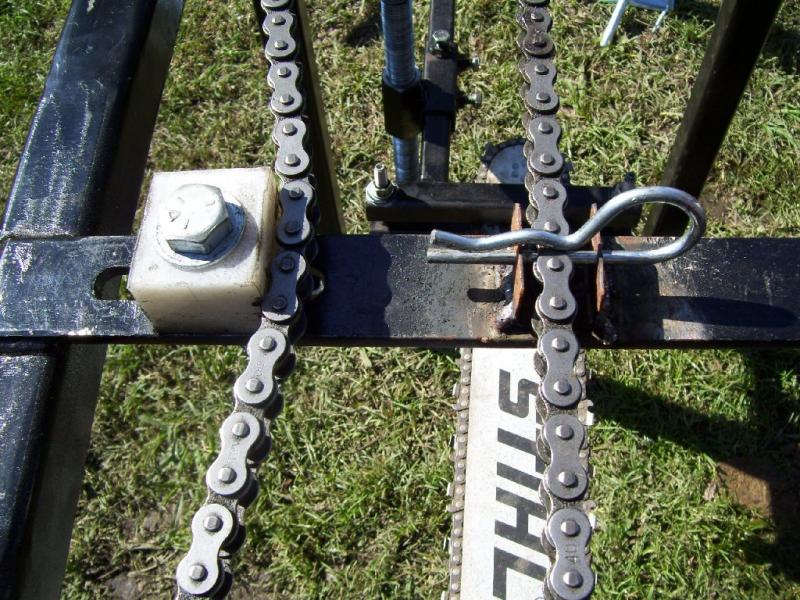
Slide the keeper pin through the chain and it locks everything in place so the saw can't move
Click here for higher quality, full size image
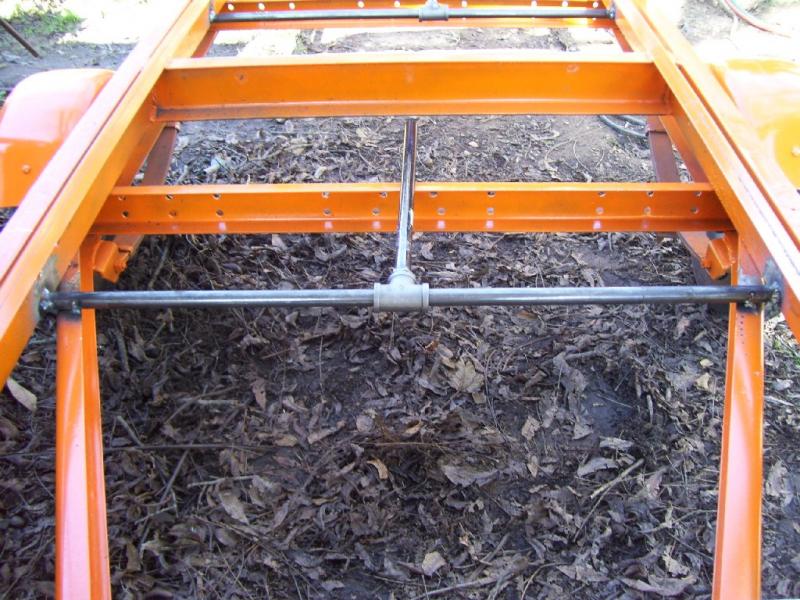
Started building the log bed. It is 14 feet long so I will be able to cut a 10 foot log

Click here for higher quality, full size image
Tacked together.

Click here for higher quality, full size image
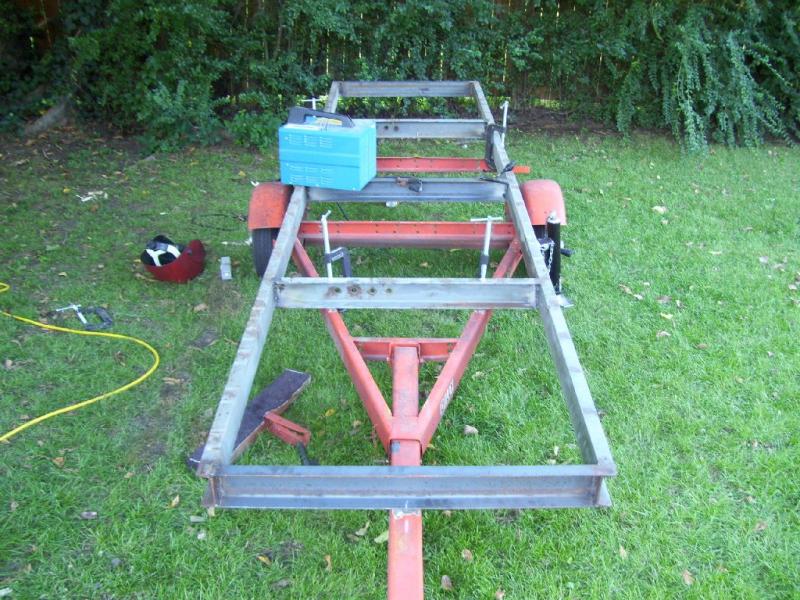
Put the bed up on the trailer to find where the balance point is. I still have to add more cross pieces. The trailer is a small boat trailer that I removed the runners that the boat sat on

Click here for higher quality, full size image
Finished welding in all the cross pieces and tacked the frame to the trailer, it's getting close to being finished
Click here for higher quality, full size image
About to weld on the angle iron that the carriage will ride on
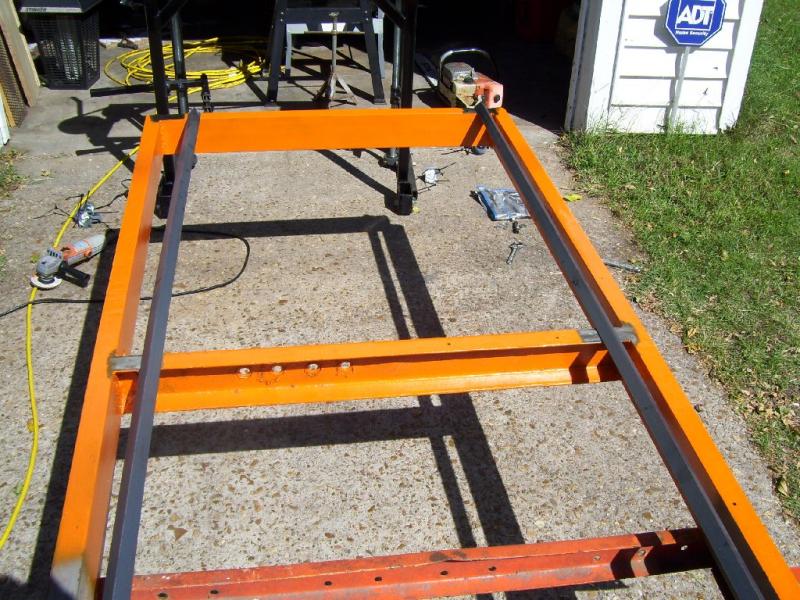
Click here for higher quality, full size image
The angle iron track is in place, ready to weld. I decided to place it inverted, like a upside down V because I think it will be less likely to get bent that way
Click here for higher quality, full size image
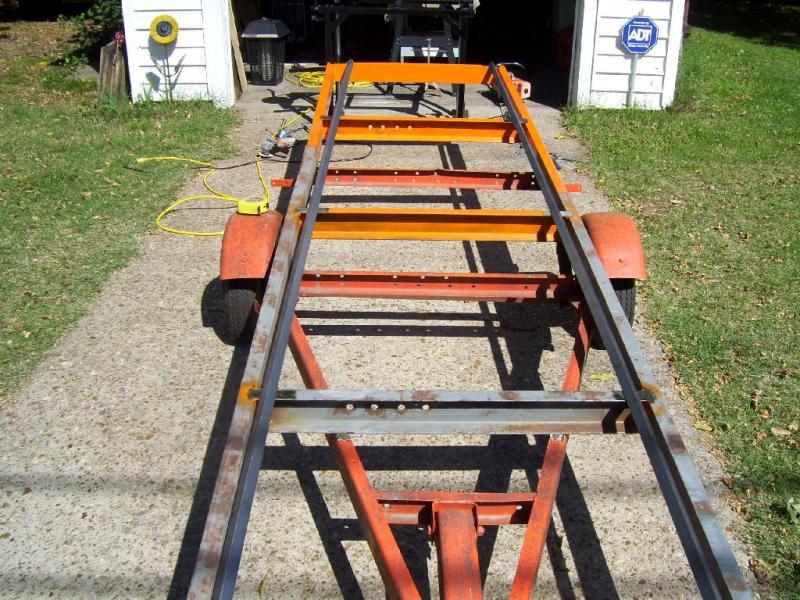
Put the carriage up on the tracks and pushed it back and forth to make sure the tracks were the right distance apart
Click here for higher quality, full size image
All welded up and ready for a light coat of paint to keep it from rusting

Click here for higher quality, full size image
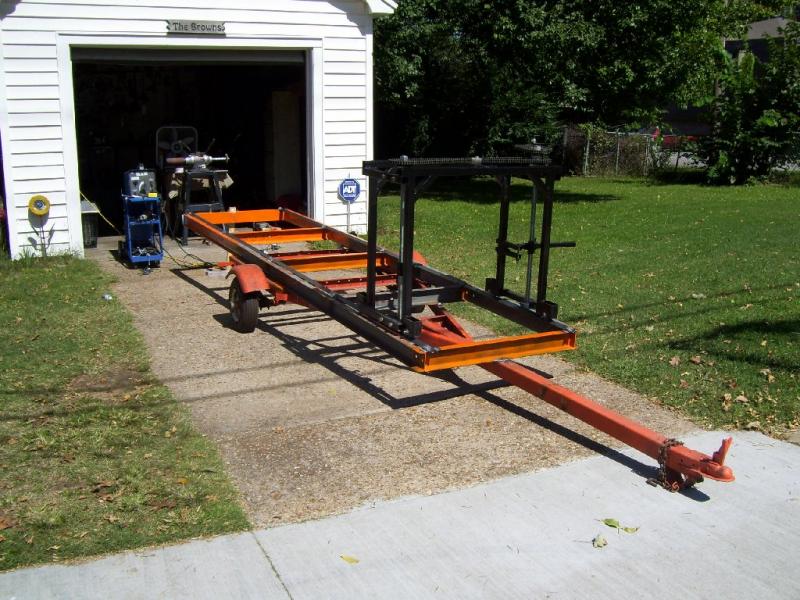
Put the first coat of paint on and bolted the saw on the carriage just to see how it looks. Still have to build the log bunks, fences and dogs

Click here for higher quality, full size image
Took it out on a little 30 mile roadtrip to see how it towed and handled behind my small truck. It tracked great around sharp corners and it's long enough to see when backing. It also ended up light enough that I couldn't tell I was towing anything. I'm very happy with it!
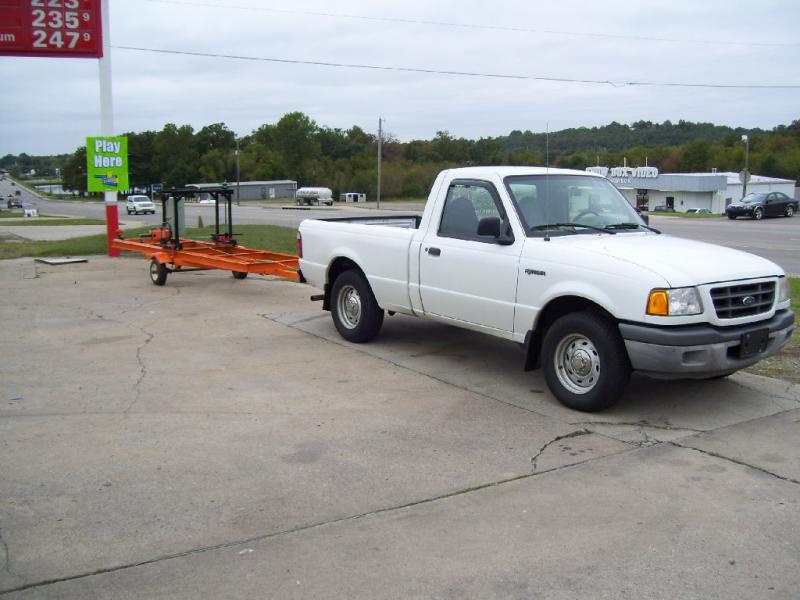
Click here for higher quality, full size image
Decided since I was not building this mill for any kind of big production I could do away with the remote throttle and keep it a little more simple
Tore it back apart again to move the saw to the same side as the height control
Click here for higher quality, full size image
Building the sliding log dogs was easier than I thought. I have been thinking of dozens of different ways to build them and while I was in a hardware store looking at pipe it hit me. I used 1/2 black gas pipe and put a 3/4 inch T fitting over it. Then I screwed a 3/4 to 1/2 inch adapter in it and screwed another 18 inch piece of gas pipe in that
Click here for higher quality, full size image
The dog slides back and forth as smooth as glass

Click here for higher quality, full size image
Two 6 inch pieces of 1/2 inch all thread welded into a T with the point sharpened and run through a long nut
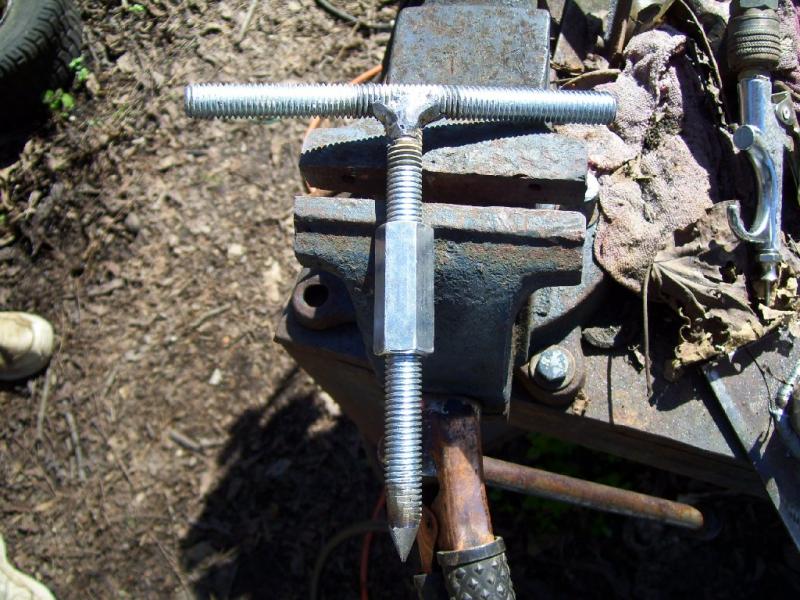
Click here for higher quality, full size image
Cut a V shaped notch in the end of the pipe and welded the long nut in place

Click here for higher quality, full size image
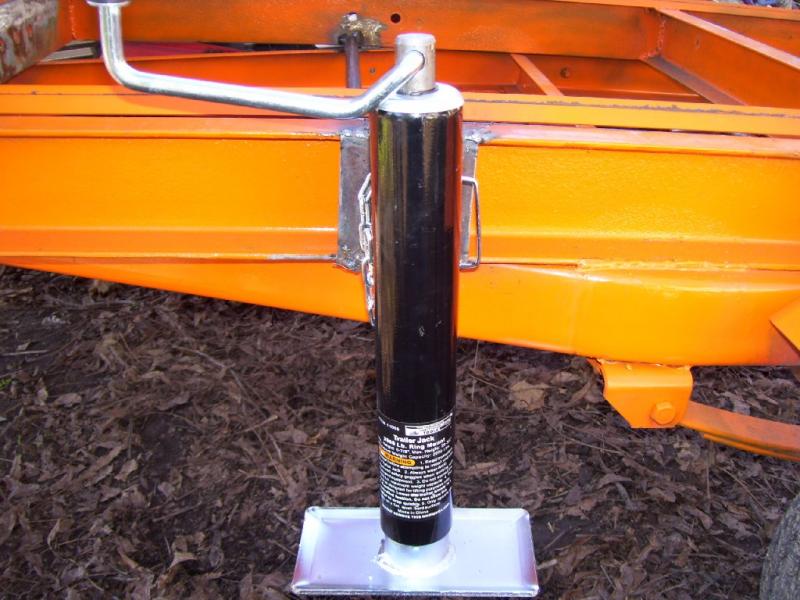
Welded the jack holders to 4X4 thin plate and welded them to the sides of the frame
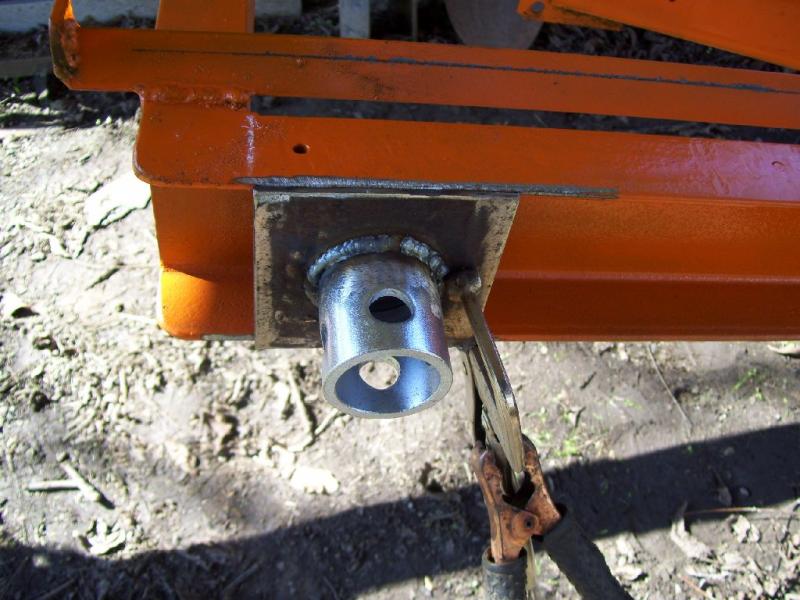
Click here for higher quality, full size image
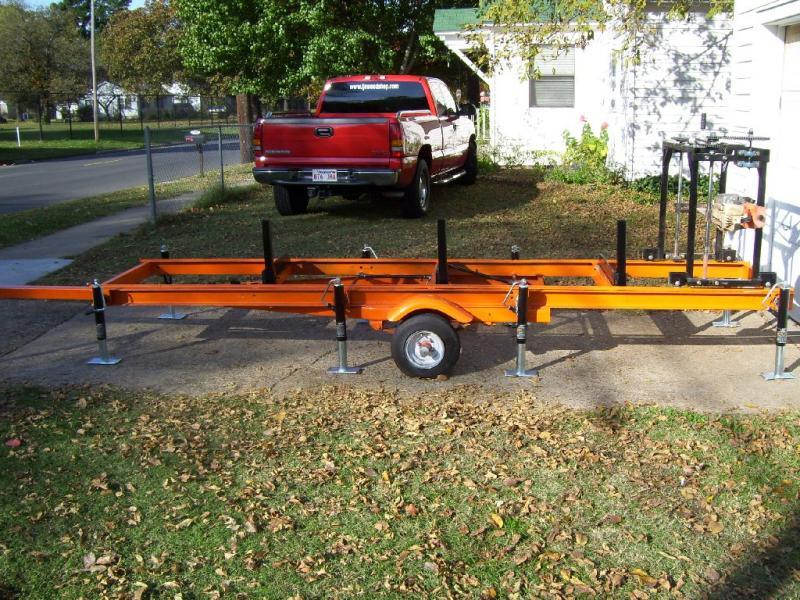
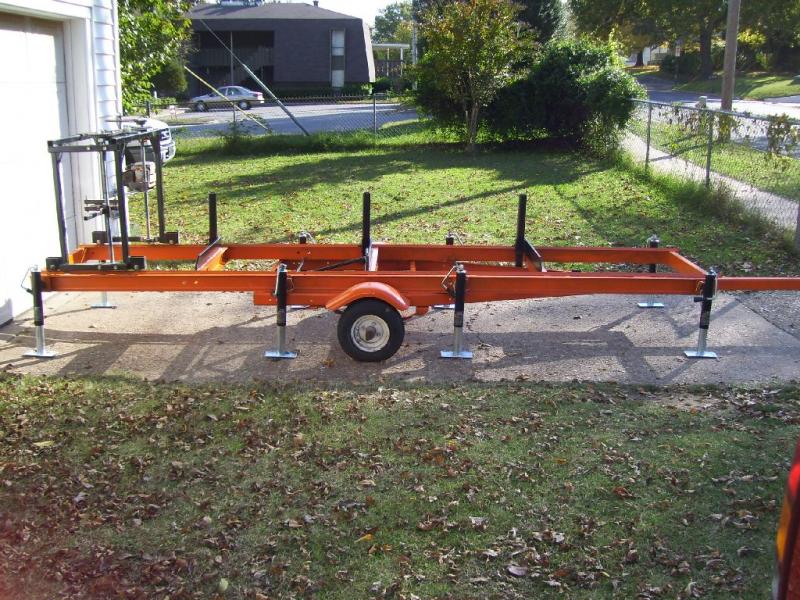
I mounted 4 jacks on each side which might be overkill, but I would rather have too many than not enough
Click here for higher quality, full size image
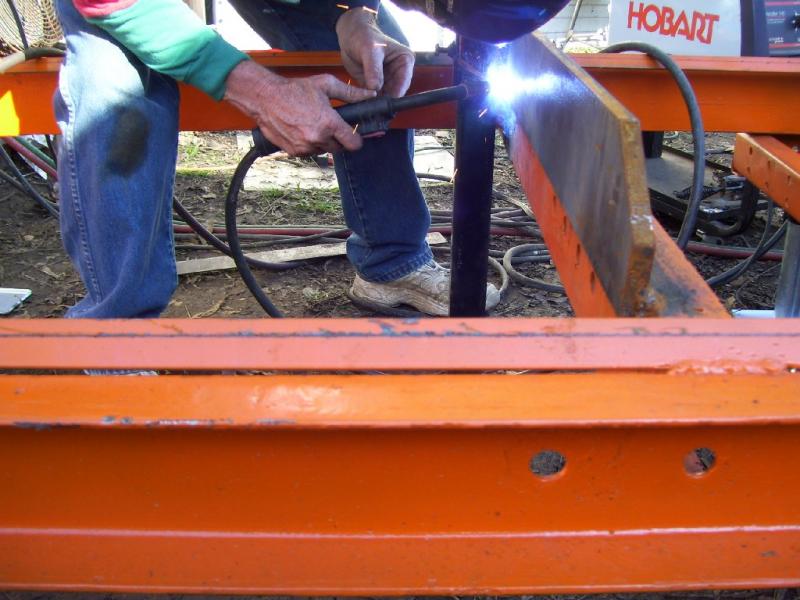
This is Chuck welding the log bunks on. The tubing that the 2 inch heavy wall fences slide up and down through are welded to the back of the bunks. You can see it by Chucks left hand

Click here for higher quality, full size image
Welding the front and back side of the bunks. You can see the heavy wall tubing I'm using for the fences hanging down. The bunks are 1/2 thick
Click here for higher quality, full size image
I made the first cut with the mill beside Chucks welding shop as soon as we were done welding the log bunks. The cedar log I'm cutting was given to me by a man that had to cut out of his yard after a storm knocked it down. I have had that log laying beside my shop for 2 years and I loaded it up and hauled it over to Chucks with me so we could try the mill out. I was grinning so big it made my face hurt!

Click here for higher quality, full size image
The cut turned out very smooth. You can see how the log dogs work in this photo

Click here for higher quality, full size image
You can see the fences on the left side of the log. The slower you push the saw through the log the smoother the cut will be. The saw lines you see are not more than a 32nd of a inch high and I was pushing as fast as I could to see how quick I could make the cut
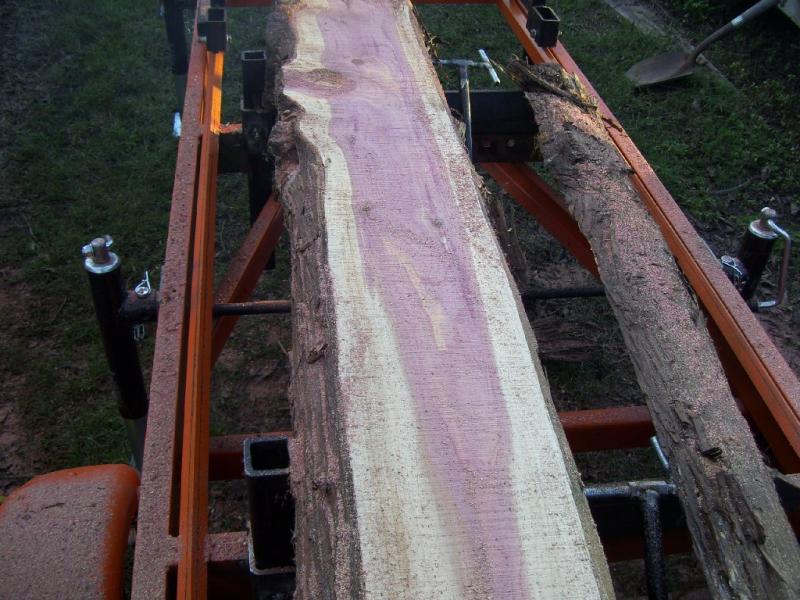
Click here for higher quality, full size image
Here's a good pic showing the dogs
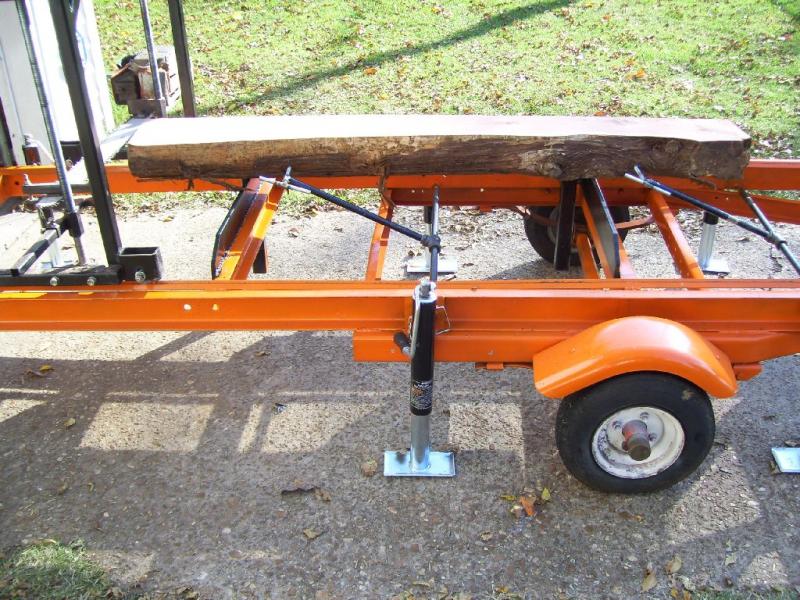
Click here for higher quality, full size image
This one shows the heavy wall 2X2 that I used for the fences

Click here for higher quality, full size image
I was surprised how well it cut considering I had not fine tuned the carriage yet

Click here for higher quality, full size image
Fences up, jacks down
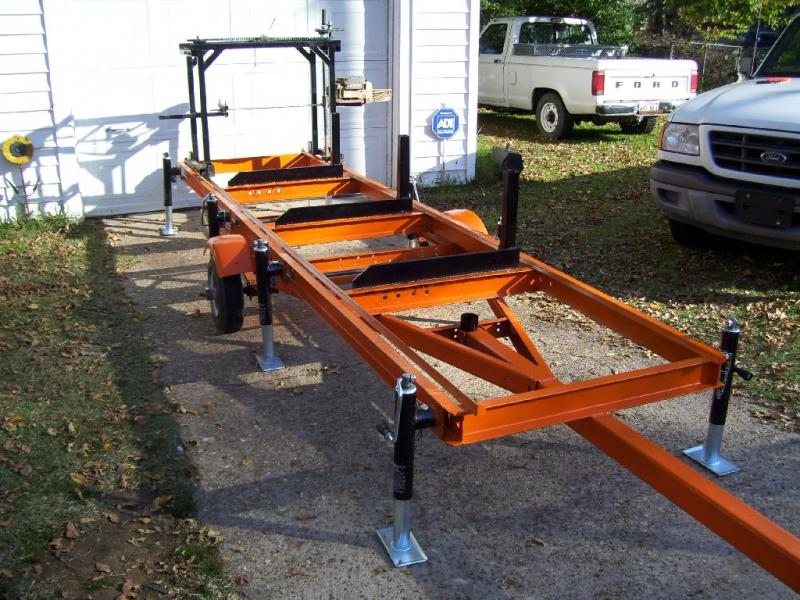
Click here for higher quality, full size image
Other side

Click here for higher quality, full size image
Full left side view
Click here for higher quality, full size image
Full right side view
Click here for higher quality, full size image
I hope you have enjoyed seeing and reading about it coming together. If you are building a mill maybe there is a little information here that you can use. The saw carriage is a Procut design, but everything else is something me and my friend dreamed up and put together. If you are wondering about the trailer lights, I use a set of magnetic lights. My thinking on that is that I can take them off when I'm off the main roads to keep them from getting ripped off the mill in the woods.
Reprinted with permission from TJ Brown of TJ's Woodshop.