Photos and text by Jim Davis
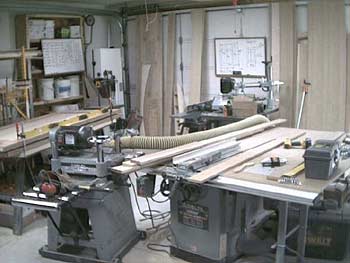
Shop 1

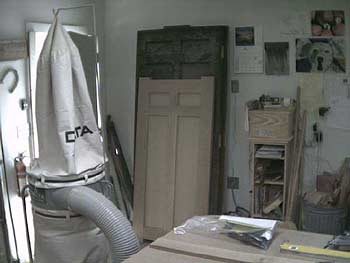
Shop 2

Shop 3
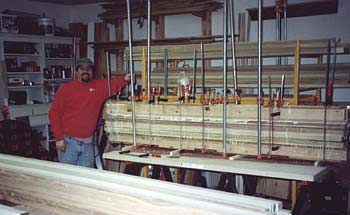
Shop 4
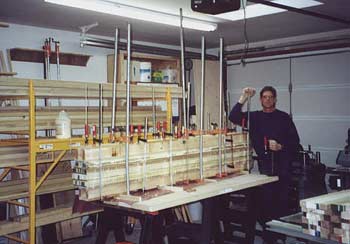
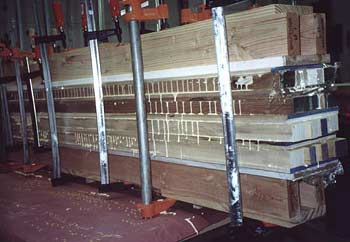
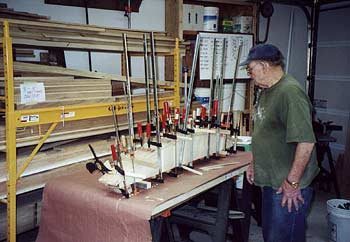
Staves glued and clamped.
We rip and glue up a core of poplar 1x2's with the grain alternating direction, plane the cores to size and then glue a 1/4" veneer of the finish wood on the face.
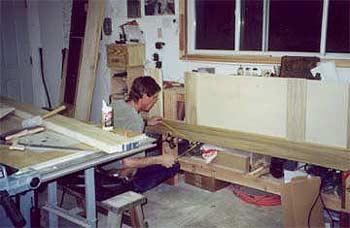
A closeup of the stiles being glued and clamped.
Gluing up a door.
After jointing and planing the stiles and rails, they are run through the shaper to cut the cope and stick profile. They are then drilled and doweled before final assembly.
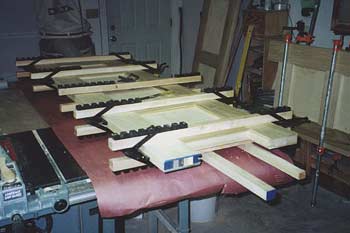
Door assembled and clamped.
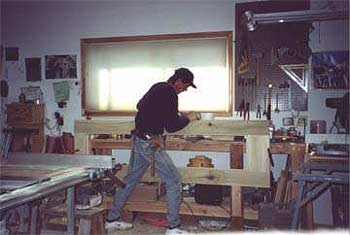
Planing away.
The finished door is planed and sanded before sending to the jobsite.
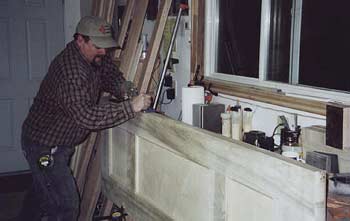
Tim smooths a door edge.

Sid and the Trammel.
Sid and I (Wendy's Dad) made a curved top door and sidelight out of red oak. We laid all the dimensions out full scale on the plywood and then used a trammel-mounted router to cut the casing used to trim the door.
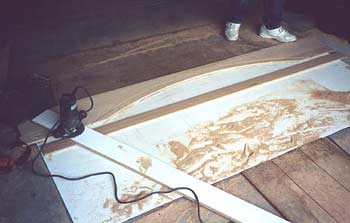
Close up of the trammel.
Gluing up the jamb.
We had to build a curved head jamb to match the door. We ripped 1/4" thick strips of red oak and glued and clamped them back together on a curved caul.
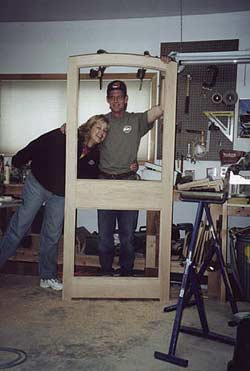
Jim and Wendy and the finished door.
This door has glass panels and is in an office.