I want to learn how to do high gloss finishes . the thing is that Im not sure if theres much of a market for that type of service in my area ......I kind of suspect not . but I still want to learn , at least for the sake of learning something new . so what Im wondering about is whether good results can be had without dropping huge dollars on sanders and polishers . Without a pay-back window , I cant justify Festool or Mirka products.....so it seems I need to stick with run-of-the-mill equipment . can this be achieved with moderately priced equipment ? what features/stats would I be looking for in a sander or polisher ? I do currently have a 15 year old Dynabrade , but it left swirls last time I used it....possibly a result of compressor not quite keeping up . my other sander is a cheap electric....dont even remember the brand . does a decent job on white-wood , but not sure how it would perform for leveling top-coats . if it matters , top-coats will be applied with either Devilbiss CVI gravity gun or Devilbiss Transtech pressure feed . and polyester is not an option right now ...again , Id rather not drop big dollars on equipment . so I'd probably have to work with either nitrocellulose or 2-part urethanes . I like working with pre-cats and CV the most , but not sure these would allow for adequate film build .
so what say the masses.....can this skill be learned while staying within current restrictions ?
From contributor ri
Sure you can do it. Ever heard of hand sanding? No equipment costs at all! Then buy an electric buffer, I use a Makita variable speed. Get your bonnet and polishing compounds from an auto paint supplier. Spray base color if using color, then wet sand before top coating with clear. Let the lacquer cure (not dry, but cure) long enough, then hand wet sand going from 400, 600, then 1200. Then power buff and use the liquid compounds to get the gloss. That's the short course. You'll need grain fillers to fill the pores if spraying solid wood or plywood so you have a flat surface to start on. Also lots more to learn, but the only equipment you NEED to buy is that buffer. Other equipment will make the job go faster, but not better if you hand block sand correctly.
From contributor ji
say what ? sand by hand ?
surely you've gone mad !
haha...you're right , thats probably the best way to learn anyway . it didnt dawn on me to try any method that doesnt involve a power cord .....creature of habit I guess .
your buffer goes for under $200....good reviews also...thats a good start . seems as though the variable speed function would be important .
I've played around with fillers , and always wondered about this.......theres 2 ways to fill grain ; with the finish or with filler . if a person were to shoot a full wet ( thinned) coat of whatever finish he's using , let it sit for a few days , and then sand it all back off , would that in effect be filling the grain the same as a filler ?
From contributor ar
Using topcoat as a filler is not the same as using filler as a filler because the topcoat will shrink, even after waiting for months. You can watch all your hard work disappear into a mass of shrinkage lines. Filling the pores with filler won't stop the topcoat from shrinking, but it will stop it from revealing shrinkage lines.
Using pore filler also allows for marking the grain with a darker color, creating grain "pop".
From contributor ji
o.k........got it .
my first test pieces will probably be maple or other closed pore wood , just for the sake of simplicity . work on building coats and sanding and buffing at first .
then I'll move on to open pore . another observation is that I see a dozen different recommendations on cure time before leveling and buffing . some say a few days " at least ".......others say a couple weeks . Im thinking let the first few samples sit 3 to 4 weeks . assuming I wont be using oil/varnish , is this overkill ?
From contributor RR
Jimmy, the best advice I ever got about finish sanding is that when you've eliminated the scratches from one grit size, you're done. Go to the next finer size. Finish sanding is all about removing the scratches from one grit and replacing them with scratches of a finer grit. Of course this all happens after you've leveled everything first.
I also use a Makita buffer. Polishing compounds can also be made cheaply from your own pumice and rottenstone.
From contributor ri
Depends on the weather of course, but 3-4 weeks is too long for lacquer. You can work it sooner, probably closer to 2 weeks. Commercial auto compounds are the way to go. They are more than juice and abrasive. Some have a bit of solvent in them to "move" the finish and fill a scratch. Guess how I found that out? My first job of gloss black lacquer was going great. I noticed that I was getting the slightest bit of splatter on a couple finished drawer fronts that weren't too far from where I was working. After doing more pieces, I go over and wipe off the splatter. I have tiny dull spots where the splatter sat. It dissolved the finish ever so slightly, so I got to buff them AGAIN! Here's a picture of that job from 1995. The photographer couldn't get the reflection of the drapes out of the picture that day.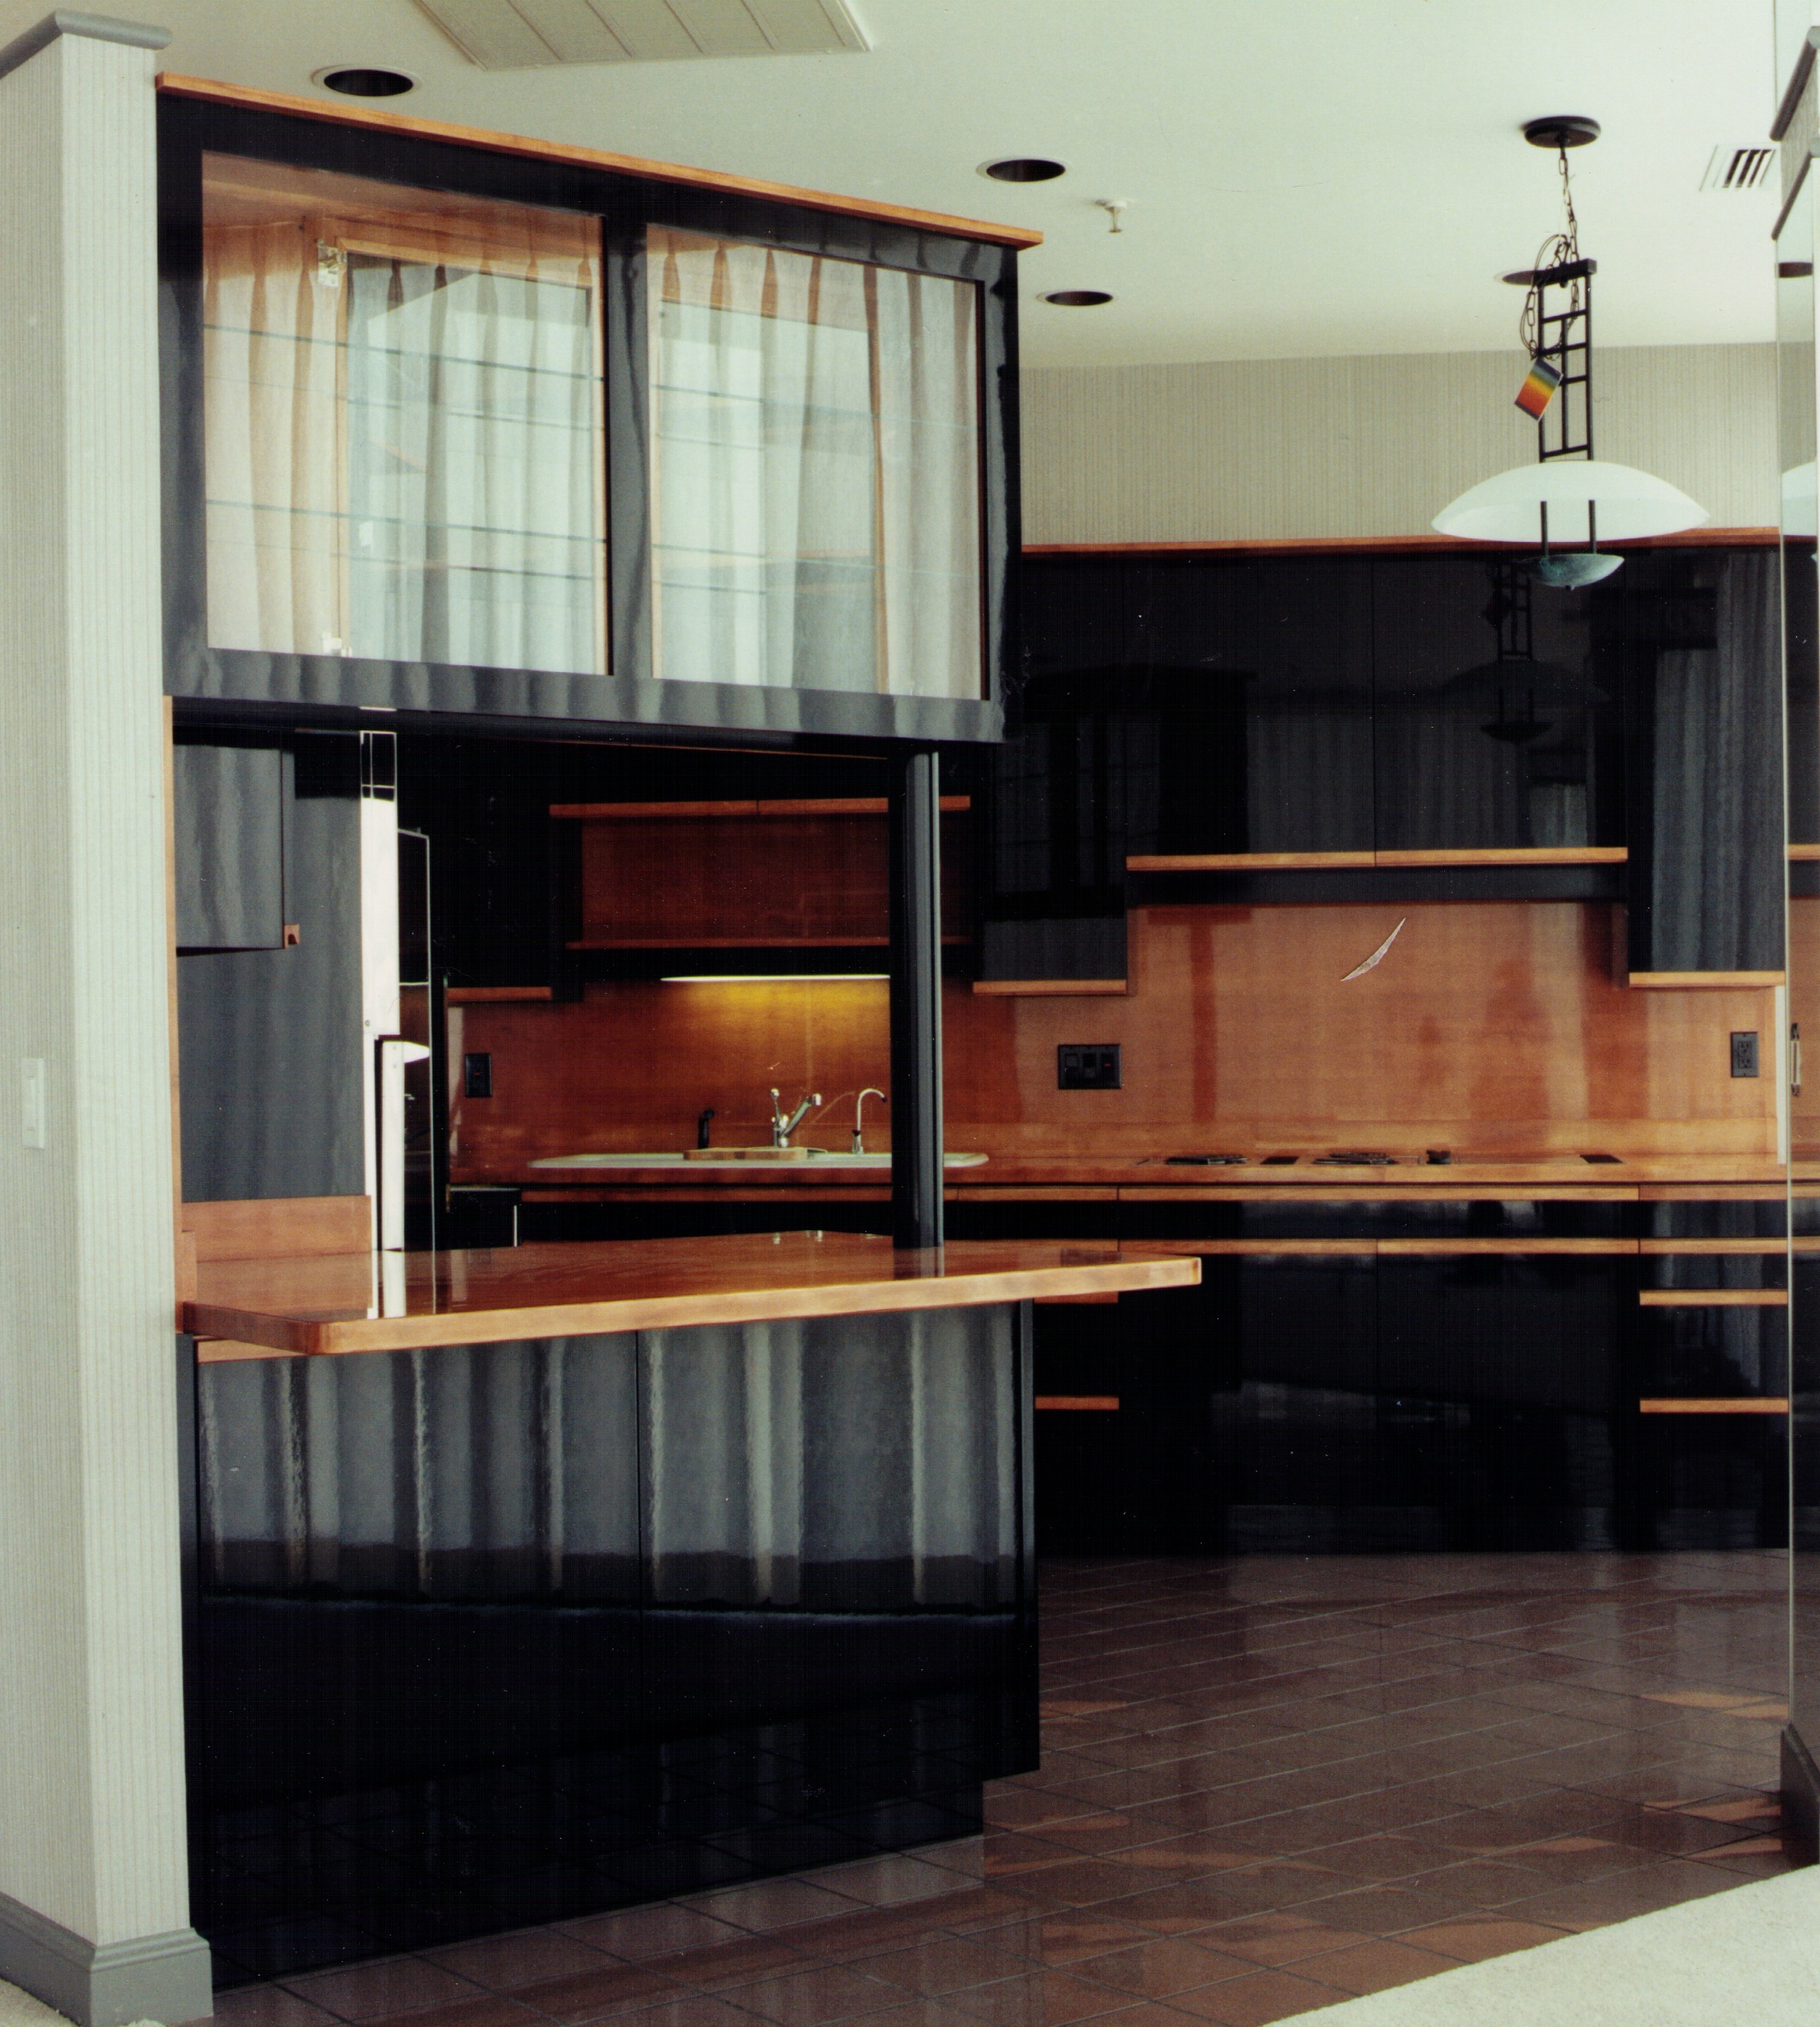
From contributor ji
wow , thats an awesome kitchen . I havent squirmed my way into that market yet .
and thanks everybody for the replies . again , a great conversation .
whats the best type of top-coat for leveling and buffing outside of polyester.......Im thinking nitro lacquer for ease of use ,or 2-part urethane for for added durability . am I right on that ?
I use chemcraft product , but do have a Sherwin store nearby....but thats about it within 50 miles or so .
From contributor ji
oh boy , now Im confused ....I was under the impression that plural-component equipment was a must for polyester ; but I've found other threads that would indicate otherwise .
am I out in left field on the polyester thing ?
From contributor Ch
Polyester is great for filling the grain. I spray it with a gravity cup gun. Pot life is only 30 mins so you need to work fast.
Then use 2 k urethane.
From contributor ar
Look for my Pianolac brand waterborne lacquer. It's designed for piano finishing, both high polish and satin gloss.
From contributor ji
30 minutes would be cake . the pot life for Chemcrafts Reslack sealer is 5 to 10 minutes , if Im understanding the TDS . it also says 97% solids by volume......how can that be ?
Arthur....thanks for the suggestion , but I played with waterborne a few moons back , and didnt enjoy it at all . thats a whole different animal . kudos to those that can tame that beast ......Im not one of them .
From contributor ar
Pianolac is designed as a virtual drop-in replacement for solvent coatings, with very few, minor changes to the spraying schedule. I can understand your reluctance to using a waterborne for high end finishing, given your previous bad experience. This new coating, based on the latest developments in wb technology, overcomes all the old problems.
From contributor Ke
for a buffed high gloss finish my go to is Sherwin Williams Acrylic Conversion Varnish (V84 FH21) It buffs much better than their Gloss CV (V84 F80).
the finish schedule i follow when doing high gloss is as follows:
(this is for a painted finish, not stained)
1. Fill all holes/imperfections
2. Sand 150
3. Prime with kemvar surfacer (E63 W50)
4. Spray a guide coat (this is a light mist of a contrasting color ((i.e. black mist over white primer)) This allows you to see any imperfections left so you dont find them after your final coat is applied. When you sand the first coat you should see nothing but white left. thats hoe you know youve sanded everything perfectly. if there are dips, or pin holes, you can spot them easily because they will still be black.
5. Sand 220 with Random Orbital Sander until guide coat is gone.
6. Prime again (i reduce this pass of primer about 25% so it lays down very well. Ive already filled the imperfections with the first coat, the second coat is just to cover any slight burns and gives a little more body
6. Hand Scuff 220
7. Spray color coat ( Custom tinted conversion varnish
8. Hand scuff 320
9. Spray Acrylic conversion varnish topcoat. I give it two good passes and let it dry for 1 week
10. Wet sand 400, 600,800, 1200 (sometimes i skip the 400) The key ive found to not leaving swirl marks in this step is using a GOOD 3/32 Random Orbital Sander. 3M makes an excellent one that can be had for about $120. Dynabrade is my second favorite.
11. Buff. Just as noted above. Get supplies from auto paint shop.
From contributor Da
After working with cv and then poloshing it out I would do a high gloss finish with polyester from now on. Yes it is tricky and short pot life but even with the increased cost of the product istself, I would have saved myself many hours of time had nI used it in the first place. We did a whole project in gloss black. That is my opinion working in my shop. Others may have had favorable results using other products.
From contributor ji
so you guys have gotten good results leveling and buffing conversion varnish ?
did you stay within recommended mil tolerances ? or do you over-mil a bit , knowing that some will be abraded away ?
i'll be spraying CV later this week , maybe I'll shoot a small panel to practice leveling and polishing ; it will be satin , but what the hey .
From contributor Ke
i achieve EXCELLENT results using the schedule above. again, i emphasize the acrylic cv. regular cv doesnt buff as well. it cant take the heat of the buffing process and is prone to burning threw the different coats leaving behind a halo that is unsightly