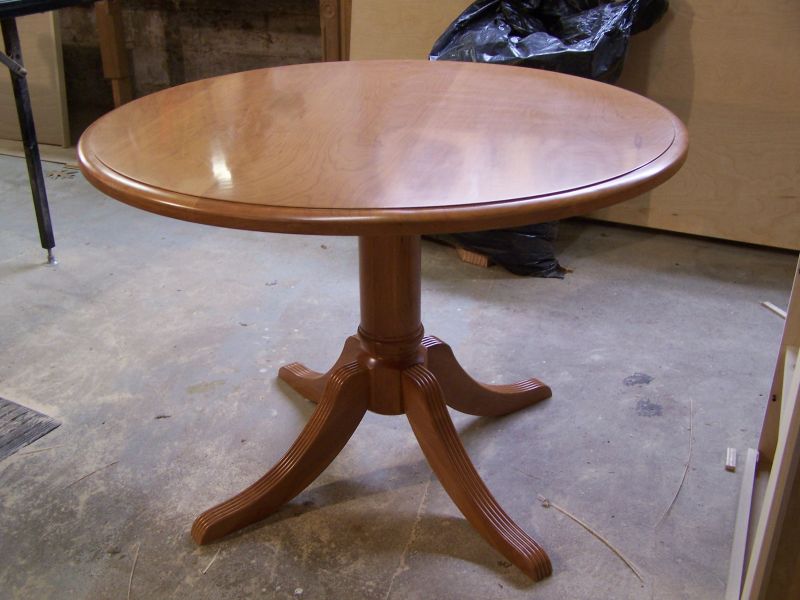
Question
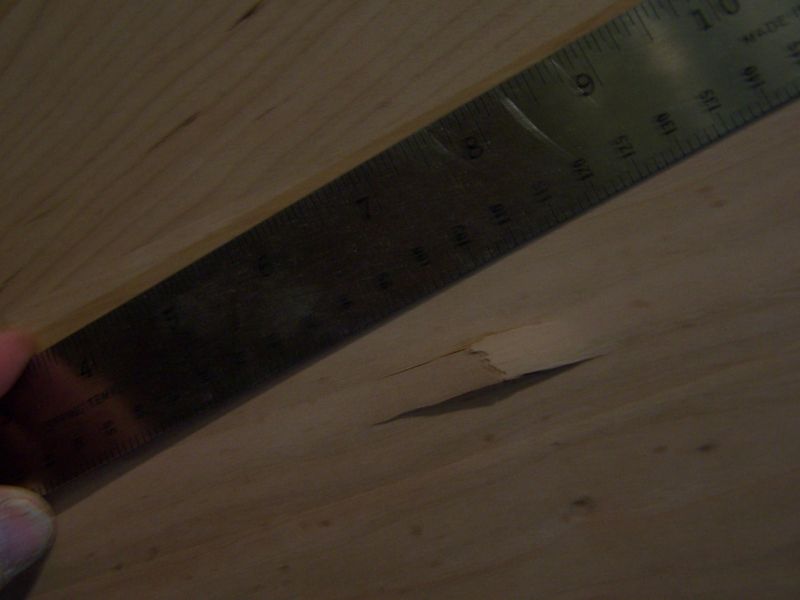
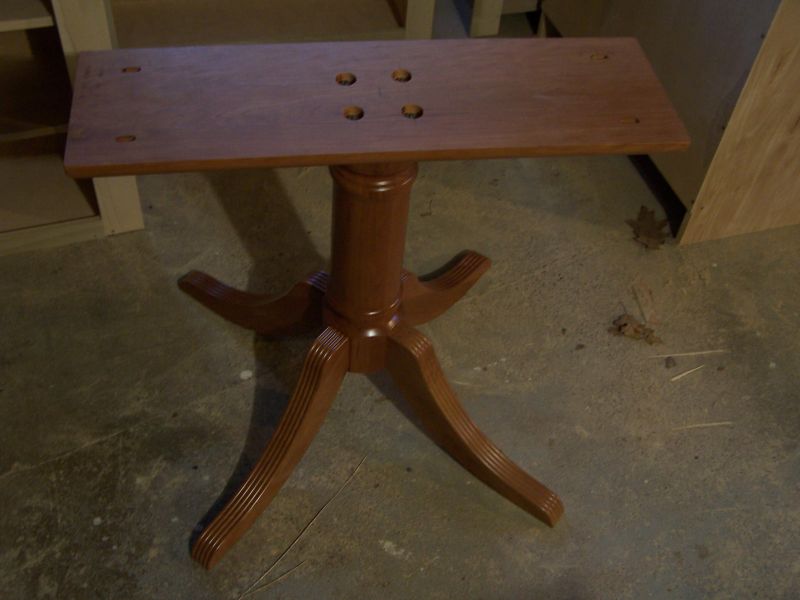
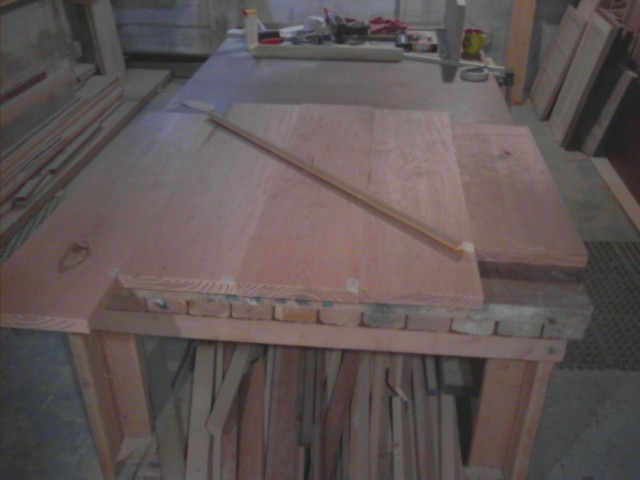
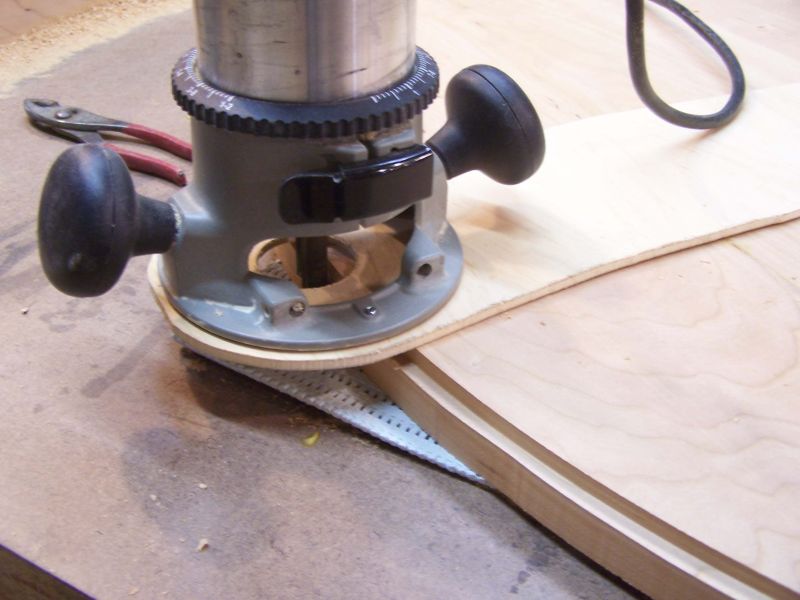
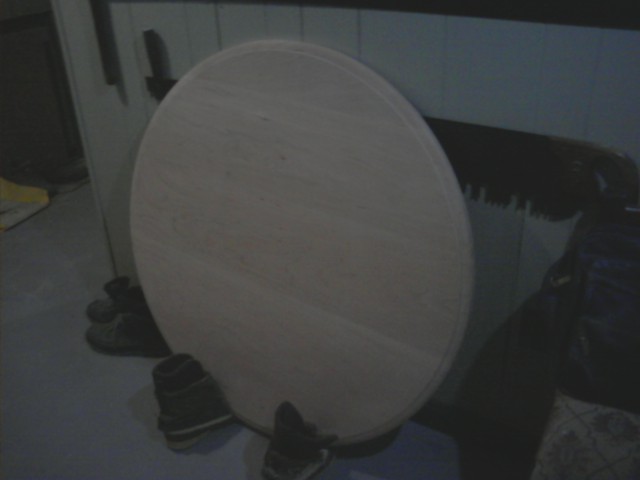
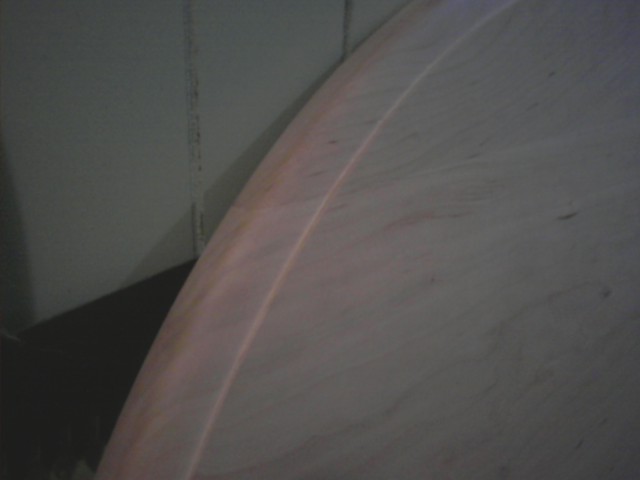
I'm building a 42" round, pedestal dining table, 5/4" in finished thickness and it�s cherry. I'm buying the column and legs so I only have to make the top. No skirt. Just a single center 'stretcher', sitting underneath at 90 degrees to the table top's planks. My boards are (after dimensioning) a bit under 10" wide, no sapwood (believe it or not) and are dead true now (straight and square). They are laid up with an alternating growth ring set up that still affords me seeing only the heart wood showing on the top face (see photos - I've taken a marker to the boards ends to show the ring's directions). I want the top to remain on an even plane, period.
Do I still have to rip the 10's in half, flip one of each half end-over-end and then glue up? I've read a thread in the Knowledge Base and not been fully convinced either way. I had always thought you had to alternate the rings. Now I'm reading a few guys saying that was not the case. Another part of that same thread indicated to always cup side up (smiling faces/as you look at end grain). Now I'm thinking of ripping and joining, all cup sides upward. I spent a c note on the cherry. I want to do it correctly and do it only once.
One other thing. A catalytic finish on both sides � will it be good enough for even-sided moisture sealing? I would love to hear from those with a lot of experience in this part of our craft.
Forum Responses
(Furniture Making Forum)
From contributor J:
If your wood was kiln dried you should not need to alternate growth rings. This practice grew out of using air dried wood which still had a MC that allowed the wood to move. Kiln dried wood is pretty much set. I would not rip the 10' planks in half. You might release some inner tension in the wood and actually make it worse, especially with planks this long.
If it was me I would pick the best face configuration, glue them together regardless of how the growth rings were, and then flatten with a jointer plane. The jointer plane should take care of any minor movement you might experience at glue up.
Still, pictures say a thousand words. I have seen tens of thousands of glue-ups, and honestly that one isn�t giving me the warm and fuzzy. That is cup city for a door panel. Minimizing moisture variation will be key. Thin, wide boards, flat sawn, all facing the same way actually makes my skin crawl. Take a few end cut scraps, glue them up the same way, and subject them to a moisture change if you don't believe me. Seal this table well.
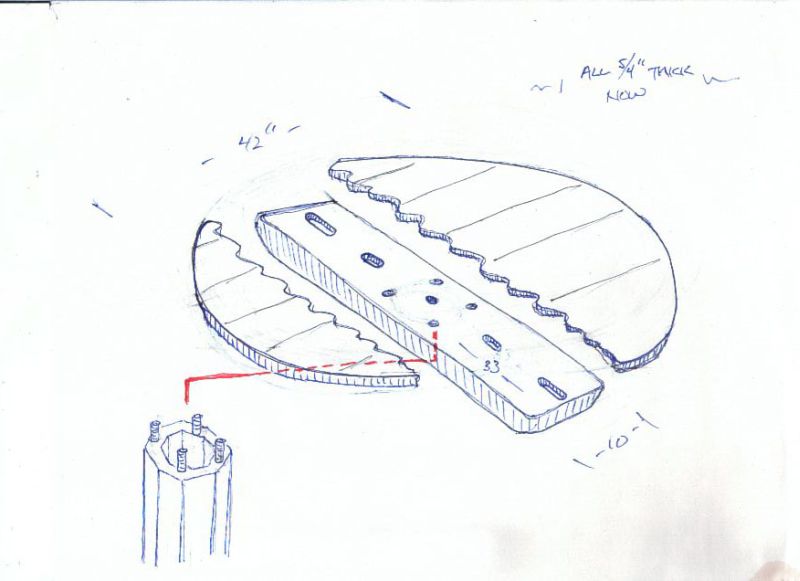
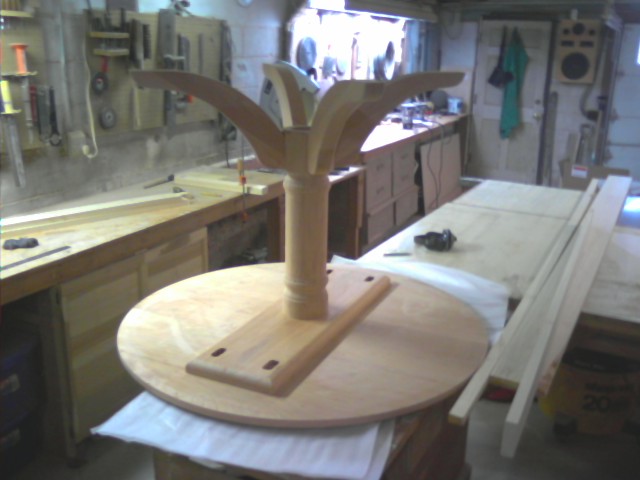
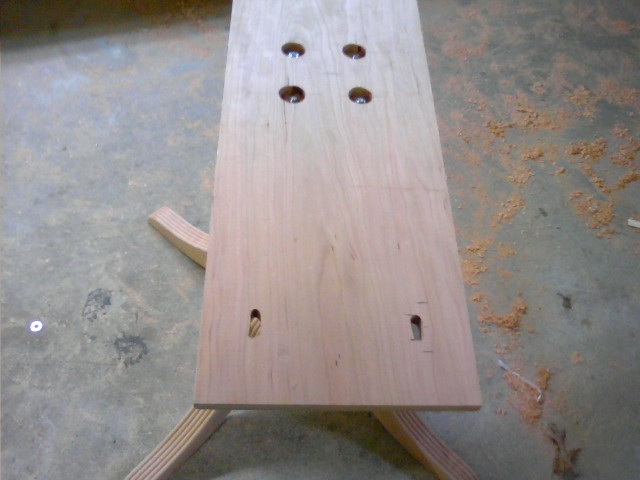
None of my solid top tables (as far as I know) have ever gone out of plane (warped), but for some reason, just before I was to glue this one up, I got insecure about committing to it and thought I might as well check in with the guys. These are 5/4 now. My original intention was to take them down to a finished 1 and 1/8th. I do think thicker would be more stable, though. They were kiln dried. I'd love to keep the wide planks for the aesthetics alone. Below is a sketch of how it comes together. The stretcher (underneath) will have recessed slots for a screw bolt with washer to hold the top down to it and be able to move throughout the seasons. I'm making this up as I go so I'll listen to any and all suggestions.
It�s interesting to hear some conflicting ideas about how to avoid the problem. I think there are a number of variables in this equation, though all of them have to do with wood's inherent ability to absorb and lose moisture and expand and contract. Everyone agrees that sealing it on both faces is of utmost importance. I'll be handing it to the finisher with the top separate from its 'stretcher'.
I'm thinking that if you had some heartwood (away from the center) of a tree whose trunk was 24" plus in diameter, growth rings wouldn't be very severe and therefore, less of an issue. Cherry is pretty costly these days and all the rough-cut lumber I see has the end grain sealed to prevent 'checking'. The problem is it stops me from being able to select from a stack based on growth ring pattern.
1. These were 5/4, solid cherry heartwood boards that were ten inches wide, a factor that weighs in my favor.
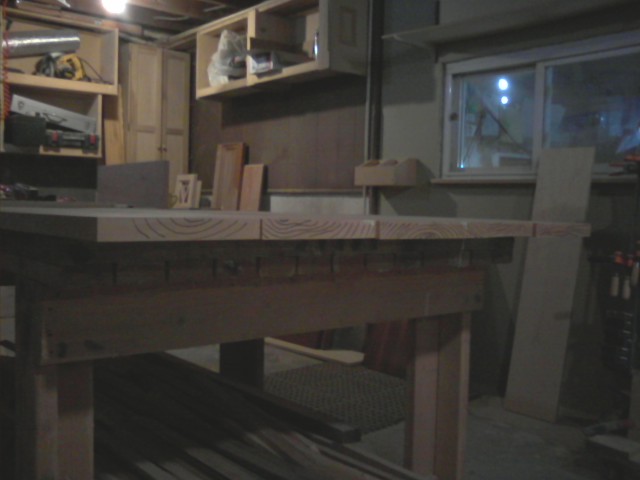
2. We need to remember the final object is a circle within this roughly square glue-up of planks. The center clamp was doing 70% of the clamping. (Now that I think of it, that is where I could have had two clamps on opposite sides.)
Anyway, my son had put it together when I was out, but I know the edges met air-tight. I squared the jointer's fence before we began. He coated both faces well and made sure a small amount of glue beaded up from every seam. With accurate machining, a board has much less reason to deflect.
I also want to say that the end clamps never get the benefit of another clamp on the outside. They have more important positions and going back to check tension on all the clamps - points taken, Gene.
Is the moisture content of the boards now on target 6-7%? Does the end user have a well climate controlled home for the table? If the answer to both is yes, then you should be ok. To my knowledge there is no finish (other than an unbroken coating of wax) that will eliminate moisture change, at best, finish only slows it. A finish molecule is a large one, and a water molecule is very tiny, it will find its way through; like tossing a BB into an erector set construct. If you have any doubt about moisture content now, or in service, I would glue and screw that top to a plywood backer and hope that restrains any future movement.
The statement contains lots of variables:
1. Moisture content changes - by how much? Sudden or slow?
2. Why does the grain orientation make them want to move?
3. What does 'move' mean? Cup? Change in dimension? How much?
4. Why does the width make it more severe?
5. Do wider boards at 42" total move more than narrower boards at 42"?
6. Why does rip and flip work as you say?
Sorry to be so argumentative, but those statements are not very precise. I first ran into 'rip and flip' 30 years ago as part of Jerry Metz's rules for successful solid wood panel processing in large scale furniture manufacturing. Rules developed during the 50's to mitigate the problems when one errant board crept into a panel. By ripping to 2-3" widths, the damage one board could cause was limited, and could still squeak by quality control. This is hard to explain/justify to a woodworker with some fine 6/4 cherry at 10-12" wide, contemplating a table top.

In narrow pieces, the rings will tend to be fairly flat, with only a rare piece having curvature. Note that curvature of the rings means the piece was sawn from lumber that was located close to the center of the tree where curvature occurs. Such a piece is more prone to being knotty, so is not likely to be included in a clear, narrow strip.
A wide piece of lumber sawn from today's tree is likely to have the center section (width-wise) from near the center of the tree; getting wide lumber with flat rings is just not likely today from trees and logs in the U.S. Hence, wider lumber is prone to cupping when the MC changes. If a wide piece of lumber is ripped into strips and then the strips glued in the same order as they were in the lumber without flipping, cupping tendency will not change. In this case, flipping would be prudent. If several pieces of lumber are ripped then ripped pieces randomly assembled into a panel, cupping risk is small. Individual pieces with ring curvature will possibly cup with MC change, but it will be small indeed.
Fifty years ago, wider pieces of lumber were more common, so the feeling that flipping was essential may have had some merit, as we did not mix q-sawn grain with flat-sawn. So, it was likely to have more strips with lots of ring curvature.
So, the bottom line is, if a lot of your individual strips have strong ring curvature, then flip to obtain the more stable glued panel. Maybe you also want to figure out why your lumber has such ring patterns. Perhaps someone else has taken the good pieces of the same grade with flatter rings, so you are getting inferior quality.
For reference, most furniture wood can expect 1/2 to 1 % size change seasonally in width, while no change in length. However, it is so common to see the MC of purchased lumber to be too wet and so the size change initially after the piece leaves your shop and goes to the customer to be 2%, especially in the winter. This is why humidifying a shop above the humidity level of the customer is not the best idea. Oftentimes the customer will have 30% relative humidity or lower in the wintertime which is 6.0% MC or lower. Such MC change from shop to customer will result in more change and more shrinkage, cup, etc. than the yearly cycle.
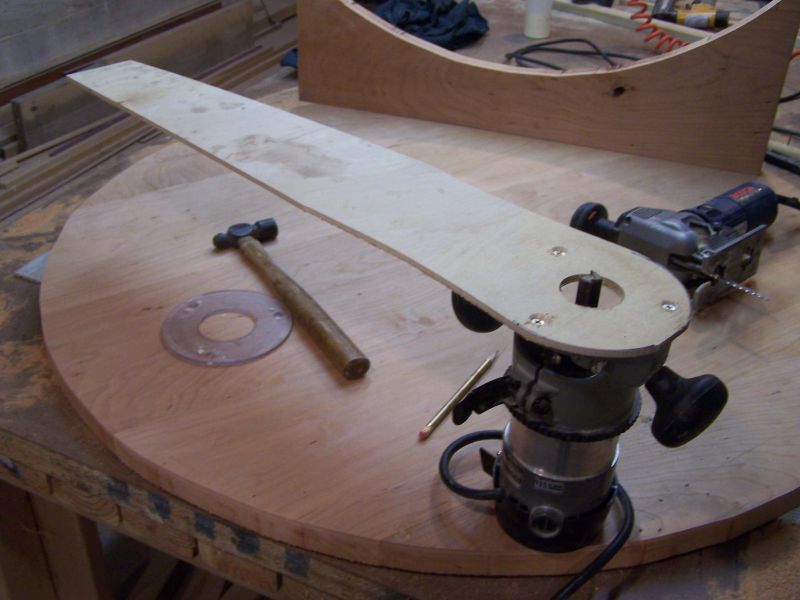
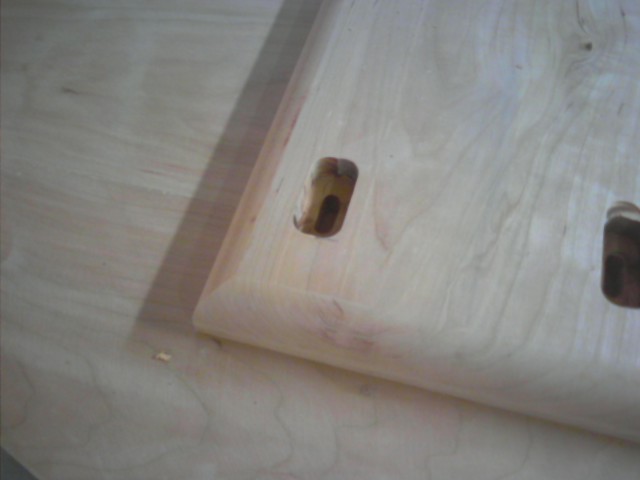
The bolt didn't come through all the way but I did lift and split some of the cherry (1/4"). I placed some glue in the hole on the bottom side, blew on that hole until a tiny bit of glue showed on the face and then I turned the table top good side up and placed a block of wood to the area and used a hammer to knock it back flat. I wiped it good with a water soaked rag and left it to set up. You can't even see the spot, but I'm not out of the woods until some stain goes on and we see if any glue has stopped stain from taking in a tiny area. I should have marked the bolt with tape to indicate how far in I was allowed to go.