Question
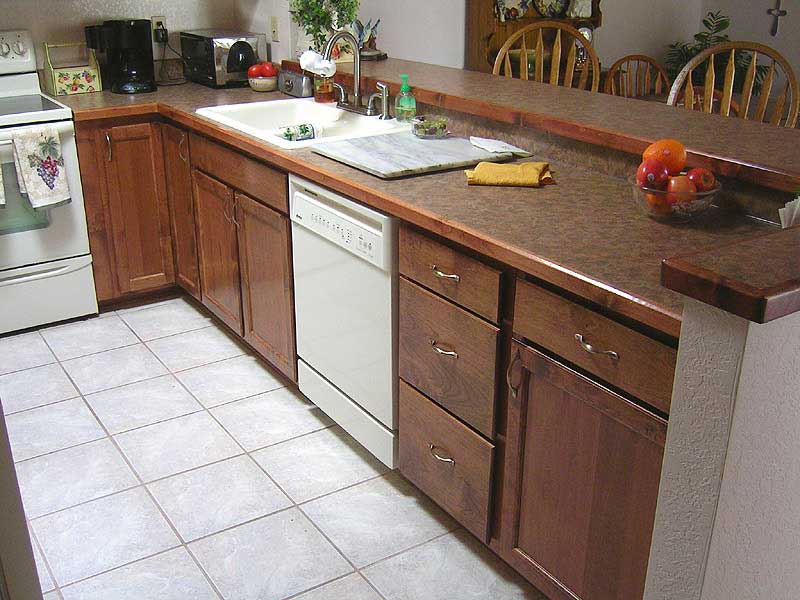
I am interested in seeing if everyone makes countertops from particleboard and material like Formica or Wilsonart. If so, I�m looking for some comments on the wood front edge detail below. The edge is a piece of maple, and the cut that details the laminate and board edge is done with a 1/8 roundover bit.
Forum Responses
(Cabinetmaking Forum)
From contributor F:
That will work, but the laminate edge left at 90 degrees is vulnerable to chipping when struck by hard objects. It�s usually done with a chamfering bit around here. With your version I would definitely file the edge at an angle somewhat if only to blunt it. The red rectangle of wood in your drawing is not necessary in my opinion.
Apparently, they did studies that showed people feel behind the wood edge underneath the table to satisfy themselves it is a quality product. If the edge is just 1" thick, the quality perception drops considerably. We had to sand, finish, and round over the back edge so it had a "friendly" feel. I think the bevel cut mentioned above is a better way to handle the p-lam to wood transition. That stepped detail will gather all kinds of crud, and tend to wear and chip easily.
If yours is going to be used for a kitchen counter top I wouldn't worry about your "red" section being particle board. It�s only going to overhang the cabinet edge 1" and if you use 3/4" stock for your front, that 1/4" of particle board is no big deal. I usually use 6/4 stock for my face edge and plane it down to 1" thick. Now if it�s for a table top where the bottom is exposed, then I agree with Contributor C. Carry the wood back approximately 3-4 inches so the feel with the hands is a good one.
I would build the top and install chosen laminate, rout flush and add the edgebanding. Something that looks interesting that we have done also is to add a groove between the laminate and the hardwood edge that is about 1/8 inch wide by about a 1/16 deep. Finish the hardwood and glaze with appropriate color and clear over thoroughly to seal it. This adds a nice touch and defines the fact that there is a hardwood edge a little more.
If you want to go a step further in assuring longevity in a wet environment, there are plywoods available designed specifically for kitchen countertops. I cannot remember the name but it is basically made with more glue and specifically moisture resistant ones.