Woodworking Business

You are not logged in. [ Login ] Why log in
(NOTE: Login is not required to post)

Glue line quality

11/13/15       
Larry

A recent discussion prompts this question: How much pressure is required to produce a "starved" glue joint? Is it even possible with the normally used clamping methods? Since I don't have lab equipment I'm asking for input. When I sat down to analyze the variables, I realized it would take a huge # of tests to account for all of them . The goal is to develop a set of minimum standards. For those people bent on the latest "in" business models, Lean gluing requires the least wasted time/effort/$ (minimum standard.) Six Sigma would require standardization of procedures to meet the quality goals, based on the # of failures to meet specifications. Both are served by my quest. Perfection is not the goal! (To achieve Six Sigma, a process must not produce more than 3.4 defects per million opportunities.)

Did the joint hold well enough to fulfill the needs? For a test representation, also meeting Six Sigma, we could define success as a joint in which the wood failed rather than a failure of the glue line. That is the only easy measurement that would meet all "undefined needs."

Since our shop primarily uses Original Titebond, that's my primary interest.

Gene, can you lead me (us) to the tests and results obtained?

11/13/15       #2: Glue line quality ...
Mark Elliott Member

Larry,

What kind of clamps are you using and what are you glueing up?

If you're using Titebond it might be pretty hard to use too much pressure.

I remember once Gene did say it was hard to apply that much pressure, but he did say it was possible.

I'll be awaiting his response also.

Mark

11/13/15       #3: Glue line quality ...
Cabmaker

We used to use a glow-in-the-dark additive for some of our glue projects. This would make all evidence of glue show up florescent purple under a black lite.

What was interesting was to see how the planks knitted together. We glued up some 1 inch thick mahogany and planed it down to 3/4 inch thick, removing 1/8 inch thickness each side.

The end result looked like an iconic christmas tree. Capillary action pulled the glue into each side of the joint almost 1/8 inch. It almost looked like zigzag stitching from a sewing machine.

Glue starvation could possibly happen sometimes from porosity of wood (exacerbated by moisture content of wood). The joint could start out initially with enough glue and have the proper amount of pressure but after pressure is applied capillary action could pull the glue away from the joint subsequently starving the joint.

11/13/15       #4: Glue line quality ...
Larry

Most of our clamping is done on a Taylor clamp frame. Beefy clamps!
Mostly molder blanks, big slabs or curved work in male/female forms.

11/14/15       #5: Glue line quality ...
David R Sochar Member

Good topic. I would add that any discussion of glue line quality should include the added dimension of time - as in how long will the joint last? Or how long before eventual failure?

We recently found we were having failures with a very common glue since it lost 70% of its strength at a mere 150 degrees F. That is not so hot - dark exterior work, tabletops in a sunny window, cabinets near ovens and ranges, trivets, etc. are all at risk. After 45 years of gluing things, I have learned something new and have re-evaluated what glues we use, and where.

11/15/15       #6: Glue line quality ...
Adam

David,

Typical epoxy like West system melt at about 200F, They start to lose mechanical properties above 130F. I've seen some damage on yachts that had no other explanation than the epoxy got cooked.

I have seen apprentices apply enough force with pipe clamps to starve regular 3/4" edge glued boards. Titebond was the glue. You got to leave something. Checkout the amount of pressure different clamps put on boards. Hoadleys wood book has a listing if my memory serves me.

I've seen many epoxy joints fail because they need thicker glue joints. Sanding with 80 grit will provide that space beyond increasing the surface area.

I watched a bunch of 8" wide curved mahogany jambs bang open because they used 3/16" veneers that were smooth.

11/15/15       #7: Glue line quality ...
Larry

OK guys, now you've got me wondering about that starved glue line.
I just got on the milling machine and milled two 1 X 3" X 11.75" steel bars perfectly flat. I took two pieces of soft maple 3.5 X 12 x 3/4 and liberally laid on the Titebond original. The wood was out of the scrap pile, the finish was directly off the molder, very smooth. So condition less than optimal. I wrapped them in stretch film to keep the glue off the press. Immediately put them into my 20 ton hydraulic press putting full force on. 40,000#'s on 42 Sq. in = 952#/sq. in.
I'll give it a couple of days to cure. If it is possible to starve a glue joint, this should do it. I wish I had a way of measuring how much force it will take to break the glue line. Any suggestions?

11/15/15       #8: Glue line quality ...
Cabmaker

I recall Gene Wengert writing one time about the effects of machining lumber. It had something to do with harder fibers vs softer fibers (spring vs summer growth).

I believe the drift of it was that planing operations smash down some fibers and cut through others. This had some effect on either how finish or adhesives were absorbed into the wood.

11/15/15       #9: Glue line quality ...
Larry

Cabinetmaker, I think planning would sure do that since a planer tends to pound the wood and the knives are never absolutely sharp. I've also heard that gluing a sanded face is bad practice but I'm not fully convinced of that. I think the best edge probably comes off a sharp hand plane & a shooting board. 2nd best is probably off the SL saw. Fibers are sheared, not pounded. I've seen the failure of epoxy glued boat trim. Cause?

11/16/15       #10: Glue line quality ...
Mark Elliott Member

I'm only going to address edge glueing, as that's all we do in our shop.

We never let any of our edges go any longer then 18 hrs after they've been prepped before they go into the glue press. That only happens because some edges are prepped at the end of the shift, then they're glued up first thing in the morning.

Now that we're moving into the winter months and RH is lower we take the precaution of tossing a quilt over our prepped panels and put a pan of water under the cart to keep the boards from shrinking on they're ends.

We learned this the hard way, that even with our lumber coming in at 6-8% mc, when we were in our old shop and the heat was included in our rent the place was very warm we were having glue line failures because we were to waiting too long before glueing up and found that the ends of our boards had shrunk sometimes as much as .020" within the first few inch's and they never pulled together tight.

When we started watching this, all our problems went away.

We're glueing up off of rip saws with glue line rip blades that are changed out on a regular basis, so they're always sharp. Studies have shown they produce the best edge for glueing.

My 2 cents until Gene weighs in.

Mark

11/17/15       #11: Glue line quality ...
Larry

Results: After 2+ days of cure, the sample was cut square, some molding steel was used as a wedge to apply force to try & split the glue line. A starting kerf was sawn deep enough that the steel only touched the sides of the kerf. I. E. the sharp edge of the steel did not do any cutting. I wanted a prying action on the glue line. Glued wood & steel wedge were put in the press. Pressure was applied until a loud bang and the block broke. No breakage occurred on the glue line! See photo. Conclusion based on this one test, using the setup as outlined in first post: It doesn't seem possible to "starve" a glue joint by over tightening the clamps. Gene?


View higher quality, full size image (3211 X 1838)

11/18/15       #13: Glue line quality ...
Gary B.

that has been my experience as well. at least for PVA's...

Also, see this link on the subject:
https://woodgears.ca/joint_strength/glue_methods.html

11/21/15       #14: Glue line quality ...
Tom Gardiner

I think that a joint failure may sometimes be attributed to glue starvation but might be truly be a case of too much clamp pressure distorting the assembly. I use Pony 3/4" pipe clamps for the majority of my glue ups. They have a functional use well below the force that can be applied by a strong pair of hands. Depending upon the width of the glue up the distortion of the pipe and faces from parallel will start to pull a true joint out of plane even with moderate force applied. Any more force than necessary to close the joint risks distorting. I try to picture the surface area of the glue joint to assess the appropriate hand screw force.
What resistance are you trying to overcome when gluing? When gluing flat edges without any joinery it is glue viscosity - the pressure required to squeeze out excess glue. I don't think we should underestimate the force required to do that once the area of the glue rises when you consider a strip laminated top that might have 20 glue surfaces.
I guess my point is that no more pressure is necessary in a glue up than that which brings two faces into true contact. At that point the chemistry of the glue takes over. The trick is to achieve perfect closure with imperfect tools.

11/21/15       #15: Glue line quality ...
David R Sochar Member

One point to clarify and another to further the question:

Tom #14 - When we use pipe or bar clamps and glue boards or a frame, we place then equally on top of and below the glue up. The boards, door, whatever, is on 2x3 bumpers, elevated off the bench, leaving room under for clamps. A mating clamp is placed above slightly offset to allow room to turn the screws, and all clamps are tightened 'equally' - a subjective term.

Regarding the question of pressure - if one has a 1" x 20" joint to glue between two boards, X amount of pressure is required. If you have the same size boards, but you have 10 of them, is 10 times the pressure required? Is the pressure required the same as a single joint? And how much pressure can one get with a bar clamp? Pipe clamp? Handscrew?

And generally, I have only had epoxy joints starve, but it is because it is a glue that needs a thick glue joint. As for the other glues, there is data that shows a glue line of so many .001" or .0001" is desired. How can we measure that? I have some nice digital calipers, and plenty of glue joints.......

11/21/15       #16: Glue line quality ...
Gene Wengert-WoodDoc

I am preparing a lengthy response to this issue of pressure.

Let me correct one item right away. West System Epoxy or any main-line epoxy for wood in a properly made glue joint does not soften or lose strength until about 230 F or even hotter. How or why this false information about that adhesive softening at 130 F got started, I do not know, but it does not have reliable data to support such a statement. (Perhaps it was a competitor?)

Most epoxy joint failures are due to excessive pressure, as there must be enough epoxy for the epoxy to generate enough heat that will make the curing reaction occur properly. With too little epoxy in a joint (likely in a very smooth, tight-fitting joint and with a lot of pressure), there will not be enough heat and so the adhesive does not cure properly and the joint will fail at low stress levels. Over the years I have heard and dealt with epoxy failures; examination shows the small amount of adhesive in the joint and the thin glue line. Of course, the person gluing the wood together will never accept the blame, but rather blames the adhesive.

I also will add the David is correct that 130 F is not an uncommon temperature for a wood product in use, for a short time period. So, the adhesive manufacturers in the 1950s quickly changed from the original PVA formulation (like Elmer's glue) to an adhesive that had a chemical reaction that was not reversible, so that heat at 130 F no longer softened the joint. Such a formulation includes TB II, but one must check the adhesive manufacturer's data for any adhesive.

For this heat issue, we found that urea adhesives seemed to be much better. However, urea and many PVAs used formaldehyde to get the chemical reaction required. The carcinogenic concerns with formaldehyde have recently changed the outlook for these types of adhesives and will require even more changes in the coming years in the U.S. Other countries have already made the changes, although China seems to sometimes avoid the issue, according the newspapers.

More about pressure to follow.

11/21/15       #17: Glue line quality ...
Larry

David, Seems like the issue, with a stack of glue lines, in a clamping would have more to do with the loss of pressure as the glue oozes out over a bit of time than the area. You always need to tighten a bit more after the first time. Once the distance lose has occurred the same pressure would be present on all of the joints, it would be acting as a solid.

11/22/15       #18: Glue line quality ...
Tom Gardiner

I think Larry is correct. The force required to close a glue up with multiple glue lines is the initial resistance. Once the squeeze is complete then theoretically the required force is related to the area of only one glue line.
I am surprised by the looseness of the clamp screws when I remove them after an overnight glue up. At first, I attributed it to the clamp clutches slipping but came to believe that it is a result of evaporation of moisture from the joint and shrinking of dimension across the joint.
Another note,has anyone seen a strength analysis of a rub joint compared to a clamped joint? Wouldn't that put lye to the requirement of pressure for an effective glue joint? I 'm going to the shop now to glue some test samples.

With respect to balanced clamps top and bottom, a sensitive woodworker can do the dance of closing a glue up well, but it took me a long time to get good at it. Squeeze out masks imperfections, time pressure breeds complacency. Then you cut it apart and do it again.

11/22/15       #19: Glue line quality ...
Tom Gardiner

So I have glued three samples with Titebond 2.
1. Rub joint no clamp force
2. Clamp force just enough to close joint beyond glue squirm.
3. Clamp force as hard as I could twist the screws.

Have you any recommendations for how to break the joints. Tension, shear,percussive load?

11/22/15       #20: Glue line quality ...
cabmaker

Put one side in a vice and smack the other side with a hammer.

11/22/15       #21: Glue line quality ...
Larry

Tom, Gary B has a nice solution using a bathroom scale on his web site, see his post above. This solution could be levered many different ways to get big forces. I've used rubbed joints mainly for reinforcing blocks that are small enough not to have built in tolerance problems. Work great.

11/23/15       #22: Glue line quality ...
Gene Wengert-WoodDoc

There seems to be a lot of misinformation that exists (word of mouth and Internet sources) about the role of pressure when gluing wood. So, let’s look at this topic in detail. (Epoxy adhesives have different requirements, so we are talking about PVAs, PURs, and ureas here.)

First, a wood surface to be glued needs to be quite smooth…the smoother, the better. Why? Because most wood working adhesives require the two surfaces to be between 0.002 and 0.006” apart. (In case you prefer to talk about 1/32” and other fractions, 1/64” is 0.031”, so the maximum gap is closer to 1/128”- -pretty darn small indeed.) This requirement is if you want the strongest possible glue joint; many times, we do not need a joint with strength of over 10,000 pounds per square inch. In fact, in practice, oftentimes we can be happy with a joint that has 1/3 of its area that approaches this high value and the other 2/3 is much weaker. Stated another way, the strength of the perfect joint is 50% stronger than the wood itself; if the joint fails, then, the wood will be the weakest link and so the wood itself will fail and not the adhesive. But, if for some reason we do need the strongest glue joint possible,m then we need really flat, true, smooth surfaces.

Second, one of the most common causes of an un-smooth surface is moisture. The smooth surface is excellent when first made, but then over the next 15 to 20 minutes, this surface picks up or loses a few water molecules to the moist or dry atmosphere, causing some localized swelling. For this reason, the strongest joint for wood will occur if the glue is applied within minutes after the surface is properly prepared… and of course, the correct pressure follows promptly. The denser the wood, the shorter the time allowed, as dense woods swell or shrink more than lower density species. (For a thin piece of wood like veneer, the time between surface preparation and gluing can be under a minute.)

Next, having said this, we do have to look more closely at what happens when we make a surface smooth. If we generate too much heat, the wood’s chemical bonding sites for the adhesive can be destroyed. Also, if we use dull cutters (knives, saws or even sandpaper) to prepare the smooth surface, we can squish and tear the wood’s surface (microscopic level) so the surface cells as damaged or no longer well attached to the main piece of wood. In these cases, the adhesive cannot achieve good contact with the solid wood, so we have a weak joint.

Now, when we put pressure on the joint with a hard dense species like oak or maple, even if we use very high pressure, the wood is so strong that we cannot squeeze the surfaces flat. So, with a dense, hard species that is not perfectly flat, when we apply the pressure, we will likely have some spots that are essentially touching and there is no adhesive at these spots (we squeezed it all out) and we will also have some spots that exceed 0.006” in distance between the two surfaces. The wood is too strong to give a little and e”even up”…that is, close the gaps. However, with softer species, like soft maple, most pines and spruces, cottonwood, and so on, the pressure on the joint will cause the spots that are touching to squish a little bit and the larger gaps will close to a more acceptable level. This is why the softer species are so much easier to glue effectively.

Third, when we spread the adhesive on one or both of the mating surfaces, the adhesive is not uniform in thickness. In fact, sometimes we spread the adhesive in long ribbons, which gives us a longer open time (the time between spreading and applying the pressure). So, prior to applying the pressure, we likely have wavy wood surfaces (on a microscopic level) and we have varying thicknesses of adhesives. So, as the pressure increases initially, the excess adhesive will be pushed around and fill in the larger gaps between he two pieces of wood. (If we only spread the adhesive on one surface, this initial pressure will cause the adhesive to transfer to the mating surface.

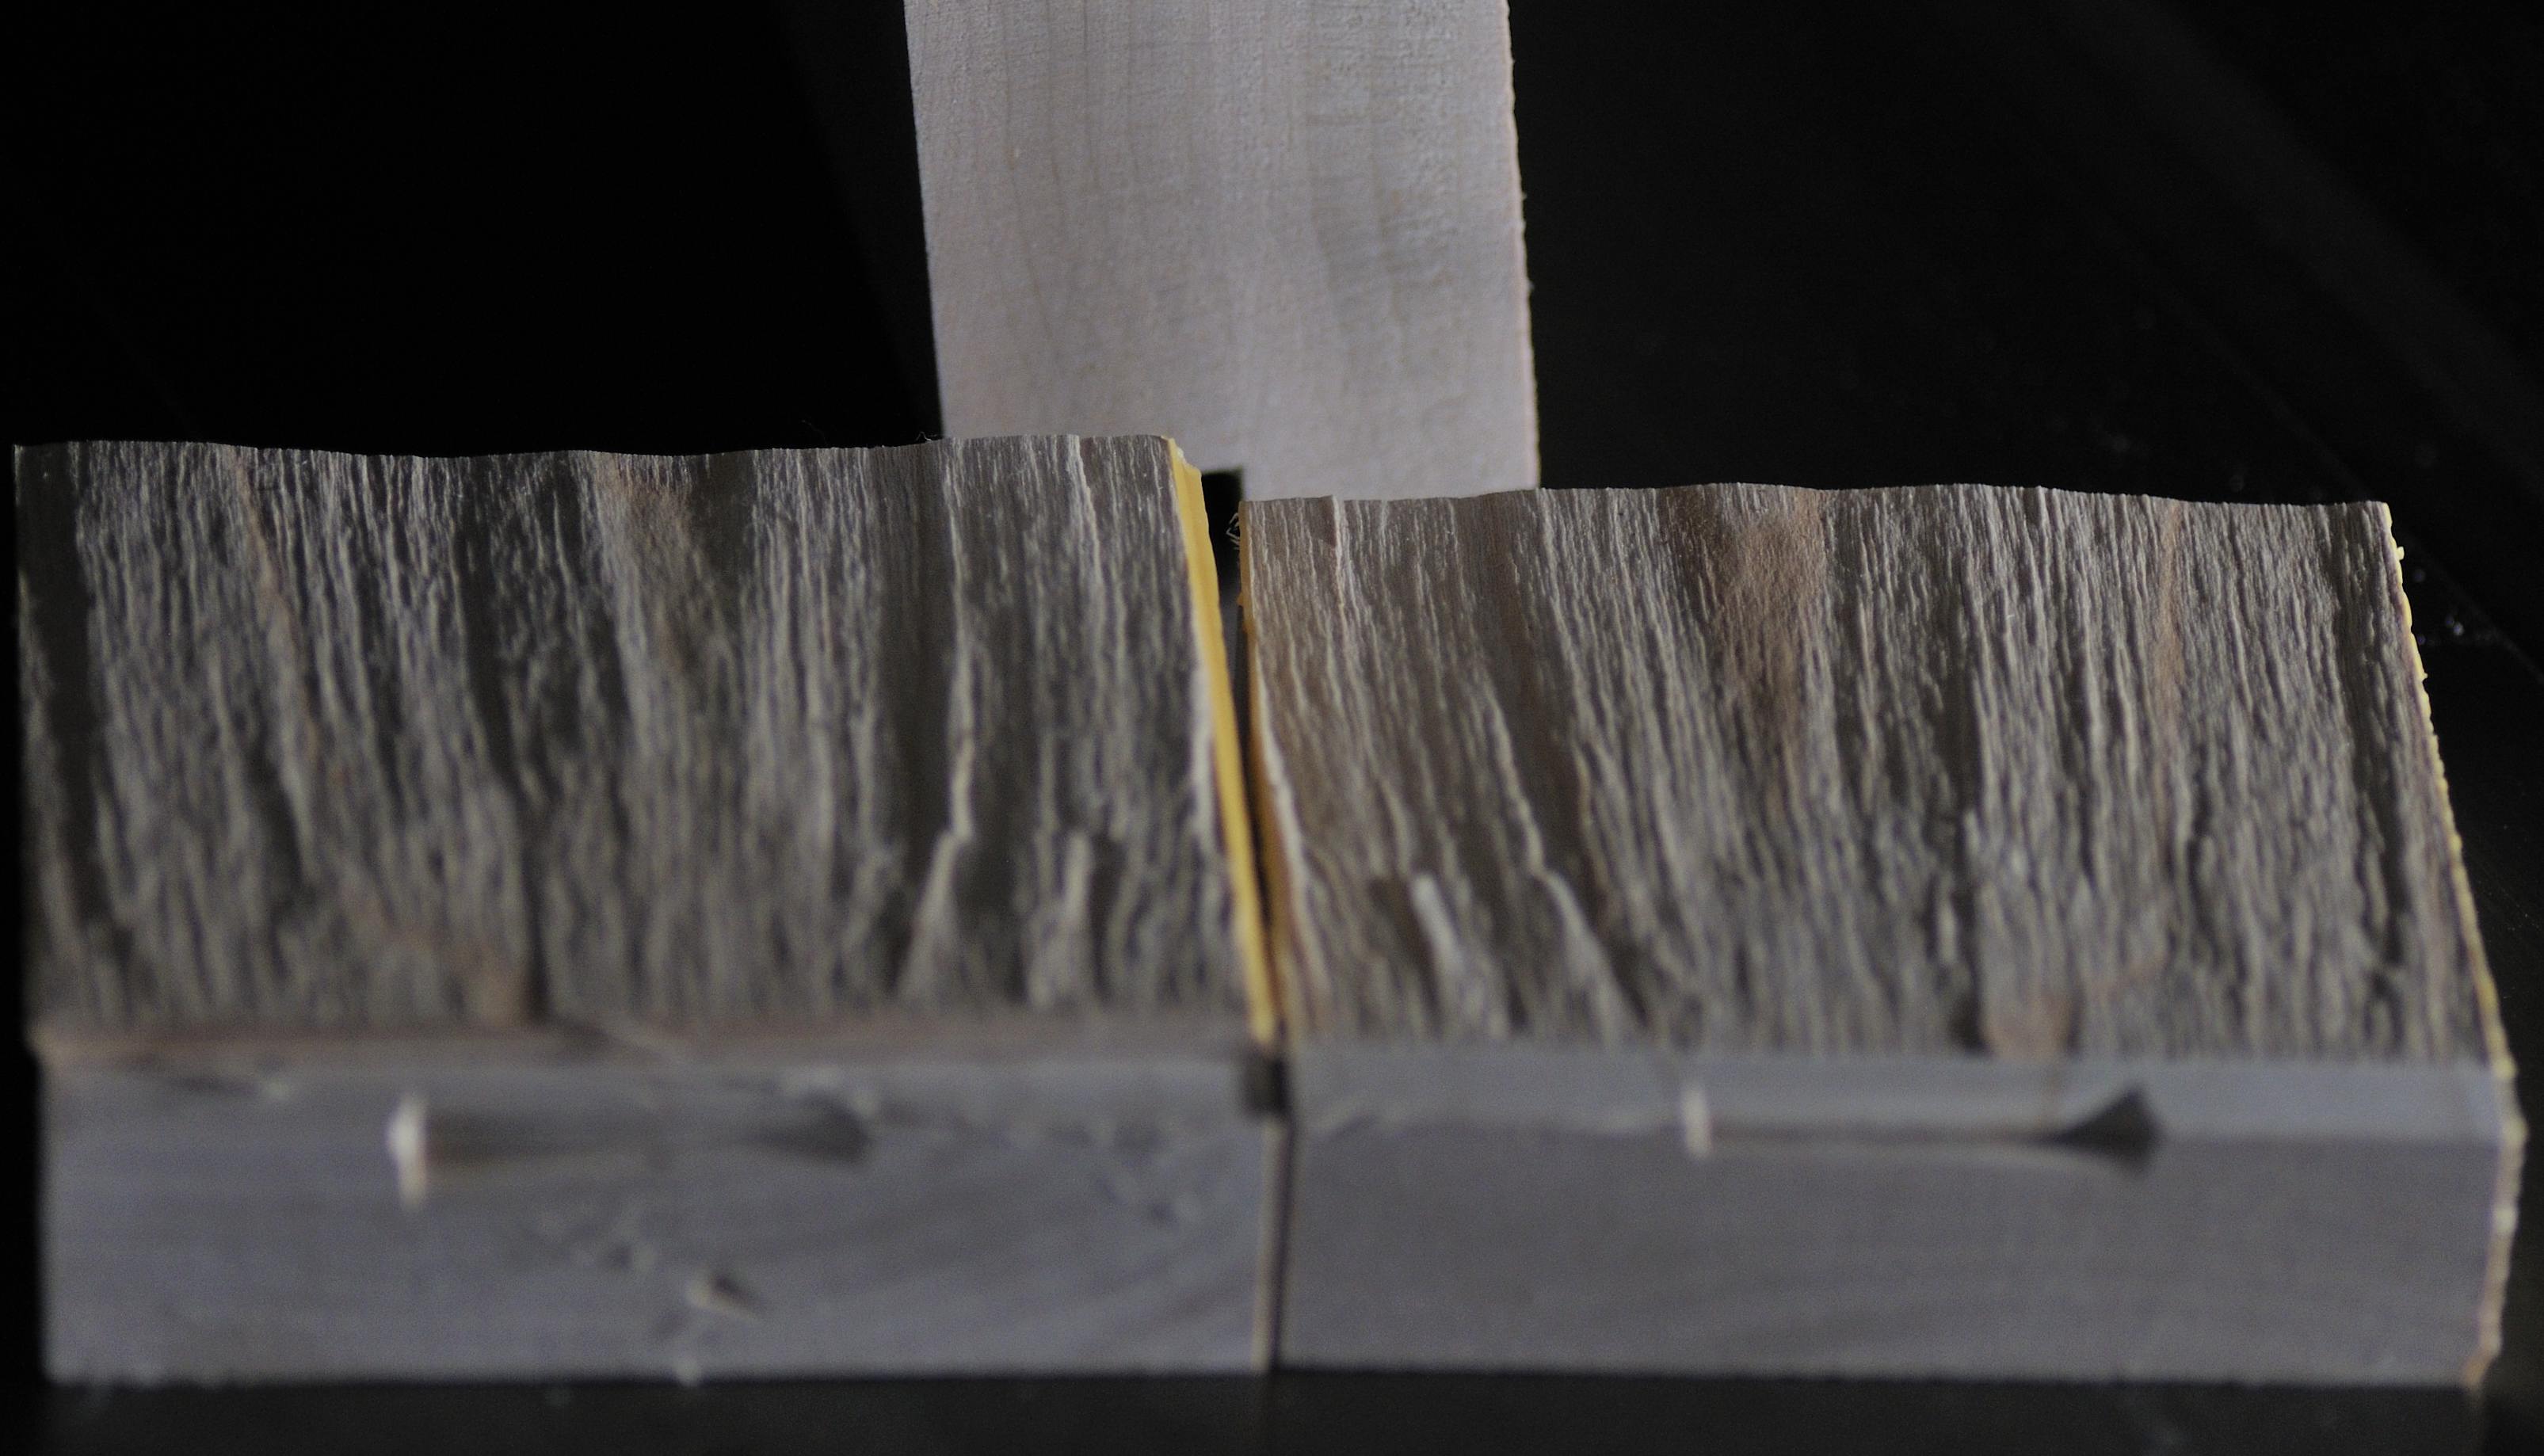
Another critical point about pressure. Except with end grain, we do not push adhesive deep into the wood cells. (Wood cells are like miniature soda straws and usually run lengthwise in the pieces of wood being glued.) The adhesive and the joint strength are what happens with the exposed cells right at the surface. Now, if the piece of wood has steep slope of grain, then we essentially have partial end grain on the surfaces to be glued. This means that the adhesive can go into the wood past the surface cells. However, such deeper adhesive does not actually add to the strength of the joint; the strength is dependent on what goes on right at the surface. (Exception: if the joint is tested in shear rather than tension, some penetration might, in a few cases, increase the shear strength slightly. Usually, deeper penetration increases the amount of adhesive used to make the joint, but not the overall strength.)

Using the analogy of cells being like miniature soda straws, it is important that the cells on the surface are not squished but do have partially openings. An analogy for snow skiers is that the straws look like “half-pipes.” This openness allows good surface contact between he wood and adhesive. If the walls are folded in due to excessive pressure when machining or dull tools, then surface contact is limited and the joint becomes weaker. Often times, in my plant visits, I suggest that saws be sharpened twice as often; that is, we are concerned about microscopic events, which is when dull or partly dull saws perform poorly, but such poor performance is hard to notice until gluing.

Note that in all these cases discussed so far, the real problem is with the wood surface and not the adhesive.

It is probably no surprise that when we apply pressure, we squeeze out the excess adhesive (assuming the adhesive is not too cold, thick, or partially cured already). It is common to see operations use plenty of adhesive, “just in case,” and then count on the pressure squeezing out 100% of the excess. This means that squeeze out is a high quality event. But with larger, wider joints, it is critical that the adhesive be thin enough to move out—a long (maybe impossible?) path for large joints. So, excessive adhesive is good, but let’s not get carried away.

As just mentioned, we are concerned about the viscosity of the adhesive. The biggest factor affecting viscosity is temperature. Many operations maintain the adhesive at a constant temperature year round, 24/7…a great idea. But, remember to also keep the wood temperature constant as well…cold wood can quickly cool and thicken the adhesive.

Now, if for some reason after the initial pressure is applied, the pressure is then reduces even a little bit, there will be some places where the joint opens up (microscopic level) and the joint is short on adhesive (a microscopic gap), so the strength drops substantially. So, it is critical to NEVER LET THE PRESSURE DROP EVEN A SLIGHT BIT, especially initially. However, as the joint cures more and more, then the pressure can be dropped without such a big negative effect. (Of course, increasing the pressure after the adhesive starts to sure is also a dumb idea.)

Two points: If using manually tightened clamps, it is better to tighten them maybe 80% initially and then go through moments later and final tighten them all. If you go 100% right at the start, the wood can shift as others are tightened and the joint might open in some spots. Second, with hydraulic or pneumatic pressure, I have seen the pressure come on, close the clamps, and then drop slightly (various reasons why this happens) within a few seconds or longer. The initial appropriate high pressure squeezed out the excess adhesive, so when the joint re-opened, there was not enough adhesive in the joint area any more to make a strong joint.

11/23/15       #23: Glue line quality ...
Larry

Read it all Gene, Understand the perfect "most wood working adhesives require the two surfaces to be between 0.002 and 0.006” apart"
But the question remains: Is it possible to starve a joint by putting too much pressure on? It would seem not, as on the "microscopic level" there would always be some high spots & therefore some low spots and some perfect spots.

11/23/15       #24: Glue line quality ...
Gene Wengert-WoodDoc

Oh yeah. I forgot to answer the question. Thanks for the reminder.

You can have too little pressure, but it is very hard to have too much pressure for exactly the reason you stated. We can starve a joint by not using enough adhesive or by letting is pre-cure or by having too thin an adhesive. If we have an RF curing process, the lack of adhesive also means different heating and curing for the rest of the joint.

Now if we use pressure to also bend the crooked pieces flat, we have two issues...a lot of the area will be low on adhesive, but when we release the pressure, the bent piece that we are holding straight will try to bend back to its original shape. This puts a lot of stress onto joint, so the amount of stress left before we get a failure is very low...and so the joint breaks at low external stress levels.


Post a Response
  • Notify me of responses to this thread
  • Subscribe to email updates on this Forum
  • To receive email notification of additions to this forum thread,
    enter your name and email address, and then click the
    "Keep Me Posted" button below.

    Please Note: If you have posted a message or response,
    do not submit this request ... you are already signed up
    to receive notification!

    Your Name:
    E-Mail Address:
    Enter the correct numbers into the field below:
     

    Date of your Birth:


    Return to top of page

    Buy & Sell Exchanges | Forums | Galleries | Site Map

    FORUM GUIDELINES: Please review the guidelines below before posting at WOODWEB's Interactive Message Boards (return to top)

  • WOODWEB is a professional industrial woodworking site. Hobbyist and homeowner woodworking questions are inappropriate.
  • Messages should be kept reasonably short and on topic, relating to the focus of the forum. Responses should relate to the original question.
  • A valid email return address must be included with each message.
  • Advertising is inappropriate. The only exceptions are the Classified Ads Exchange, Machinery Exchange, Lumber Exchange, and Job Opportunities and Services Exchange. When posting listings in these areas, review the posting instructions carefully.
  • Subject lines may be edited for length and clarity.
  • "Cross posting" is not permitted. Choose the best forum for your question, and post your question at one forum only.
  • Messages requesting private responses will be removed - Forums are designed to provide information and assistance for all of our visitors. Private response requests are appropriate at WOODWEB's Exchanges and Job Opportunities and Services.
  • Messages that accuse businesses or individuals of alleged negative actions or behavior are inappropriate since WOODWEB is unable to verify or substantiate the claims.
  • Posts with the intent of soliciting answers to surveys are not appropriate. Contact WOODWEB for more information on initiating a survey.
  • Excessive forum participation by an individual upsets the balance of a healthy forum atmosphere. Individuals who excessively post responses containing marginal content will be considered repeat forum abusers.
  • Responses that initiate or support inappropriate and off-topic discussion of general politics detract from the professional woodworking focus of WOODWEB, and will be removed.
  • Participants are encouraged to use their real name when posting. Intentionally using another persons name is prohibited, and posts of this nature will be removed at WOODWEB's discretion.
  • Comments, questions, or criticisms regarding Forum policies should be directed to WOODWEB's Systems Administrator
    (return to top).

    Carefully review your message before clicking on the "Send Message" button - you will not be able to revise the message once it has been sent.

    You will be notified of responses to the message(s) you posted via email. Be sure to enter your email address correctly.

    WOODWEB's forums are a highly regarded resource for professional woodworkers. Messages and responses that are crafted in a professional and civil manner strengthen this resource. Messages that do not reflect a professional tone reduce the value of our forums.

    Messages are inappropriate when their content: is deemed libelous in nature or is based on rumor, fails to meet basic standards of decorum, contains blatant advertising or inappropriate emphasis on self promotion (return to top).

    Libel:   Posts which defame an individual or organization, or employ a tone which can be viewed as malicious in nature. Words, pictures, or cartoons which expose a person or organization to public hatred, shame, disgrace, or ridicule, or induce an ill opinion of a person or organization, are libelous.

    Improper Decorum:   Posts which are profane, inciting, disrespectful or uncivil in tone, or maliciously worded. This also includes the venting of unsubstantiated opinions. Such messages do little to illuminate a given topic, and often have the opposite effect. Constructive criticism is acceptable (return to top).

    Advertising:   The purpose of WOODWEB Forums is to provide answers, not an advertising venue. Companies participating in a Forum discussion should provide specific answers to posted questions. WOODWEB suggests that businesses include an appropriately crafted signature in order to identify their company. A well meaning post that seems to be on-topic but contains a product reference may do your business more harm than good in the Forum environment. Forum users may perceive your references to specific products as unsolicited advertising (spam) and consciously avoid your web site or services. A well-crafted signature is an appropriate way to advertise your services that will not offend potential customers. Signatures should be limited to 4-6 lines, and may contain information that identifies the type of business you're in, your URL and email address (return to top).

    Repeated Forum Abuse: Forum participants who repeatedly fail to follow WOODWEB's Forum Guidelines may encounter difficulty when attempting to post messages.

    There are often situations when the original message asks for opinions: "What is the best widget for my type of shop?". To a certain extent, the person posting the message is responsible for including specific questions within the message. An open ended question (like the one above) invites responses that may read as sales pitches. WOODWEB suggests that companies responding to such a question provide detailed and substantive replies rather than responses that read as a one-sided product promotion. It has been WOODWEB's experience that substantive responses are held in higher regard by our readers (return to top).

    The staff of WOODWEB assume no responsibility for the accuracy, content, or outcome of any posting transmitted at WOODWEB's Message Boards. Participants should undertake the use of machinery, materials and methods discussed at WOODWEB's Message Boards after considerate evaluation, and at their own risk. WOODWEB reserves the right to delete any messages it deems inappropriate. (return to top)


  • Forum Posting Help
    Your Name The name you enter in this field will be the name that appears with your post or response (return to form).
    Your Website Personal or business website links must point to the author's website. Inappropriate links will be removed without notice, and at WOODWEB's sole discretion. WOODWEB reserves the right to delete any messages with links it deems inappropriate. (return to form)
    E-Mail Address Your e-mail address will not be publicly viewable. Forum participants will be able to contact you using a contact link (included with your post) that is substituted for your actual address. You must include a valid email address in this field. (return to form)
    Subject Subject may be edited for length and clarity. Subject lines should provide an indication of the content of your post. (return to form)
    Thread Related Link and Image Guidelines Thread Related Links posted at WOODWEB's Forums and Exchanges should point to locations that provide supporting information for the topic being discussed in the current message thread. The purpose of WOODWEB Forums is to provide answers, not to serve as an advertising venue. A Thread Related Link that directs visitors to an area with inappropriate content will be removed. WOODWEB reserves the right to delete any messages with links or images it deems inappropriate. (return to form)
    Thread Related File Uploads Thread Related Files posted at WOODWEB's Forums and Exchanges should provide supporting information for the topic being discussed in the current message thread. Video Files: acceptable video formats are: .MOV .AVI .WMV .MPEG .MPG .MP4 (Image Upload Tips)   If you encounter any difficulty when uploading video files, E-mail WOODWEB for assistance. The purpose of WOODWEB Forums is to provide answers, not to serve as an advertising venue. A Thread Related File that contains inappropriate content will be removed, and uploaded files that are not directly related to the message thread will be removed. WOODWEB reserves the right to delete any messages with links, files, or images it deems inappropriate. (return to form)