Hi Donald,
So... Good question.
It depends. (The answer to all good questions, btw is "it depends" :-).
It depends on the trailer and how many boards are needed, and what width those will be.
I've sawed for trailers that need consistent width - 8" for every board.
Some trailers have skinny boards near the edges, or maybe one extra wide one in the center. And the trailer owner might be OK with drilling new holes in the supporting frame, so that might not even matter.
Let's assume for a moment your customer wants 8" width boards for the trailer decking.
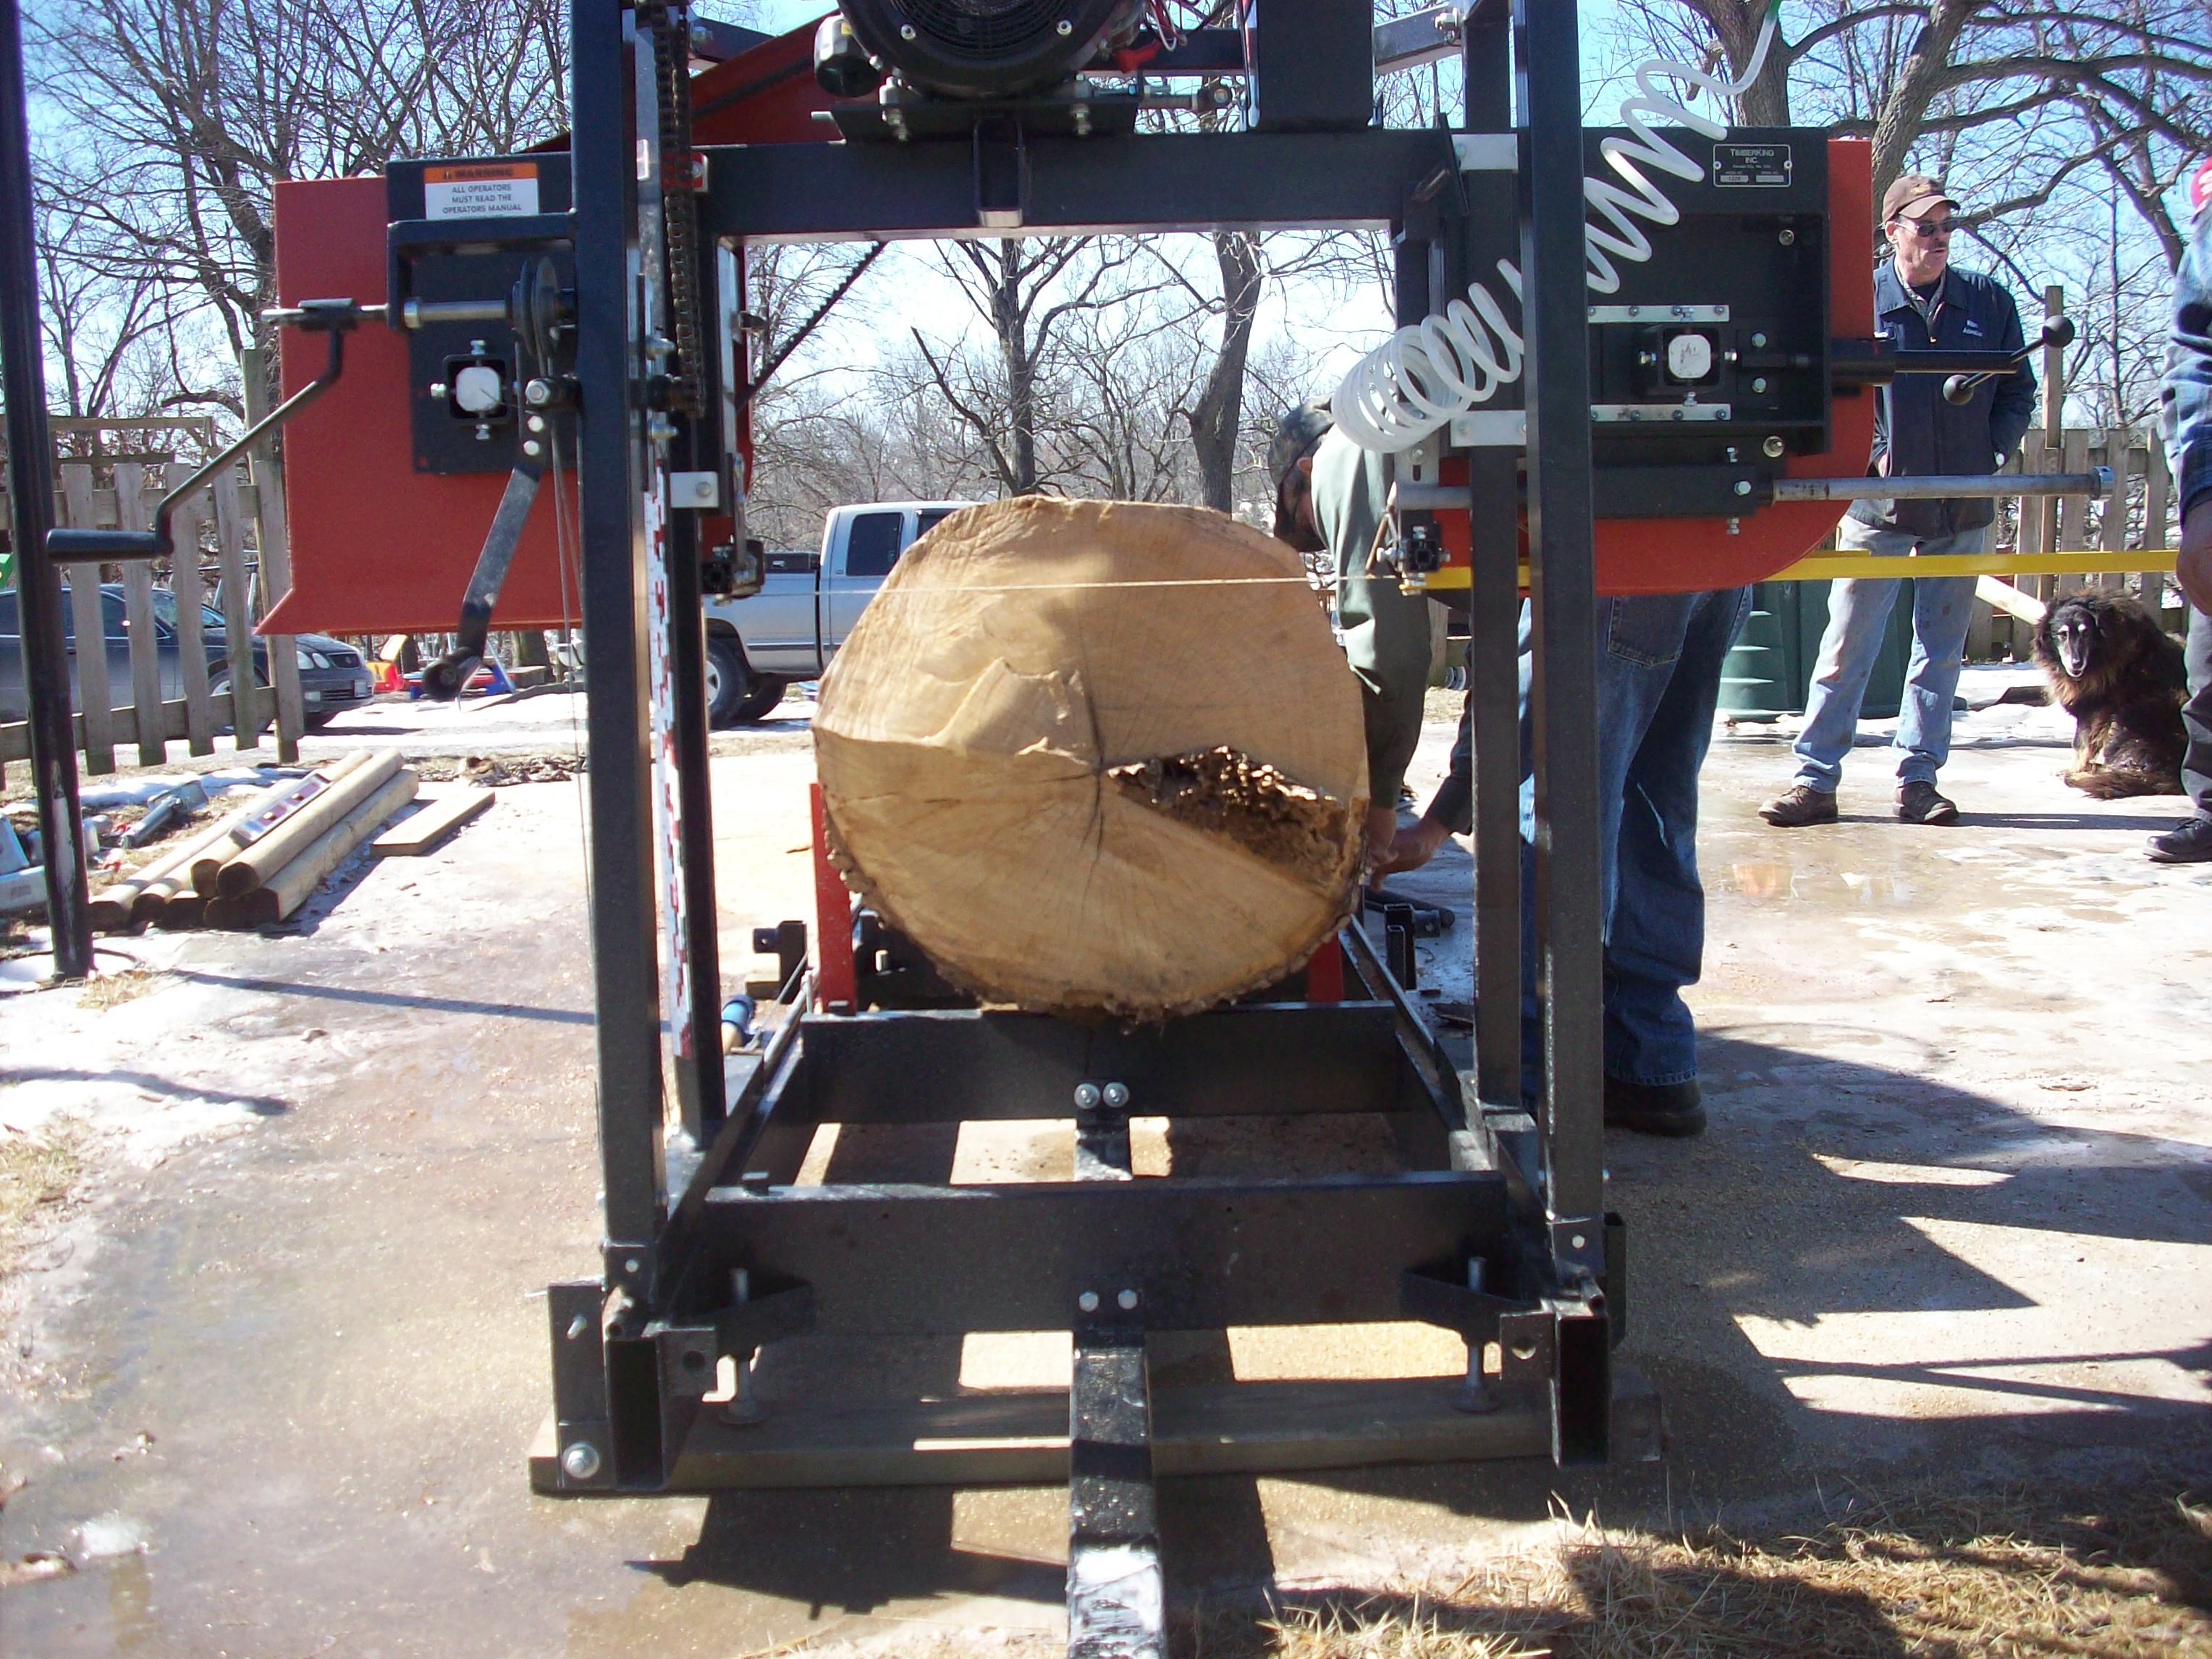
When you saw off the bark, and square up the log you'll end up removing some material that might make a good board from the outside of the log. These are called "slabs". If you were trying to get everything you could from the log, you'd try to cut the slabs as thin as possible, and leave the minimum acceptable board width so that on your next cut you'd get a relatively narrow board.
The edges of that board will have bark on both sides, and will need to be trimmed twice (once per side), to make a square edged board. This is called "edging" the board.
Depending on how deep you cut in on the first pass, you can probably take another pass and cut a board from the side of the log. It depends on how thick your customer wants his decking. 8/4 is typical for trailer decking that people ask me to cut around here in Pittsburgh PA.
If you look at the end of the log and imagine (or even just draw it with a marker or crayon right on the log end) you can probably look down the log and see how the board might look after you edge it. If you can get a board from this, you can take it. Then, when you turn the log, you can do the same on the other side.
(When I turn my logs after the first cut, I usually turn them 180 degrees, so that I'm cutting on the opposite face of the log. Many people say this is safer and I agree.)
You can cut down the slab on the other side the same way, and you may get a board on this side too that is the width and thickness your customer needs. You might even get 2 of them (and lets say you do).
Assuming your log is reasonably straight, and your slabs are thin, at this point you have removed at least 6" of thickness from the 31" diameter, and maybe another 4-6" of slab width. So 12" total let's say. You've got 31" - 12" left, so 19" of width on your log.
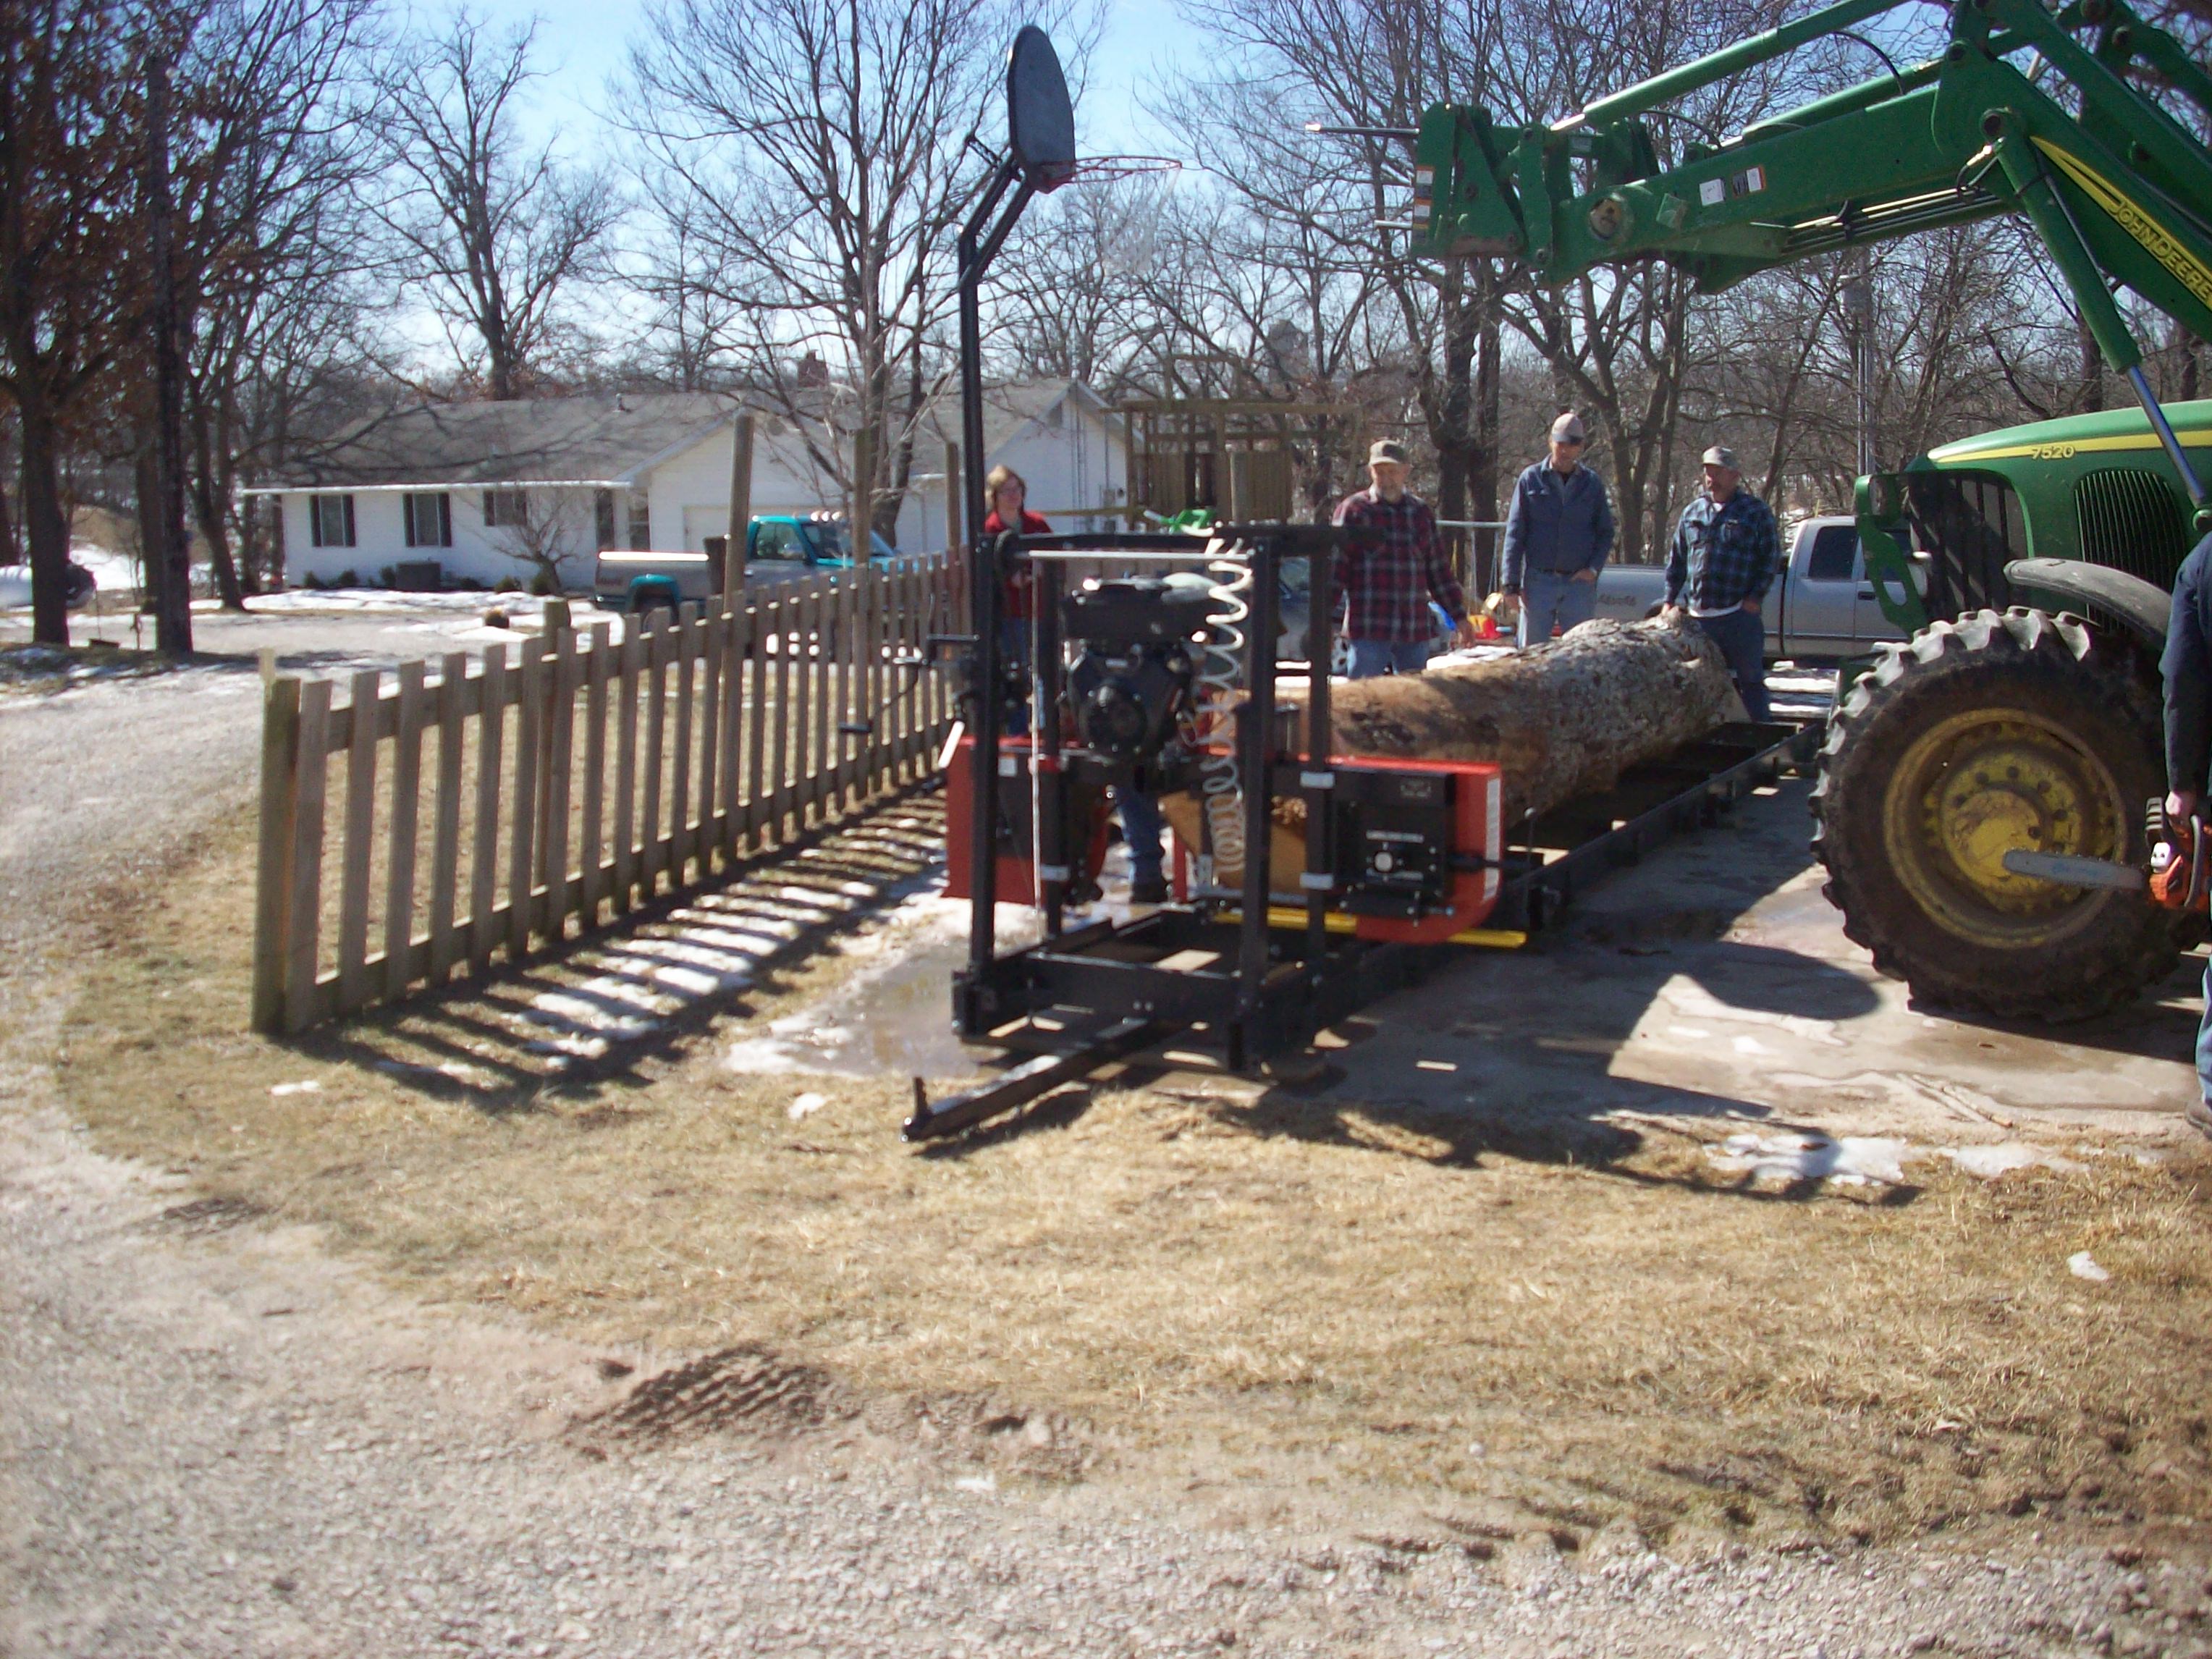
These boards will have to be edged, since they will have bark on them. So put them aside for a moment (I use my log loader to stack them and lower to the ground).
At this point you can turn it again, and saw off the 3rd slab. This will be a nicer operation as you remove the slab, then cut deeper. As you step down, you'll get into wood with clean / cut edges. As you do this, keep the final width of the boards you need in mind, and don't be afraid to go up and measure the remaining width and height with a tape measure to be sure. Don't saw too deep, just a board or two here, maybe 3. But, as you saw away boards, the log might flex and bow. You can avoid some of this by turning the log again, and sawing off the other side before you take any more boards.
At this point, your height might be 19" - (6-7") or about 12" if we assume the slab was thick. So turn the log 180 again, to put the last face up, and saw off the remaining slab. Then take your next board. As you do, keep the width of the decking in mind, and don't saw down further than this width. You might flip the log one more time, and get a board or two from the other side.
If you had 11" left, and sawed 1 more board, you'd have 9" left. If you took a board now, you'd leave 7" which is less than your 8" width so don't do that. Instead cut out a piece so that you get down to 8" of width exactly.
Then, you're almost done... flip 90" this time, and saw 2 or 3 exact 8" width boards. These can go right onto the "done" pile.
Now flip it again, 180 and you'll have 2 or 3 boards here, that you can also cut out and put right on the done pile.
As you cut these boards, look at both sides and see if you are getting near to the "pith" or center of the tree. If you are, flip 180 to the other side again. You don't want to have the pith exposed, because the boards will crack right down the middle of the pith as they dry, and they will surely split one day.
Rather, try to saw the rest of the boards so that the pith is right in the middle of the last board (height-wise). This is called "boxing" the heart, and it helps make the board more useable.
Is that easy enough to follow? I know it's wordy but I tried to describe each step, so that when you're out there doing it, you can know what you're going to do next.
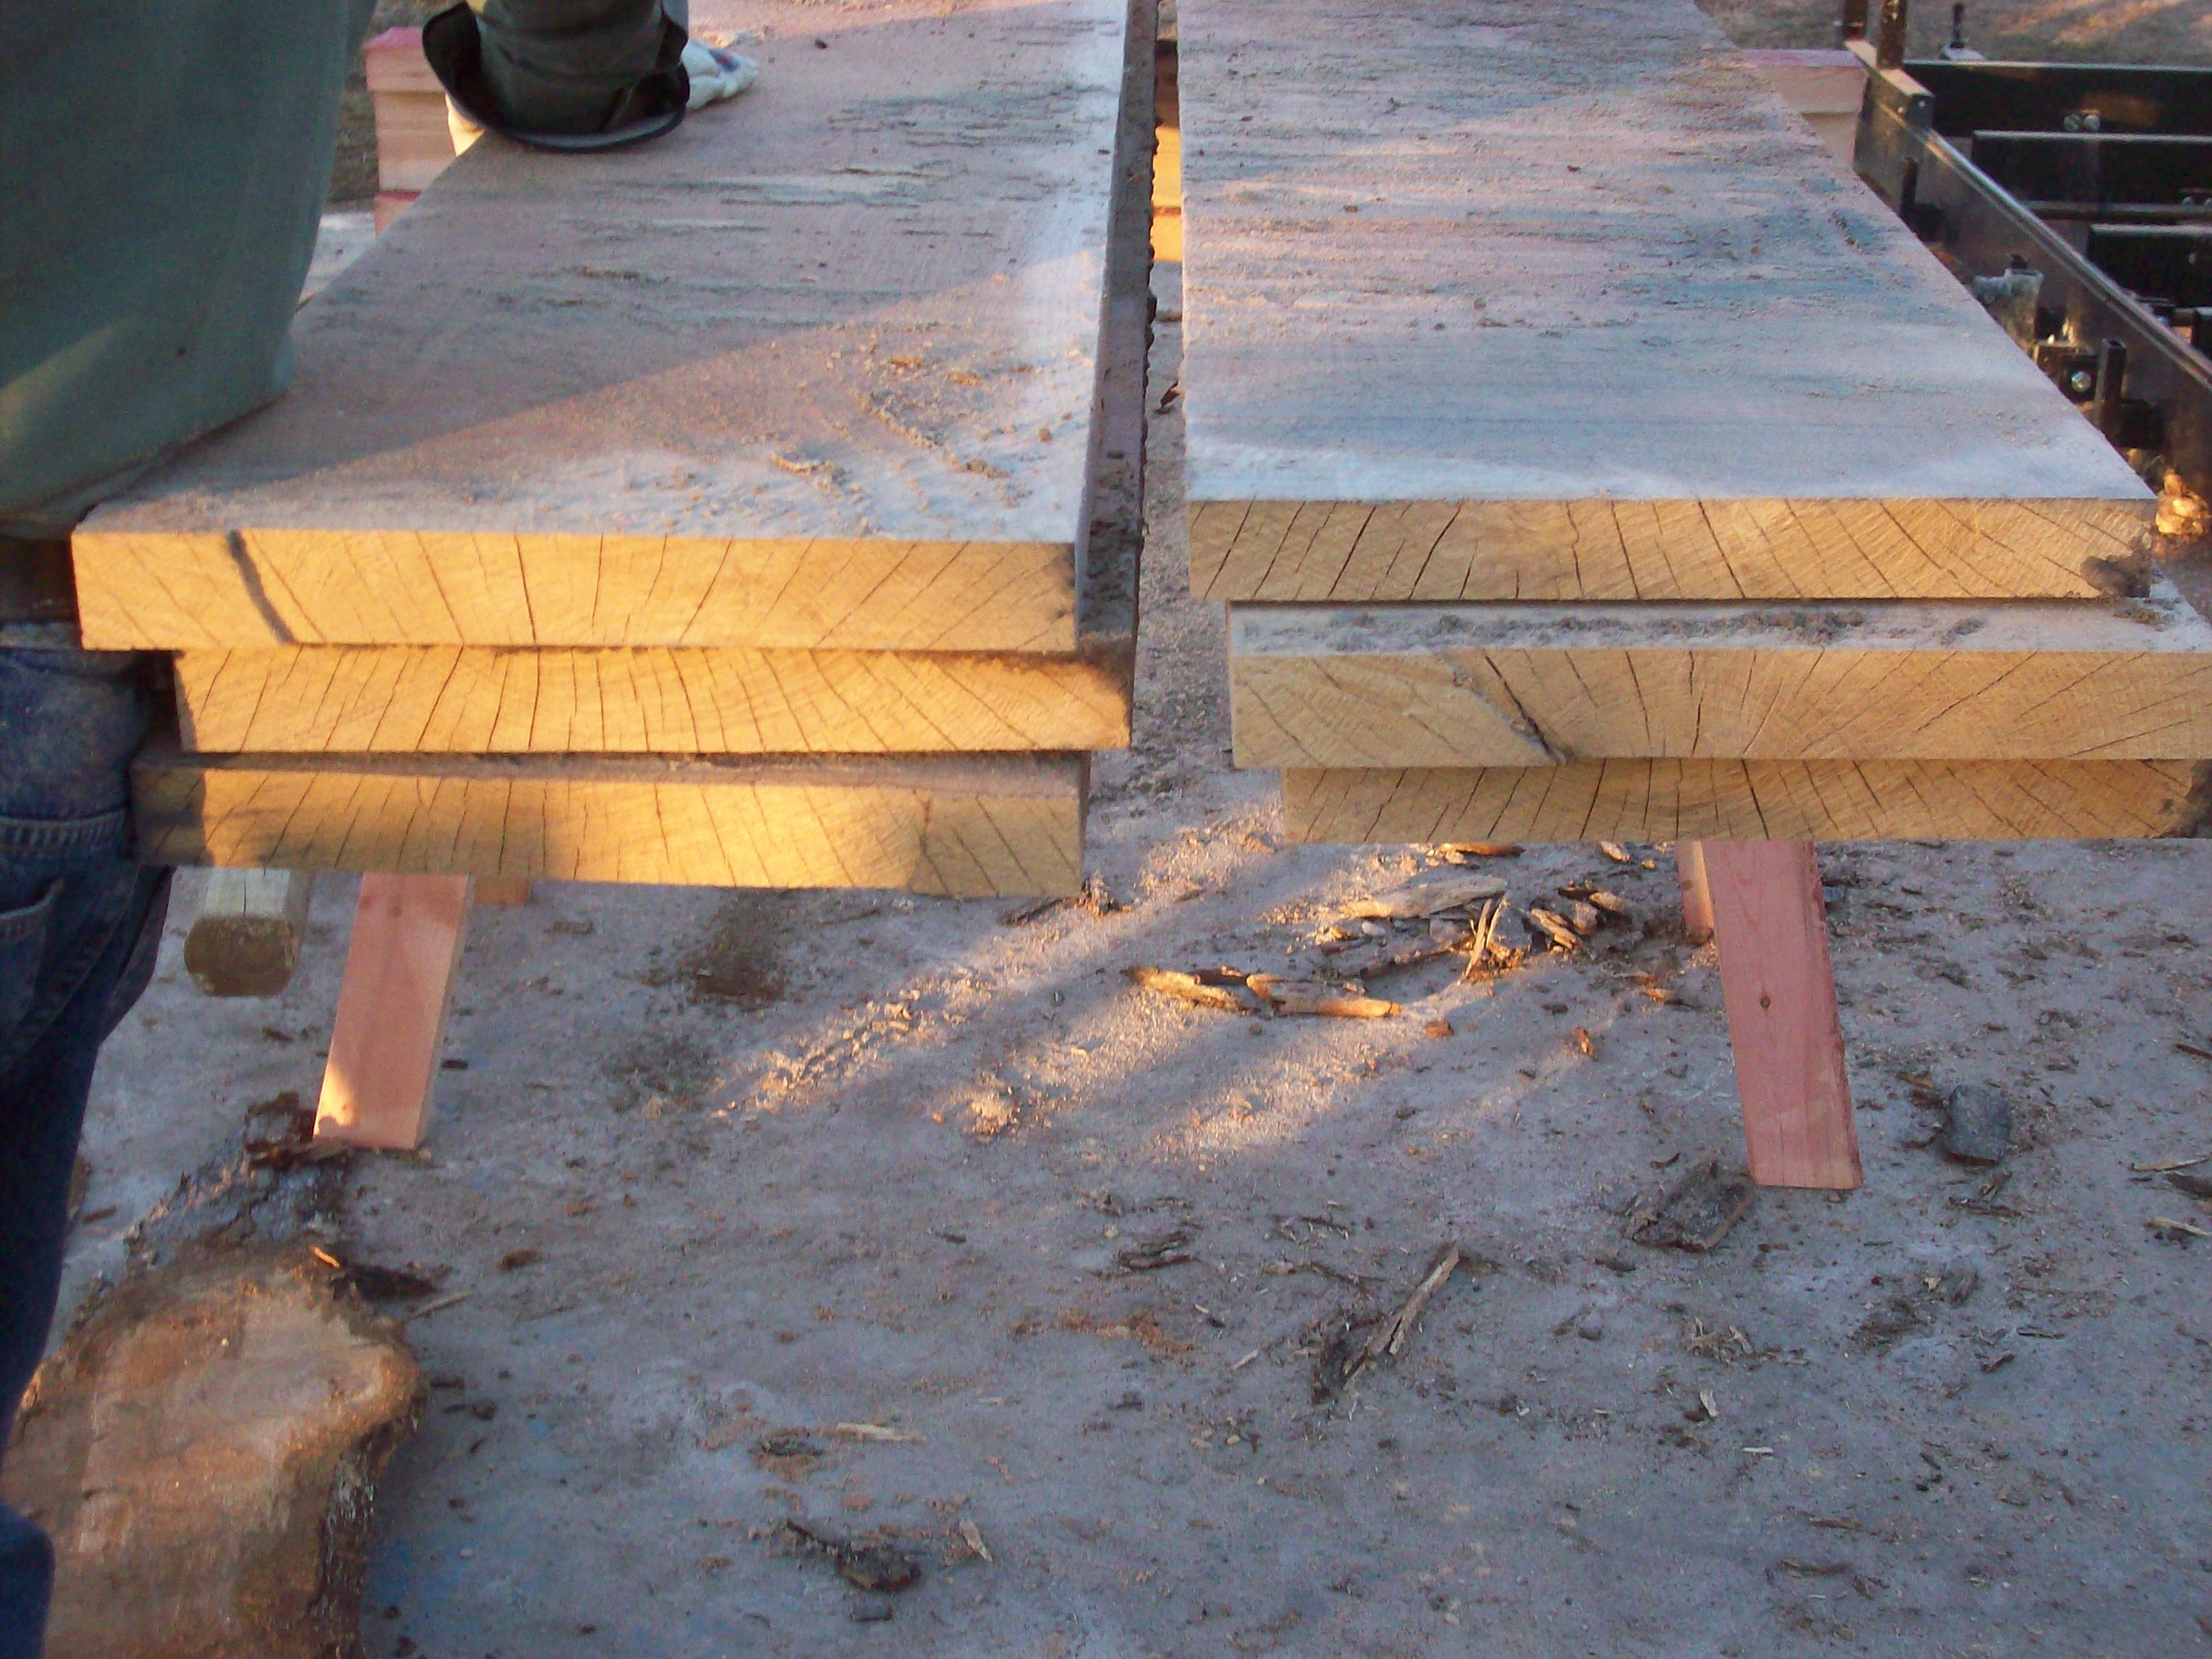
The last thing is to "edge" the boards with the bark (we call these "flitches") and what I do is stand several of them up on edge (takes some muscle with thick, green boards) and clamp them good and tight. Then I run the saw down the length of the boards in several passes to cut off the bark. Usually I step down 1" at a time when I do this because I will get 1" thickness "sticks" that are 2" wide in this case. I use these for stacking lumber that I will dry myself later, so put those off to the side and trim them to about 48" lengths.
As you edge these boards some of them will "finish" and get a square edge before others. So unclamp those, and flip them over to cut off the other side of the bark.
I keep running the saw down, 1" again, and flip when I need to until I get down to the actual width that I need, which would be 8" in this case.
If you don't need sticks, or you dont' want to tkae the time to step, you can just cut down to your final width in 2 cuts. Just make sure to account for the other side.
And again, check your clamps and posts on every cut. It's very embarrassing to cut a post off your mill, when you're working with the customer. I haven't done that in a while...