Question
I am getting ready to install wood jamb extensions to some wood window and door jambs (doors and windows are already installed). The sheetrock is installed at some locations but not all. The extension material is 3/4 x 2 3/16 clear fir with a clear brush on finish. The window/door jamb material is also 3/4 material and finished the same. My ideas...
1) Where the sheetrock is already installed, pre-drill into the edge of the extensions and attach with trim screws (casing will cover screw heads).
2) Where the sheetrock is not installed, use method 1, or attach with several steel plates on the outside perimeter of the jambs. The plates would be held on with 1/2" pan head screws.
What do you guys do?
Question
(Cabinet and Millwork Installation Forum)
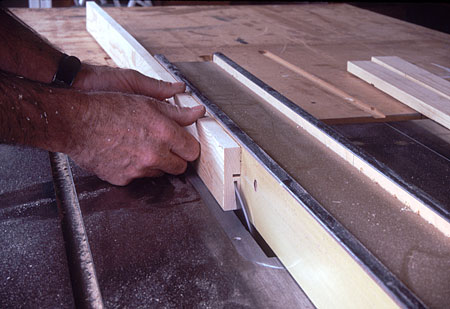
From contributor S:
Biscuits and glue with a block screwed into the trimmers and header to clamp it until it dries. If you have room on the sides, try pocket screws and glue. That way you can start trimming without waiting.
It's great to have one of the little Porter Cable pocket hole cutters on a job site for these kind of projects. Beats having to use a Kreg with a hand drill.
I only mentioned the steel plates because I saw a window crew attach vinyl jambs that had several plates around the perimeter. Seemed pretty slick at the time. Thanks for the responses.
This works if you have a 1/4" reveal around your jamb for casing - be careful with the 3/8 bit. Sometimes you have to angle the 5/32 bit in (towards the glass) to catch the window jamb securely. If I have enough room, I pocket screw the sill. Otherwise, you have to face nail or screw/plug.
The only jambs in this world that are square-cut are those that were prepared by someone who has never run casing or painted a house!
The jamb material I've seen is not a full 3/4" thick, but only 11/16". That may have an effect on your screw placement.
I would rip and finish-sand (in my shop) all of my extension material, and slightly ease the two exposed corners. I would also mark the backside of my extension with the tablesaw to relieve surface tension and help keep the extension from cupping.
I would rig up my drill press and (very accurately) bore/counter-bore all of my extension material to accept a certain screw. (The center-to-center hole spacing would require some thought.) The holes might need to be angled, and that would require some thought - as you (correctly) pointed out, the casing will need to cover the screw holes.
I would cut all the extension material to length on the job and attach it all the same way throughout the job - with screws, but without adhesive (use more screws). I would assemble all pieces of the extension material together (with a staplegun), and then attach it as one unit to the existing jamb - this will help you achieve a uniform reveal, and the corners will stay tight.
I might also deliberately (slightly) misalign the existing jamb and the extension material surfaces, depending on the corner easing and what looked best. I would never try to achieve a glue-line quality joint.
If you have a window sill that needs extending, you're screwed. Sure is easier to do it right the first time, but sometimes s**t happens. This scenario is a perfect example of what happens when a do-it-yourselfer goes to Home Crap-Hole to purchase their doors and windows because they're cheap. But they don't know enough to order the proper jamb width (the experts at Home Crap-Hole don't know either). Now the DIYer has to pay a huge labor charge to get the jambs extended (not an easy task) - all subsequent trades are delayed, the finish carpenter, the painter, the DIYer - everyone - is ticked off. I've seen it a hundred times. Take your time, put your best man on it (you), charge what you're worth, and good luck.
Then you can use a 6" square or Phillips bit and just run #7 drywall screws through the extension jamb slot and into the window jamb from the outside of the ext jamb. The rabbet is not necessary, but prevents the extension jamb from sliding and gives a perfect reveal between window jamb and extension jamb.