Cutting Clean Grooves
A discussion of ways to dado drawer parts to accept bottom panels, without chipping and other defects. April 15, 2009
Question
I'm looking for better results in grooving for cabinet backs and drawer bottoms. I'm now using a 10" table saw with a feeder and I've tried several high quality grooving tooling including insert. Arber speed is 4400 rpm and fence alignment is good. Trouble is there is too much chipping on the edges of the groove, more so on plywood parts. I can get great results on horizontal spindle moulder-shaper, but the feed system does not work well with wide case parts.
Forum Responses
(Cabinetmaking Forum)
From contributor A:
Amana makes a dado set with 46 teeth. We've got one, because we primarily use prefinished plywood and dado/rabbet construction. No tearout whatsoever.
From contributor R:
Forrest dado king and a Forrest Duraline hi at. Both will give you chip and splinter free cuts in plywood. They will outlast any blade on the market between sharpenings as well.
From contributor M:
Old 10" contractors table saw plus Forrest dado blade plus zero clearance insert plus shophelpers equal zero tearout on plywood and minimal chipping on melamine.
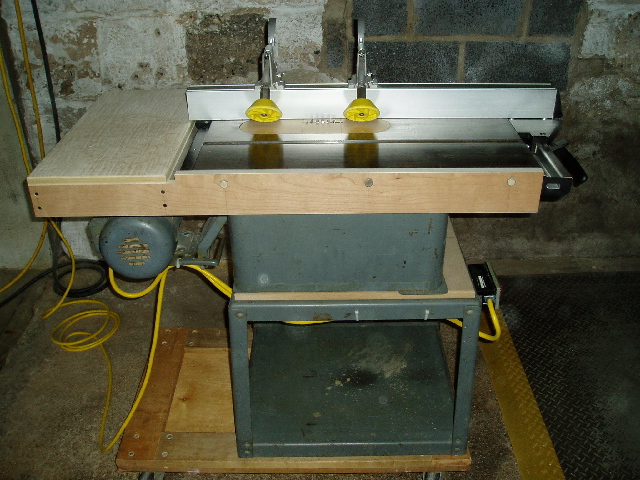
Click here for higher quality, full size image
From contributor L:
You need at a minimum, a dado set that has a negative 5 degree rake. This will give you chip free cuts in most materials. Cheap materials will chip out more than quality. Baltic birch used in a lot of drawers because of its price will lead to a lot of chip out, even with high quality cutters.
From contributor F:
Grooving blades tend to work well in solid stock, and cutting with the grain in hardwood plywoods. For melamine or crosscutting I think you'll be better off using a good quality dado set. I have a couple Freud dado sets now and they produce a much cleaner cut than my grooving blade.
From contributor R:
Until we got our CNC we used a heavy duty router set up in a router table also using the board buddies. We used a Her-Saf router bit that is usually used in panel routers, that way you just change the bit tip and very seldom have to change the router set up.
From contributor V:
Oops, I thought that they were called shophelpers, but you guys are right they are called board buddies. One of these days when I have some extra money to burn they will be replaced with a power feeder.
From contributor P:
Freud Super Dado was the highest rated dado set in Fine Woodworking. I have a set, and they're pretty darn good. I use Forrest for everything else.
From contributor B:
What are board buddies, and how do they work?
From contributor P:
Board buddies are spring loaded wheels that you attach to your fence. Brackets are permanently mounted, and the wheel assembly is easily removed. The cone shaped wheels hold the work down and help pull it towards the fence. The spring tension and wheel height are adjustable. Some versions have one-way rotation, so they help prevent kickback. For dadoing and rabbeting, they're pretty good for holding the board down so you get a consistent depth of cut.
From contributor B:
Looks handy. Are these still available? Also do the permanent brackets ever get in the way? I often use both sides of the fence.
From contributor V:
I don�t think that he reversed the arbor direction on the saw, although I could be wrong. I think that he was feeding it backwards with a power feeder (some of which are reversible).
For a while I was climb cutting (grooving) on my PM66 with a small power feeder. The grooves were perfect in both melamine and plywood even with a cheap dado blade set. The problem was the mess of saw dust that it created. I never could figure out a way to collect all of it and it would also always get packed into the groove requiring me to scrape it out. A good quality dado blade and a zero clearance insert does it for me now and dust collection happens below the saw.
From contributor W:
I've had good results using a pair of matched Amada 10" laminate blades, with shims between. It�s less costly than a dado set, especially when re-sharping. It gives a clean 1/4" grove.
From contributor K:
After sometimes fighting with the fixed mounting base of the buddies I finally purchased the track they offer which allows you to widen or make more narrow the space between the buddies. It also makes it easy to slide them off in just a second and their out of the way. No one should work without these! I keep the buddies a couple of inches back from the saw blade and once in a while I will push my left index finger into the buddy and scare the heck out of myself thinking I just hit the sawblade. I think I work very safe on the saw and am always aware of the blade but am so used to the buddies being there that I don't see them as ever being in the way, just the opposite.
From contributor H:
Save yourself time and energy and switch to 1/2 backs and bottoms. Overlay cabinet backs and pockethole drawer bottoms to sides. I use the scraps to build my drawer sides and carcass scraps for drawer front and back. No more top and bottom stretchers and client gets full 12"inside upper cabinet.