Installing Drawer Faces
A long, detailed discussion about various ways to accurately and rapidly attach drawer fronts when installing cabinets. February 16, 2012
Question
My install team has had considerable challenges installing drawer faces perfectly even. Using the frameless method, of course your gaps have to be spot on. When they aren't it means removing the drawer face and reapplying with new screw holes on the inside because the old holes can't be reused. This can be unsightly for clients and it is expensive for the company to remake the drawer.
We use the little plastic spacers to try and keep the gap consistent. We flush the bottom drawer/door face with the bottom of cabinet and then go from there with the plastic spacers. What methods do you use for installing drawer faces?
Forum Responses
(Cabinetmaking Forum)
From contributor Z:
Drill a larger hole through the drawer, so that you have a little wiggle room to make the necessary adjustments.
From contributor B:
I use a jig and plunge router, 5/8", to make 2 holes in the drawer box before the drawer goes in the cabinet. I use another jig to drill 2 corresponding pilot holes in the back of the drawer front. Drawer front is attached to the drawer box using washer head screws. Drawer front is adjusted at install by loosening the washer head screws and moving the drawer front up/down, and side to side. Screws tightened, knob/pull holes drilled.
From contributor H:
We have been using the
Blum drawer adjusters for as many years as I can remember. They are 20mm nylon barbed discs that have a captured nut inside that can move in 3mm in any direction. You cannot use these for shaker doors or any door panel under 1/2", but they are amazing. About 1 minute longer to install than those washer head screws, but will save hours in install time. They should be on the
Blum website or check with your
Blum rep.
From contributor S:
We leave the drawer faces off until we get to the job site. Then we used double sided tape, stick the drawer face on, pull out the drawer and screw from the back side. Follow with 1/8" spacer and continue up the drawer stack from bottom to top.
From contributor M:
First drill a 3mm hole in your drawers for front fixing with 8 gauge screws. Start off your screws so they are just coming through (approximately 1.5 - 2mm). Put your drawer in place, hold your front in position with required gaps, and then gently give the drawer front a tap. The screw tips accurately mark the rear off your drawer front ready for pilot holes and final fixing. All too easy and very quick.
From contributor J:
My plan of attack is to install all the doors and align them (on plumb and level cases of course). Next I go back and install the drawer fronts. I use a 23 gauge Grex pinner, first aligning the drawer front with the bottom of the base
cabinet doors or case, and holding it centered in the available space (5/16" wider than the front if the math was right), shooting for 1/8-3/16" equal spaces on either side and top/bottom. Holding this in place with one hand, firmly to the dovetailed drawer box, I simultaneously pull it and the front forward and pin the box to the front from inside with three 23 ga pins. Now move up the stack and repeat.
After they're all pinned, quickly check the alignment in relation to one another. Gently extend all the drawers, from fully extended at bottom to just past hold in stop, at top drawer. Starting at lowest drawer, install type 17 sq drive screws from inside to secure the front, fully close the drawer, and move up the stack.
Check your work. If the eye can detect that it's out of alignment, it should be able to detect that it's in. Shims would seem just something else to carry around and keep up with. Unless you have all day.
From contributor U:
How do you get away with 3/16" spacing on doors, drawers, etc.? My customers would shoot me down in a second for going that big.
From contributor C:
It�s a given that doors go first of course. This will help align the drawer faces. It depends greatly on the situation, but I sometimes use the holes for the drawer pull or handle to temp screw the face on and I then screw it on from the inside.
I also have used the pin nailer when using solid stock or the tape method and alternatively the projecting screw method. It�s important to not get stuck on one method but to use the one that is appropriate for the situation.
From contributor J:
I'm building frameless cabinets for custom builders, not clocks for the guild. We are dealing in frameless and not inset, correct? If I am told beforehand they will require dead 1/8", I assure you I can get there, but at a higher cost. 1/8"-3/16" gap is much easier to work in.
From contributor W:
I found out my shop floor is not flat. We would attach drawer fronts and then have to readjust in the field. So I built a panel with plywood on both sides (an architect called it a diapram), that we put the cabinets on when we attach the drawer fronts. Then when they're leveled at the job site, the margins are good.
From contributor H:
I think you guys owe it to yourselves to check out the
Blum drawer face leveler cam. It costs .60/drawer and takes less time to install than all your other methods and is fully adjustable on site, side to side and up and down. Even if you have three 3-drawer banks all in a row, you can have a perfect reveal every time with very little effort. All you need is a 20 mm bit with a depth stopper which Rockwell sells for about 30, and you are in business. Is anyone out there using them?
From contributor D:
How well do the
Blum adjustables work on a 5 piece drawer head with 2.25" stiles? I use a washer type screw in a 3/8" hole, and find that I am screwing into the groove of the stiles.
From contributor K:
Stage square and level in the shop. Install square and level in the field. No fuss.
From contributor H:
I install the cam in the raised panel part of the door, but you need 1/2 depth, so it won't work with shaker doors or 1/4" thick veneer panel doors. They are 20 mm round and would not work on a 2.25 frame. 3/4" veneer or melamine doors are not a problem either.
From contributor I:
One method I have used is the
Blum drawer front adjusters. We build drawers in house so this helps us with the problem that you are having. I have two small drill presses. One is for the drawer box and one is for the drawer fronts. Before assembling the drawer we drill four holes in the front piece of the drawer (3/16"). The top two are for the locked down screw and the bottom two are for the 8/32 truss head screw. The drawer fronts are drilled with a 20 mm bit, laid out to line up with the two 3/16 truss screw holes. Knock in the drawer front adjusters and when hanging doors, drawer fronts the two holes in the drawer box line up with the drawer front. The
Blum adjusters have 3/16" adjustment built in. This allows you to adjust in the field the final reveal. Just remember to reference everything off the bottom of the drawer when laying out drawer stacks.
From contributor H:
We use the aluminum 20 mm pin gauges from
Blum to reference a hole in the drawer face. These are available from
Blum and they are a metal disc the depth of the hole with a pin that protrudes. We predrill the drawer front and insert these discs and place against the drawer and give it a whack. We then drill a hole through the drawer and insert a drawer adjuster into the back of the face and put together. Not as good as your system, but we will try yours.
From contributor N:
To answer the original question, you can always reuse the original hole as opposed to putting in multiple screw holes, giving you the classic Swiss cheese effect!
I drill 2 screws through the drawer so it protrudes by about an 1/8". Line the front up and tap it onto the screws. This marks it very well and once you get used to it you can actually hold the front in place as you pull out the drawer to suck the screws in tight.
When you check for alignment, I have found many times that the angle of the screw entering the drawer front causes it to pull the front either up/down or sometimes to the right/left if you are attaching a 2 1/4" s&r front. Back the screw out on the side that is out of alignment, move the drawer ever so slightly in the direction it needs to go, and retighten the screw. Believe it or not it works all the time. Takes a bit of trial and error at first but comes pretty quick. I usually add 2 more screws near the bottom of the drawer which will hold the front in tight to where it needs to be. As well, once the handle/knob goes on, which for us is usually in the middle of the front, this helps to hold it in alignment.
As for margins, we typically use 1/16" all around and 1/8" under the counter itself to ensure clearance. 1/8" or bigger looks terrible in my opinion.
There you go - problem basically solved and no Swiss cheese effect in your drawers!
From contributor X:
I drill the drawer with a 3/8 hole and then insert a 3/8 dowel center, line up the drawer face, give it a gentle tap and you have the center mark. I then pre-drill the mark and use a washer head screw. I pre-drill when others don't and I don't have a problem of the material, especially laminate, being pulled into the adjustment hole.
From contributor Y:
At our shop, we install the drawer boxes first. We then drill the pull holes into the drawer face. To attach the drawer face to the box, we set the cabinet on a flat surface, put the bottom drawer on flush to the bottom of the cabinet. Put washer head screws into the drawer box through the drawer face. Open the drawer, then screw through the drawer to the drawer face with 4 screws. Remove the washer head screws from the face, drill the holes for the pull through the drawer face into the drawer box and the bottom drawer is complete without the pull. We then place a 1/8" flat bar on top of the bottom drawer face edge and place the next drawer face that already has the pull holes drilled. Then repeat with the washer head screws. If the programmer has figured the drawer face heights correctly, we should have a 1/4" gap at the top of the top drawer to the underside of the countertop.
From contributor V:
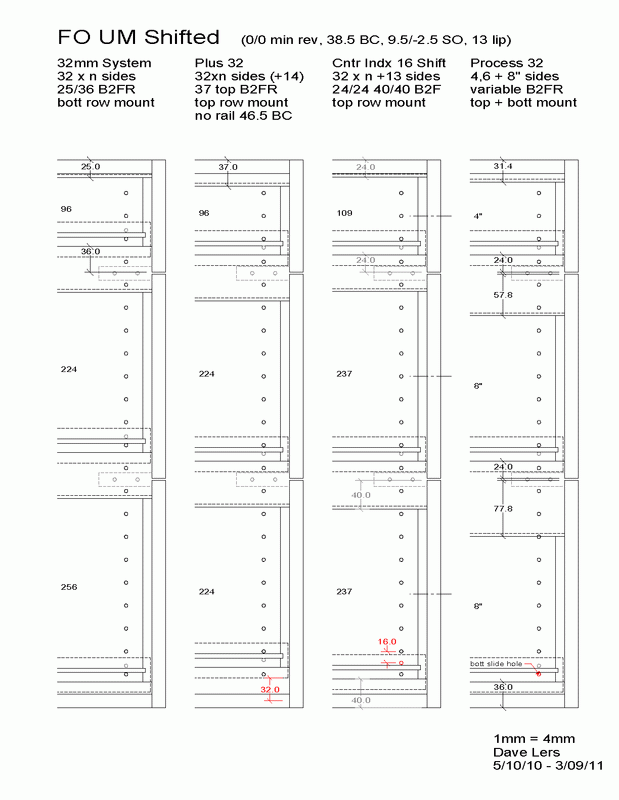
If you make 32mm increment drawer boxes and faces, it is easy to predrill the faces and subfaces (for adjusters or washer head screws) because the drawer box to face reveal (B2FR, top and/or bottom) is the same for all drawers.
Click here for higher quality, full size image