Joints in Solid Wood Edgebanding
How to detail the intersection where one piece of rounded-over solid wood edgebanding butts into another. March 28, 2015
Question (WOODWEB Member) :
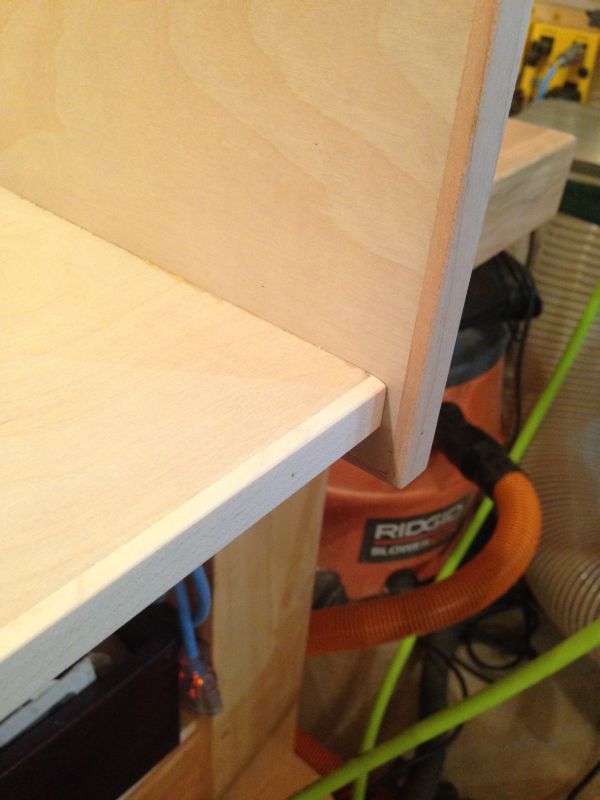
I'm working on a high-end off-white lacquered closet job right now. All exposed edges are getting 3/16" thick maple edge banding. The problem arises when the roundover profile on the side of the edge band meets up against the square front of an adjoining piece. On a lot of the joints I set back one piece so that the two don't touch, but on some they have to butt up. I have much more experience building cabinets than shelving and am lost on this tiny detail. Is this gap acceptable? Or should they all get filled? If so, will filling even work because I think it might just crack under the lacquer come winter. I'm not really sure what the standard expectations are for something like this and I don't want to create more work or a callback for my shop.
Click here for higher quality, full size image
Forum Responses
(Cabinetmaking Forum)
From contributor x:
Can both edges be rounded over? If so I would assemble it with square edges then run a roundover bit along the inside of the opening.
From contributor X:
If the one edge has to be left square then I would attach the rounded over pieces, then cope the square pieces into it. The radius looks small enough where you could just use a bevel cut on the mitre saw and fill in the little bit that is left.
From contributor J:
Set it back an 1/8" past the edge of the roundover or edgeband it after assembly and then router it. I would not leave the gap. I would not fill it either. Why do the joints have to be flush?
From the original questioner:
Thanks guys, the flush joint was just shown in a design sketch, but I think keeping the joints set back is going to make much more sense. Thank you for re-enforcing that to me.
From contributor A:
If the design allows set them back. If not butt them square and then round them over with a laminate trimmer. All that said the guy who is assembling needs to use plenty of glue on the butt joint. Enough to leave a little mess that will be sanded off. Otherwise that will crack after installation or it will leave a little shadow line after you paint it.